There are two things we at PixelSquid love more than anything: the level of creativity and expertise that PixelSquid users put into their compositions, and seeing all the fun ways PixelSquid objects are incorporated into scenes. And James Popsys‘ work is no exception.
We’re so fortunate to have James back with another charming tutorial to show how fast and easy it is to use PixelSquid’s spinnable objects to create fun composites. You’ll learn how to scale and blend 3D objects into photos and images to create a polished look.
Want more from James? Check out his Latte Departure tutorial too!
Objects Used:
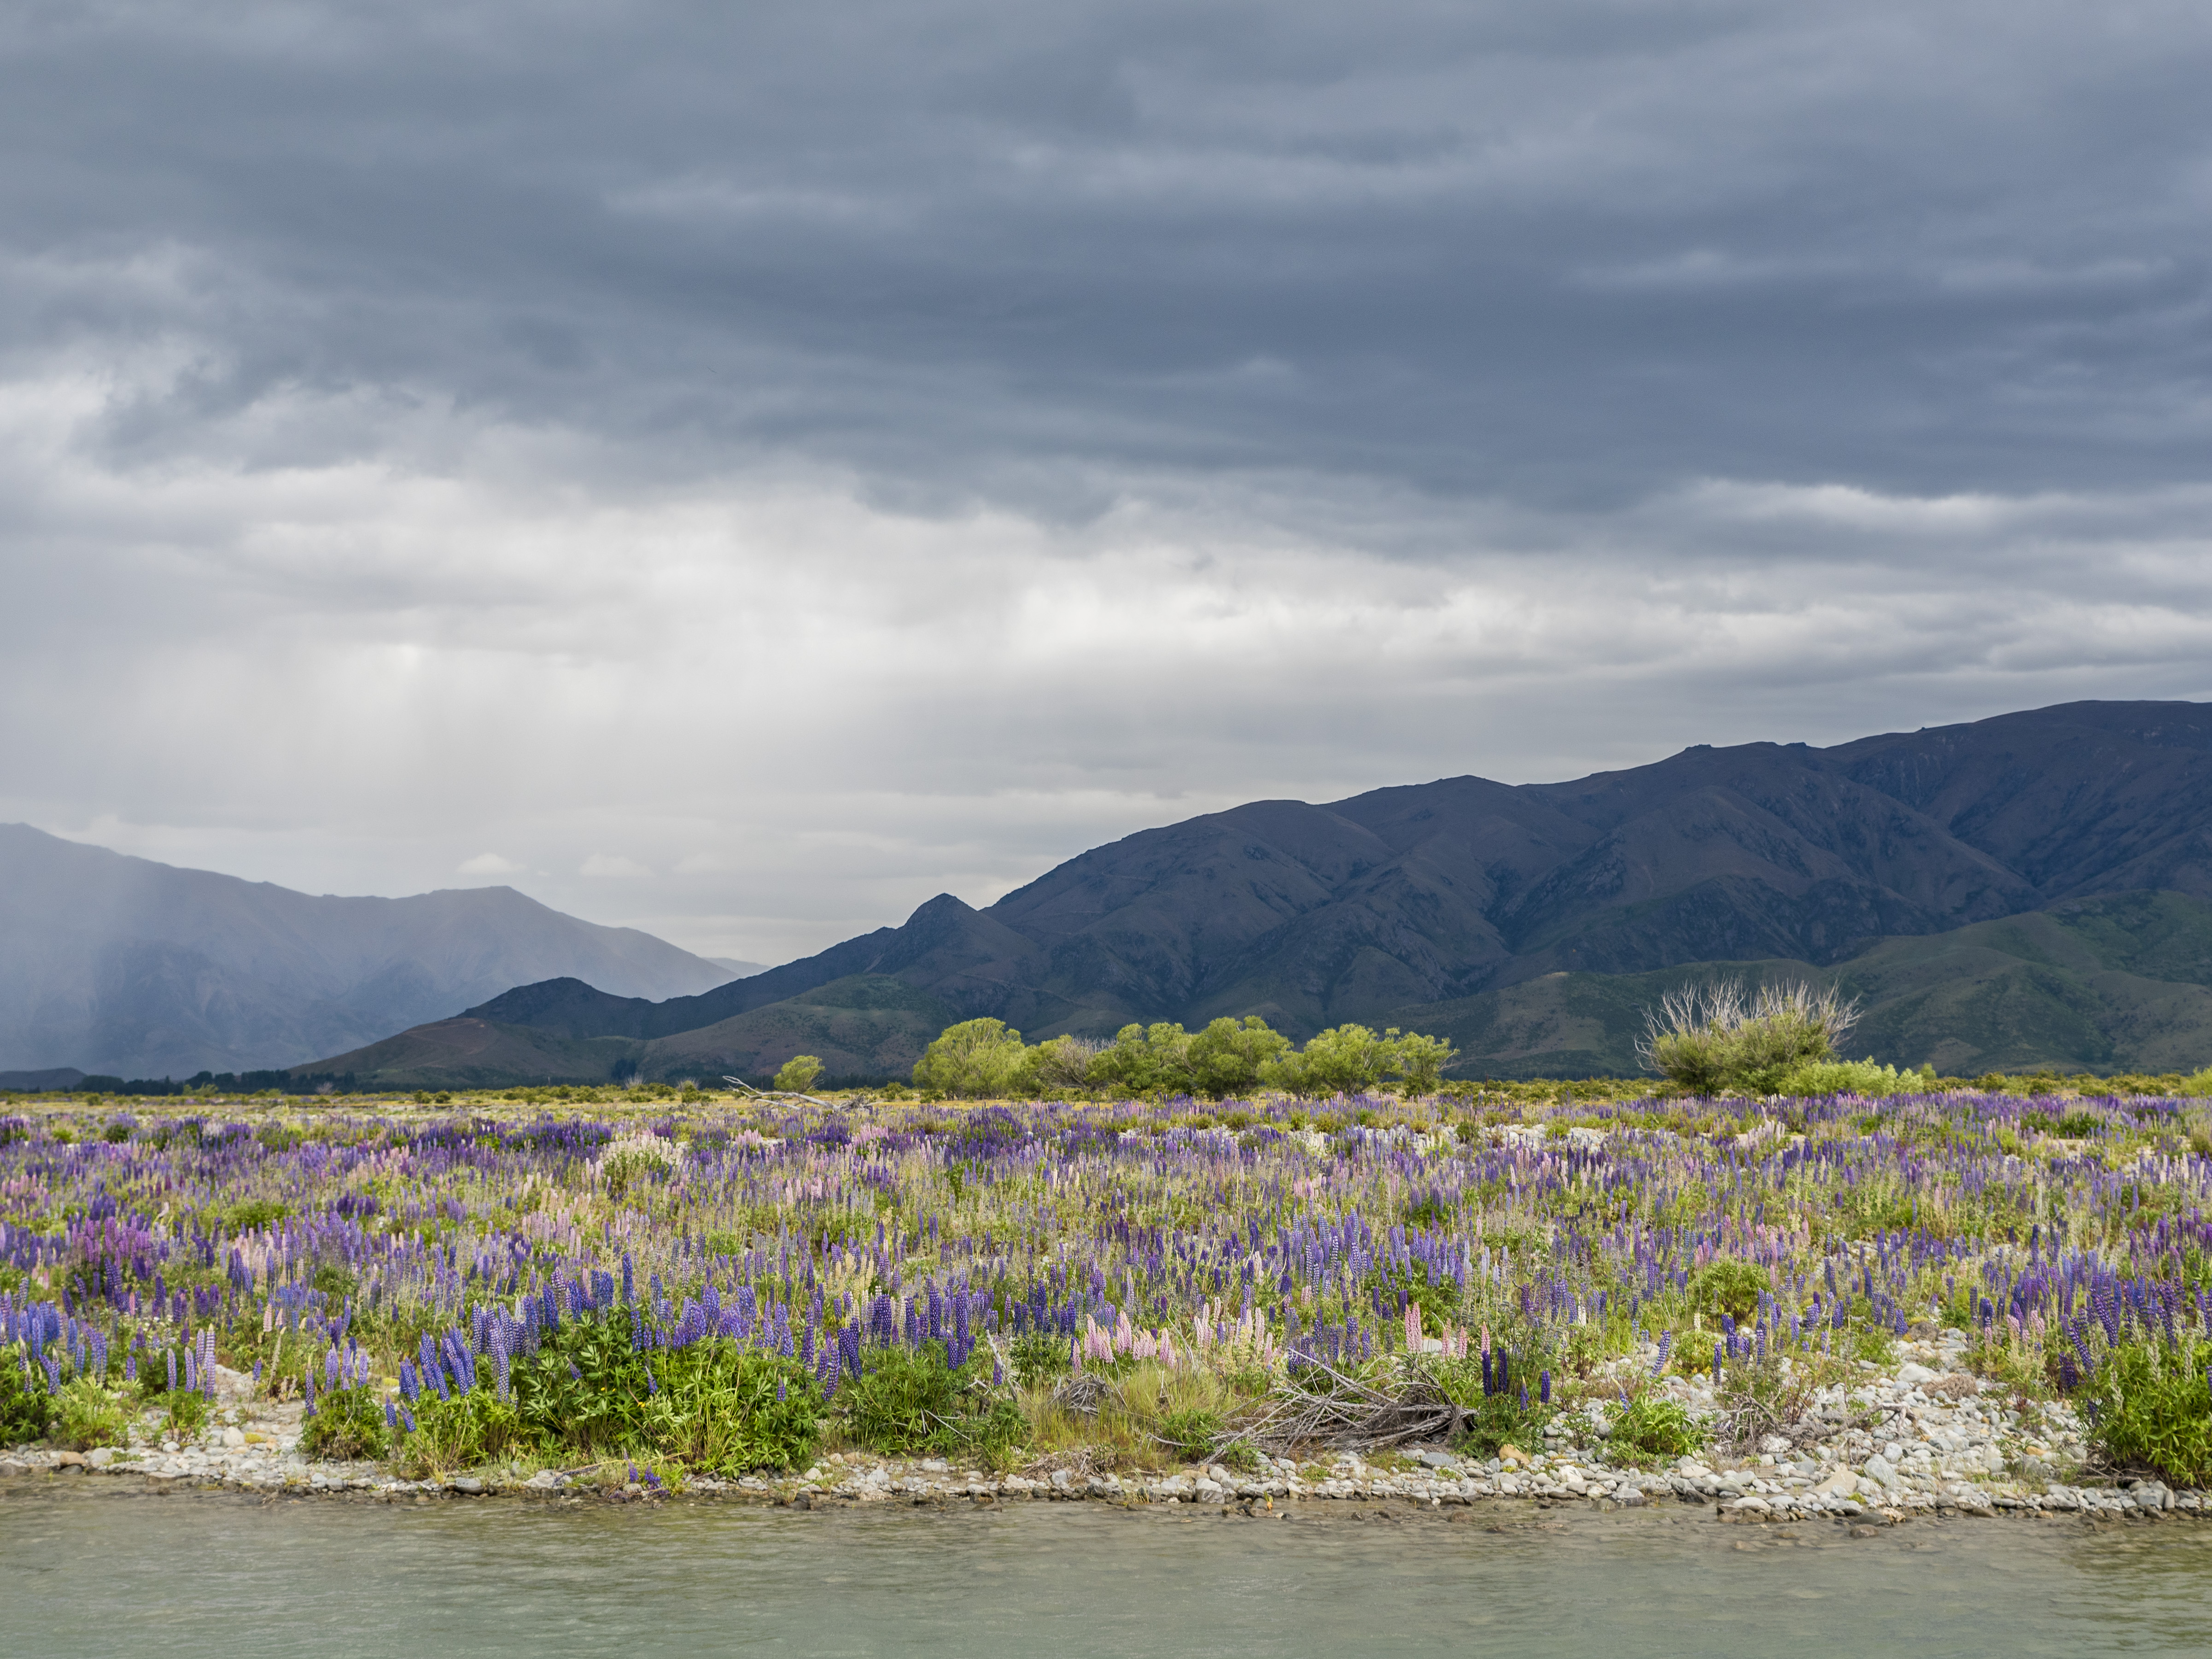
- Party Animals Background
- Balloons
- Bear
- Boombox
- Elephant
- Elk
- Gold Foil Balloon Letter P
- Gold Foil Balloon Letter A
- Gold Foil Balloon Letter R
- Gold Foil Balloon Letter T
- Gold Foil Balloon Letter Y
- Imperial Eagle
- Blue Party Hat
- Pink Party Hat
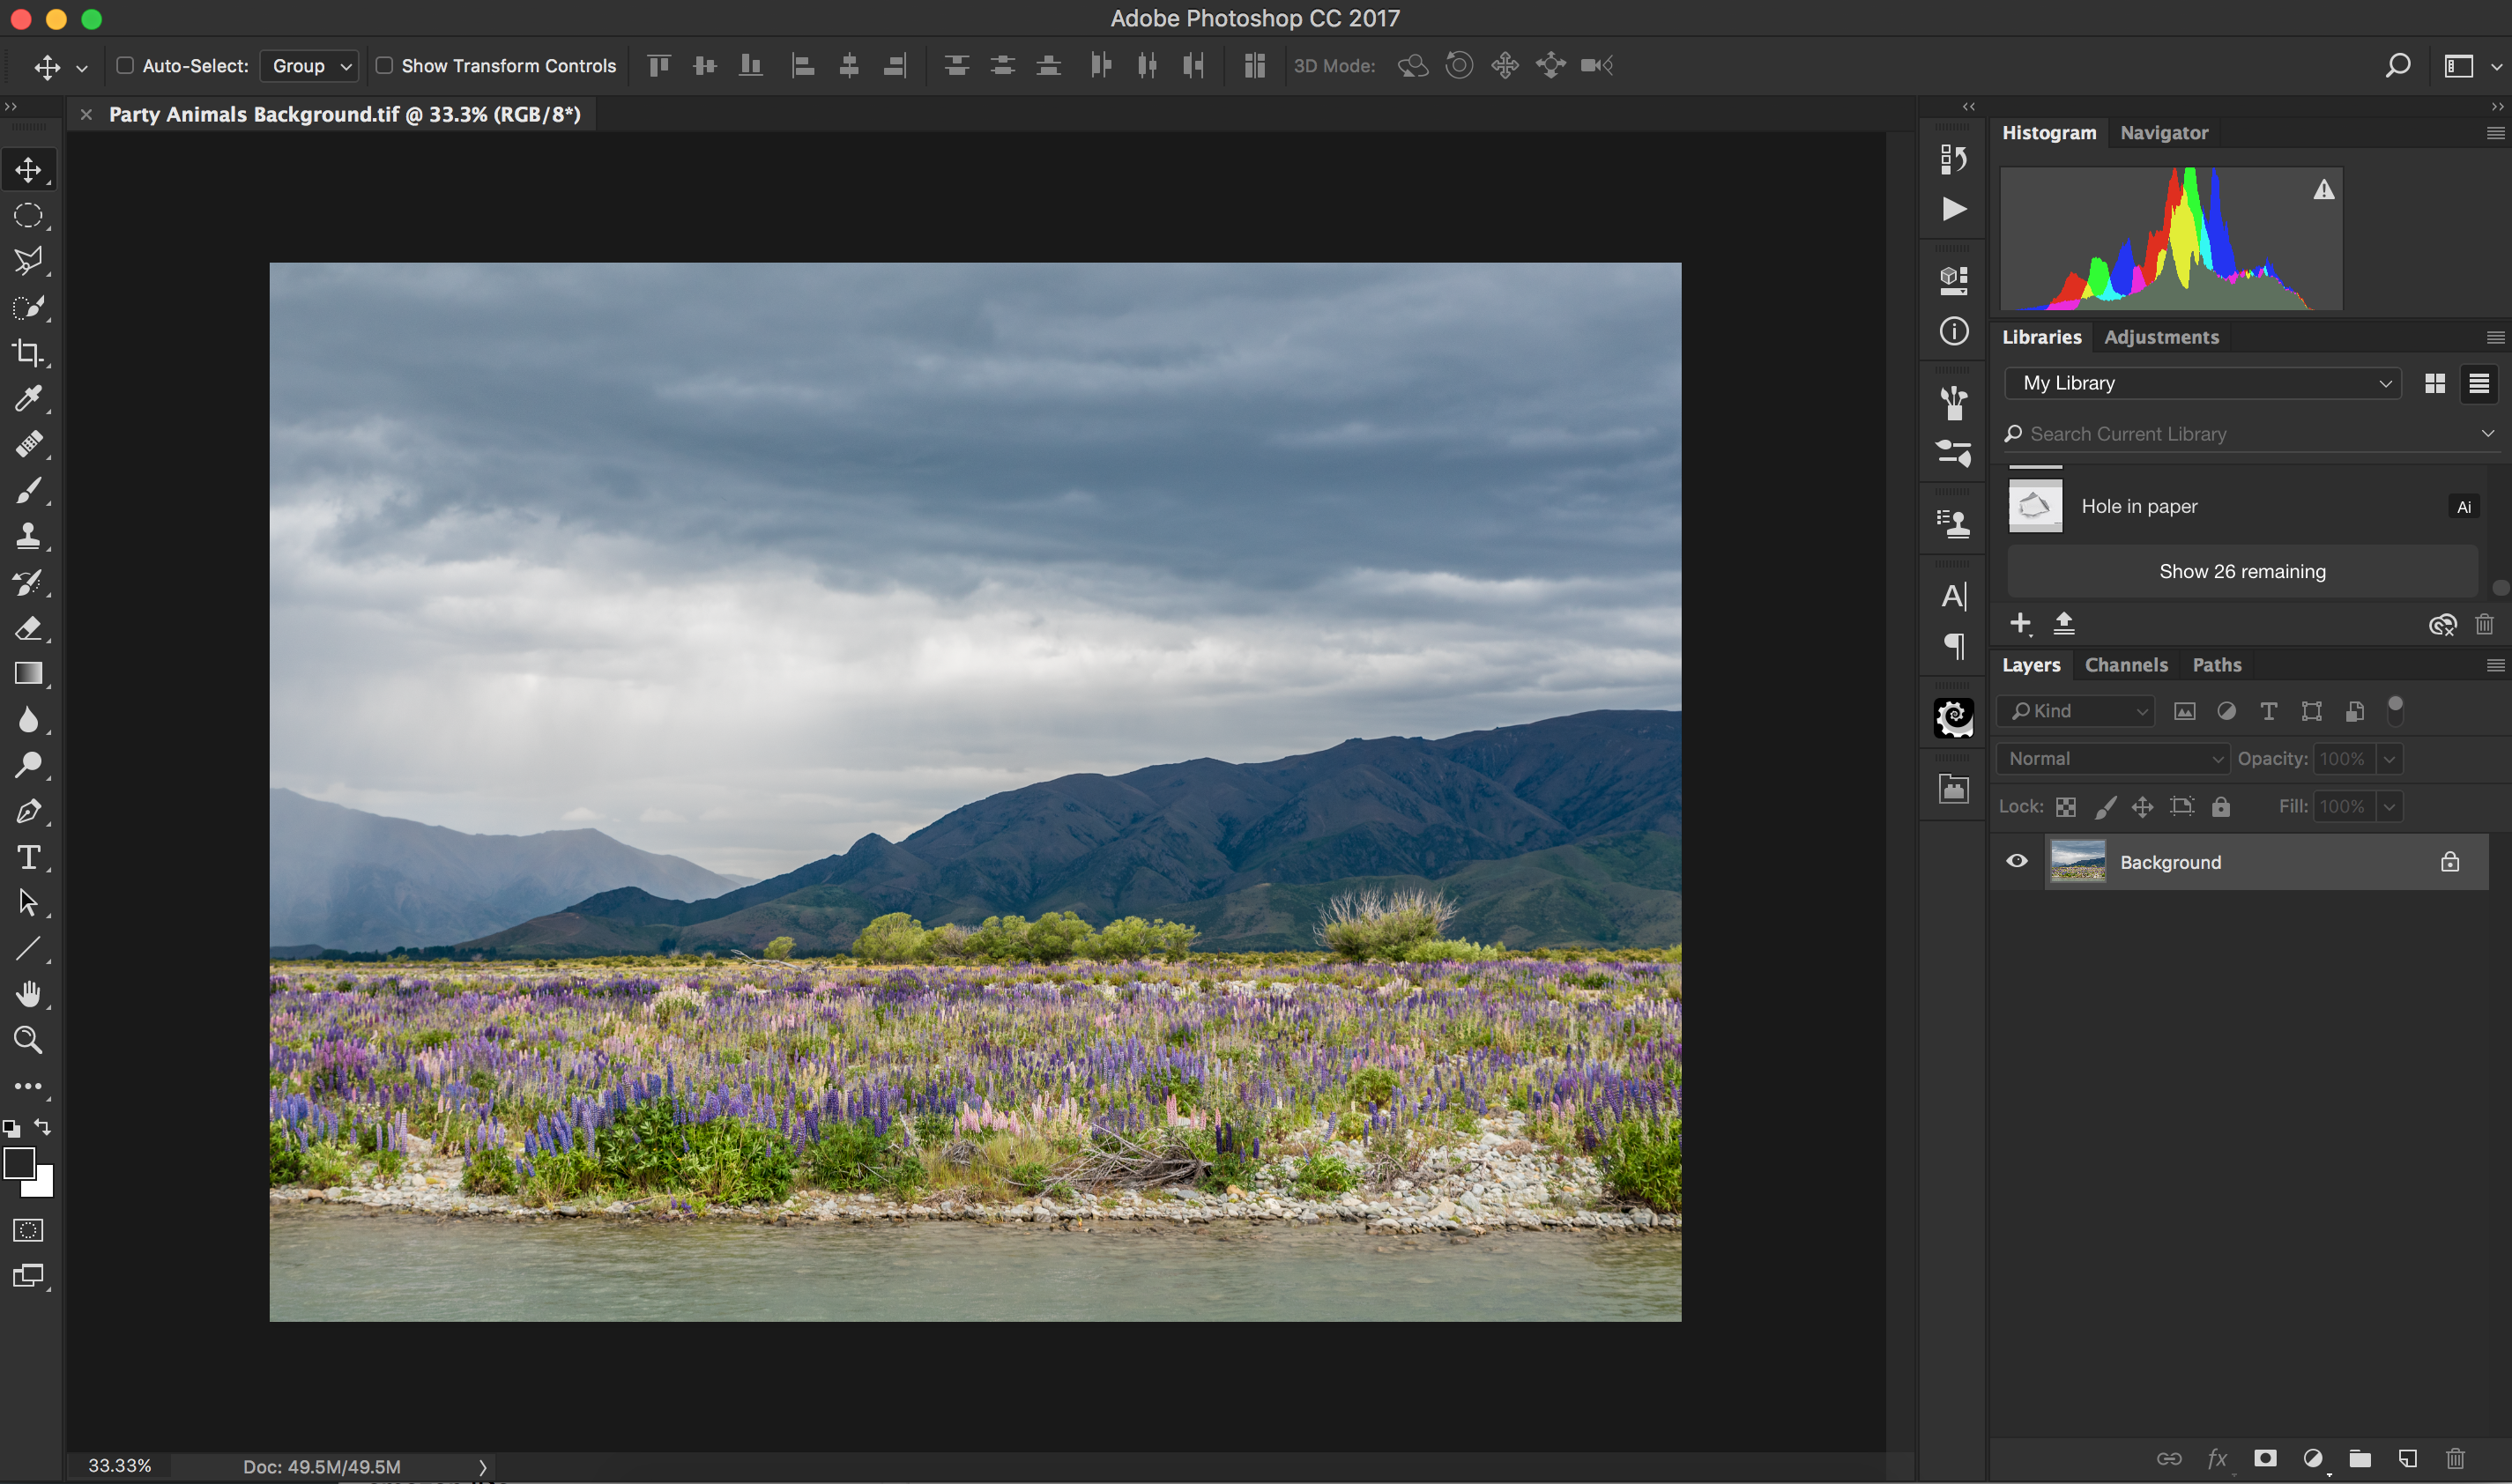
To get started, open up Party Animals Background in Photoshop.
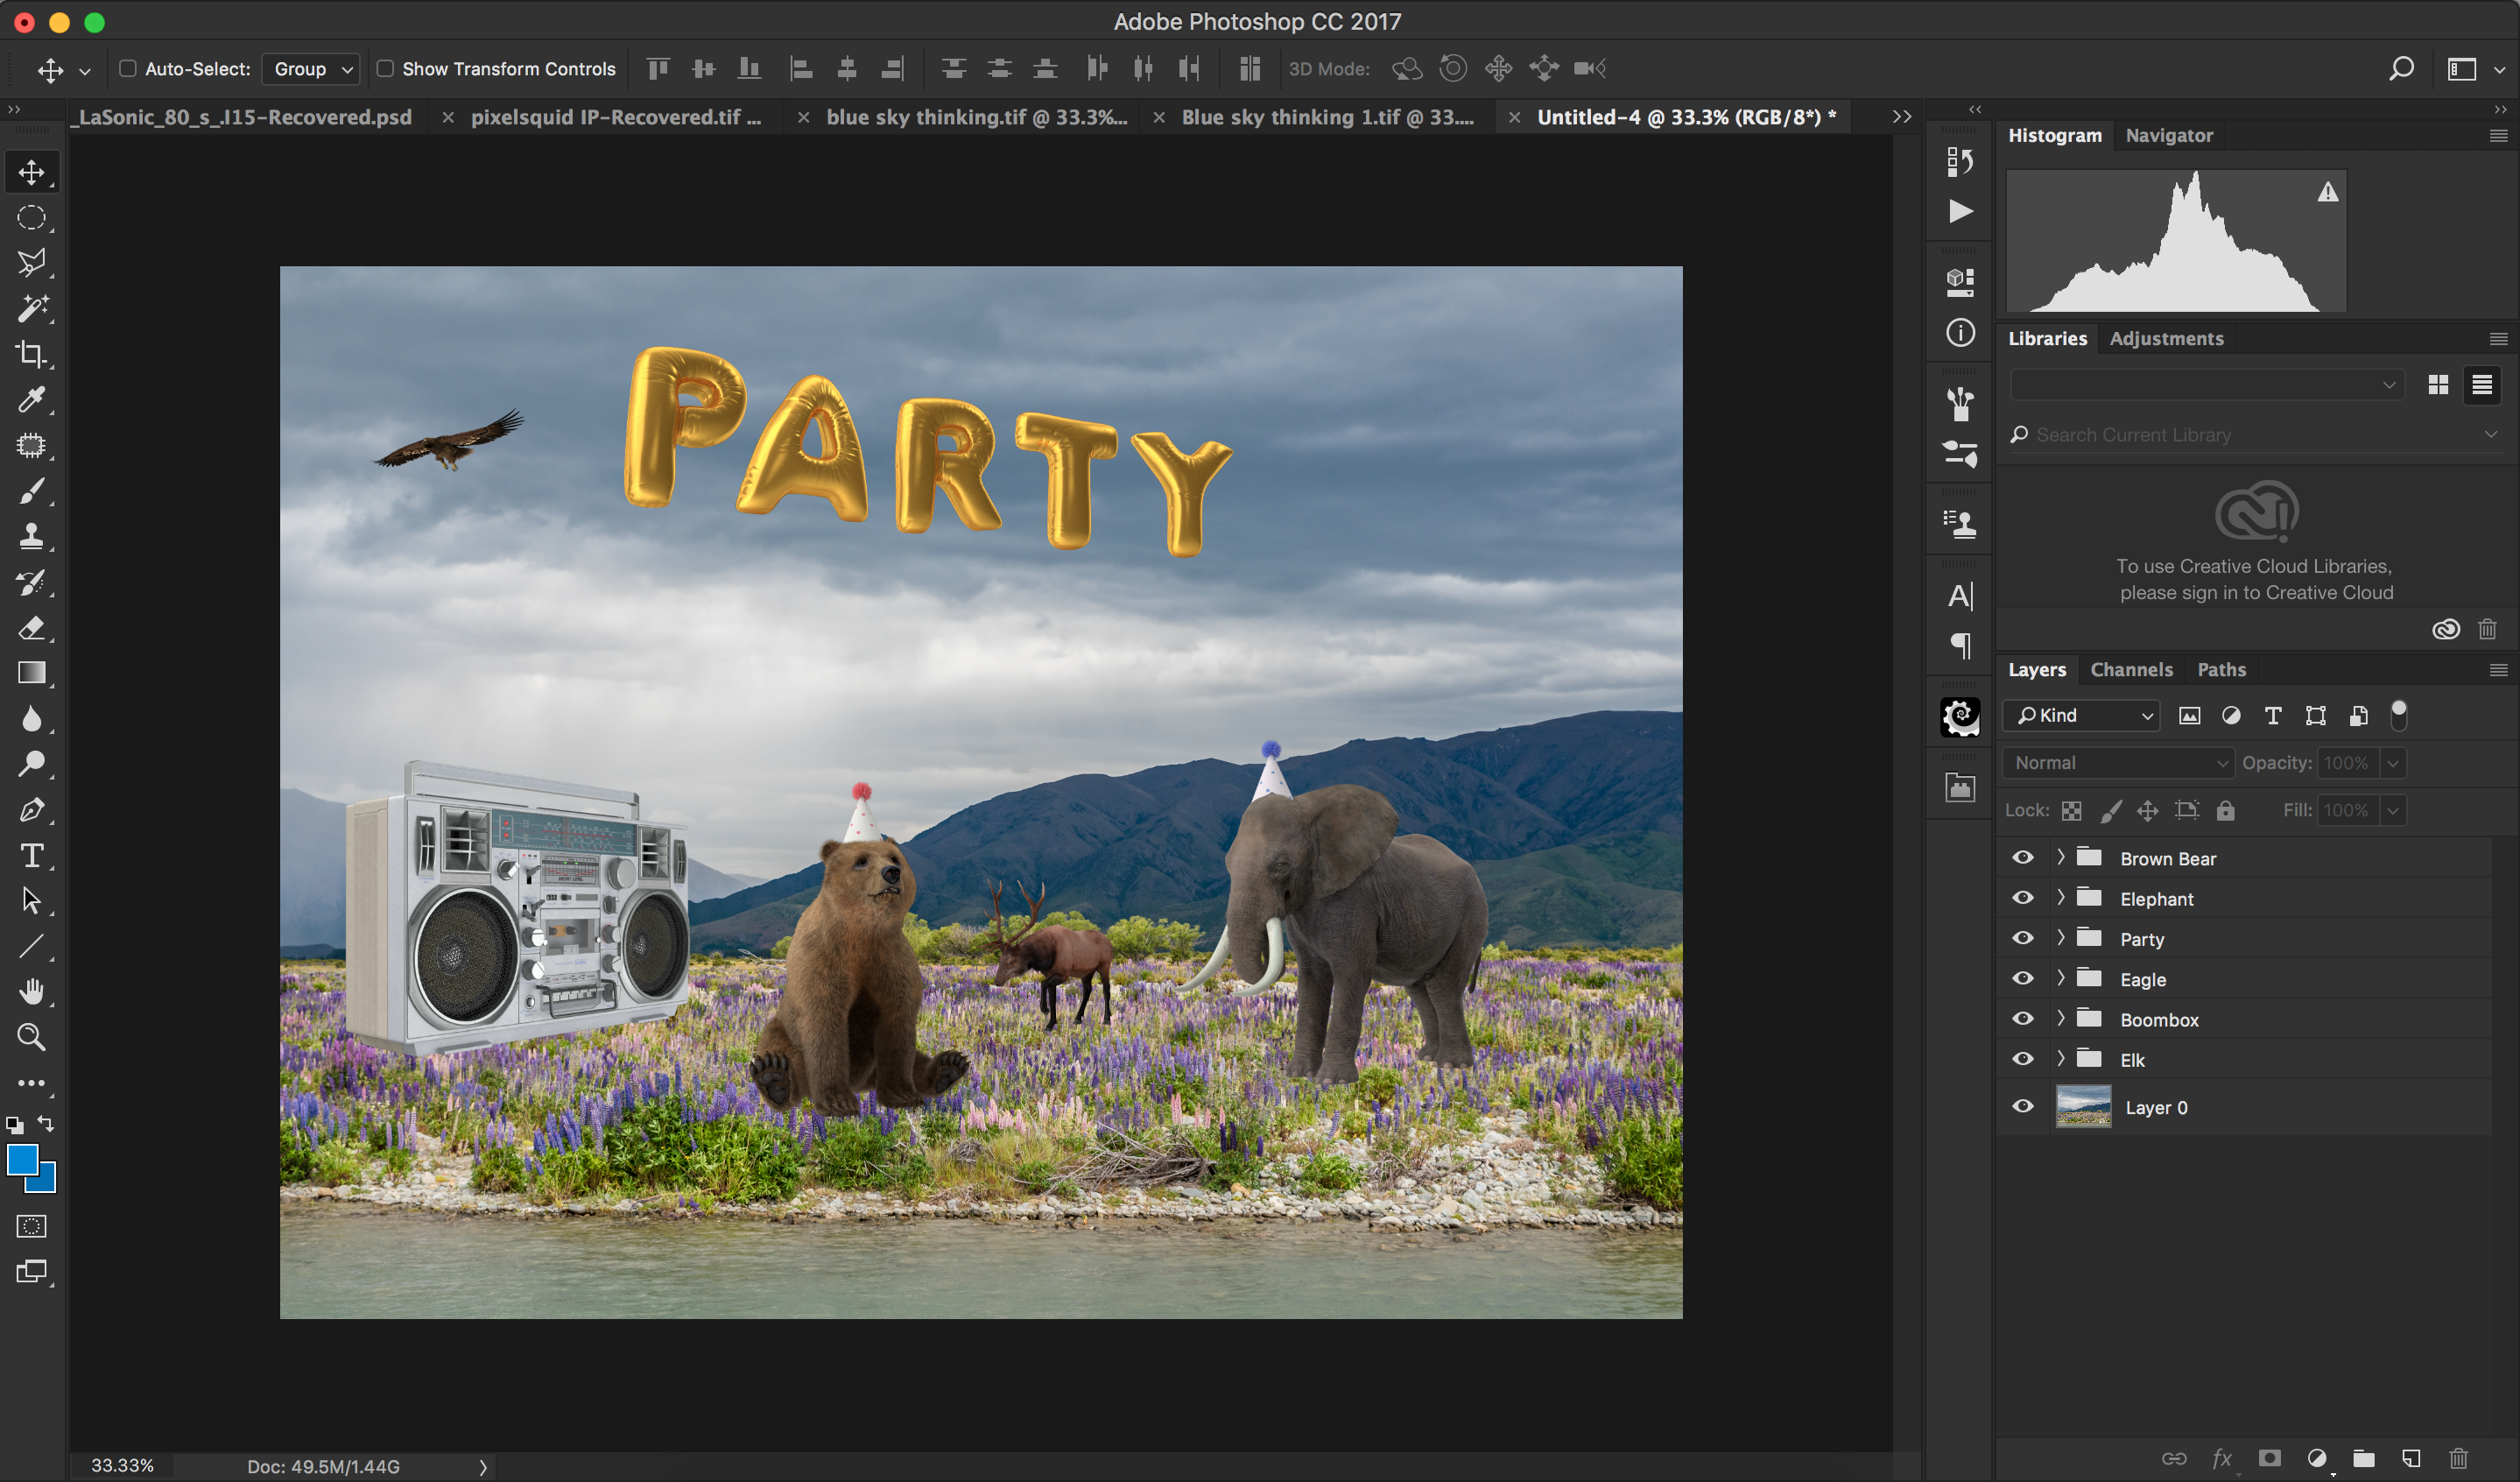
Open all objects and duplicate the layers into the Party Animals Background file, placing and scaling to your own taste.
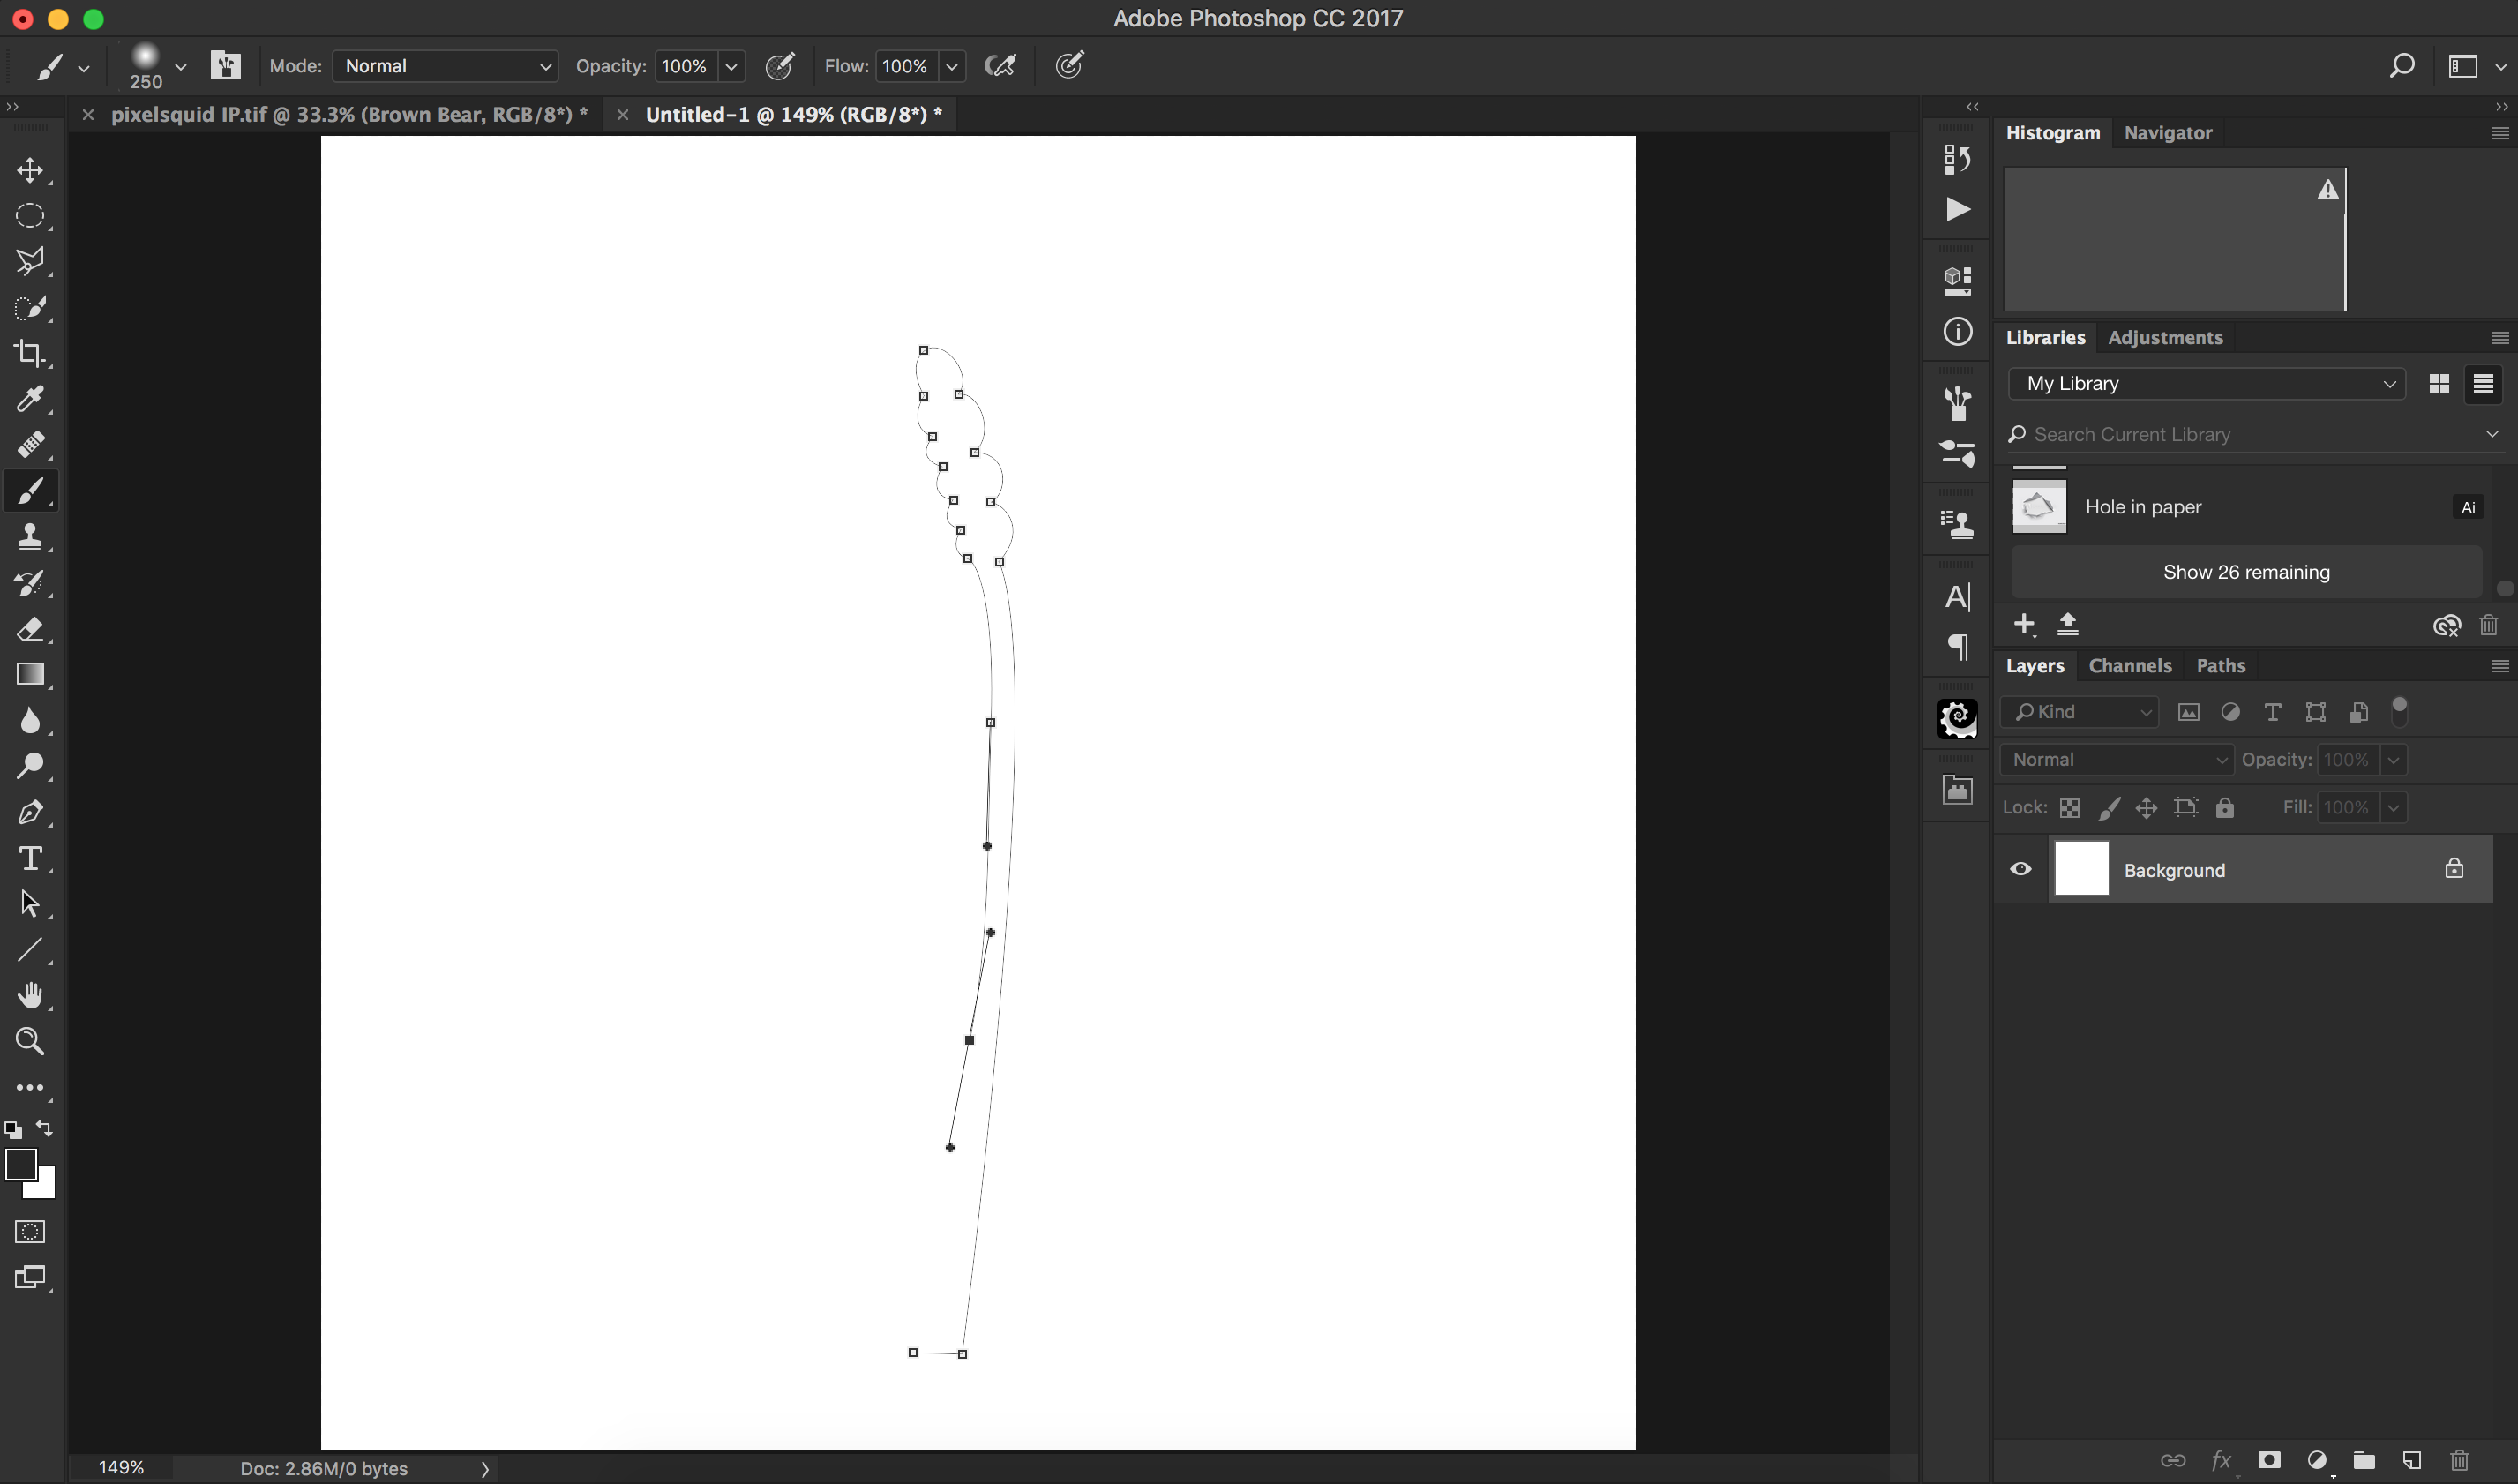
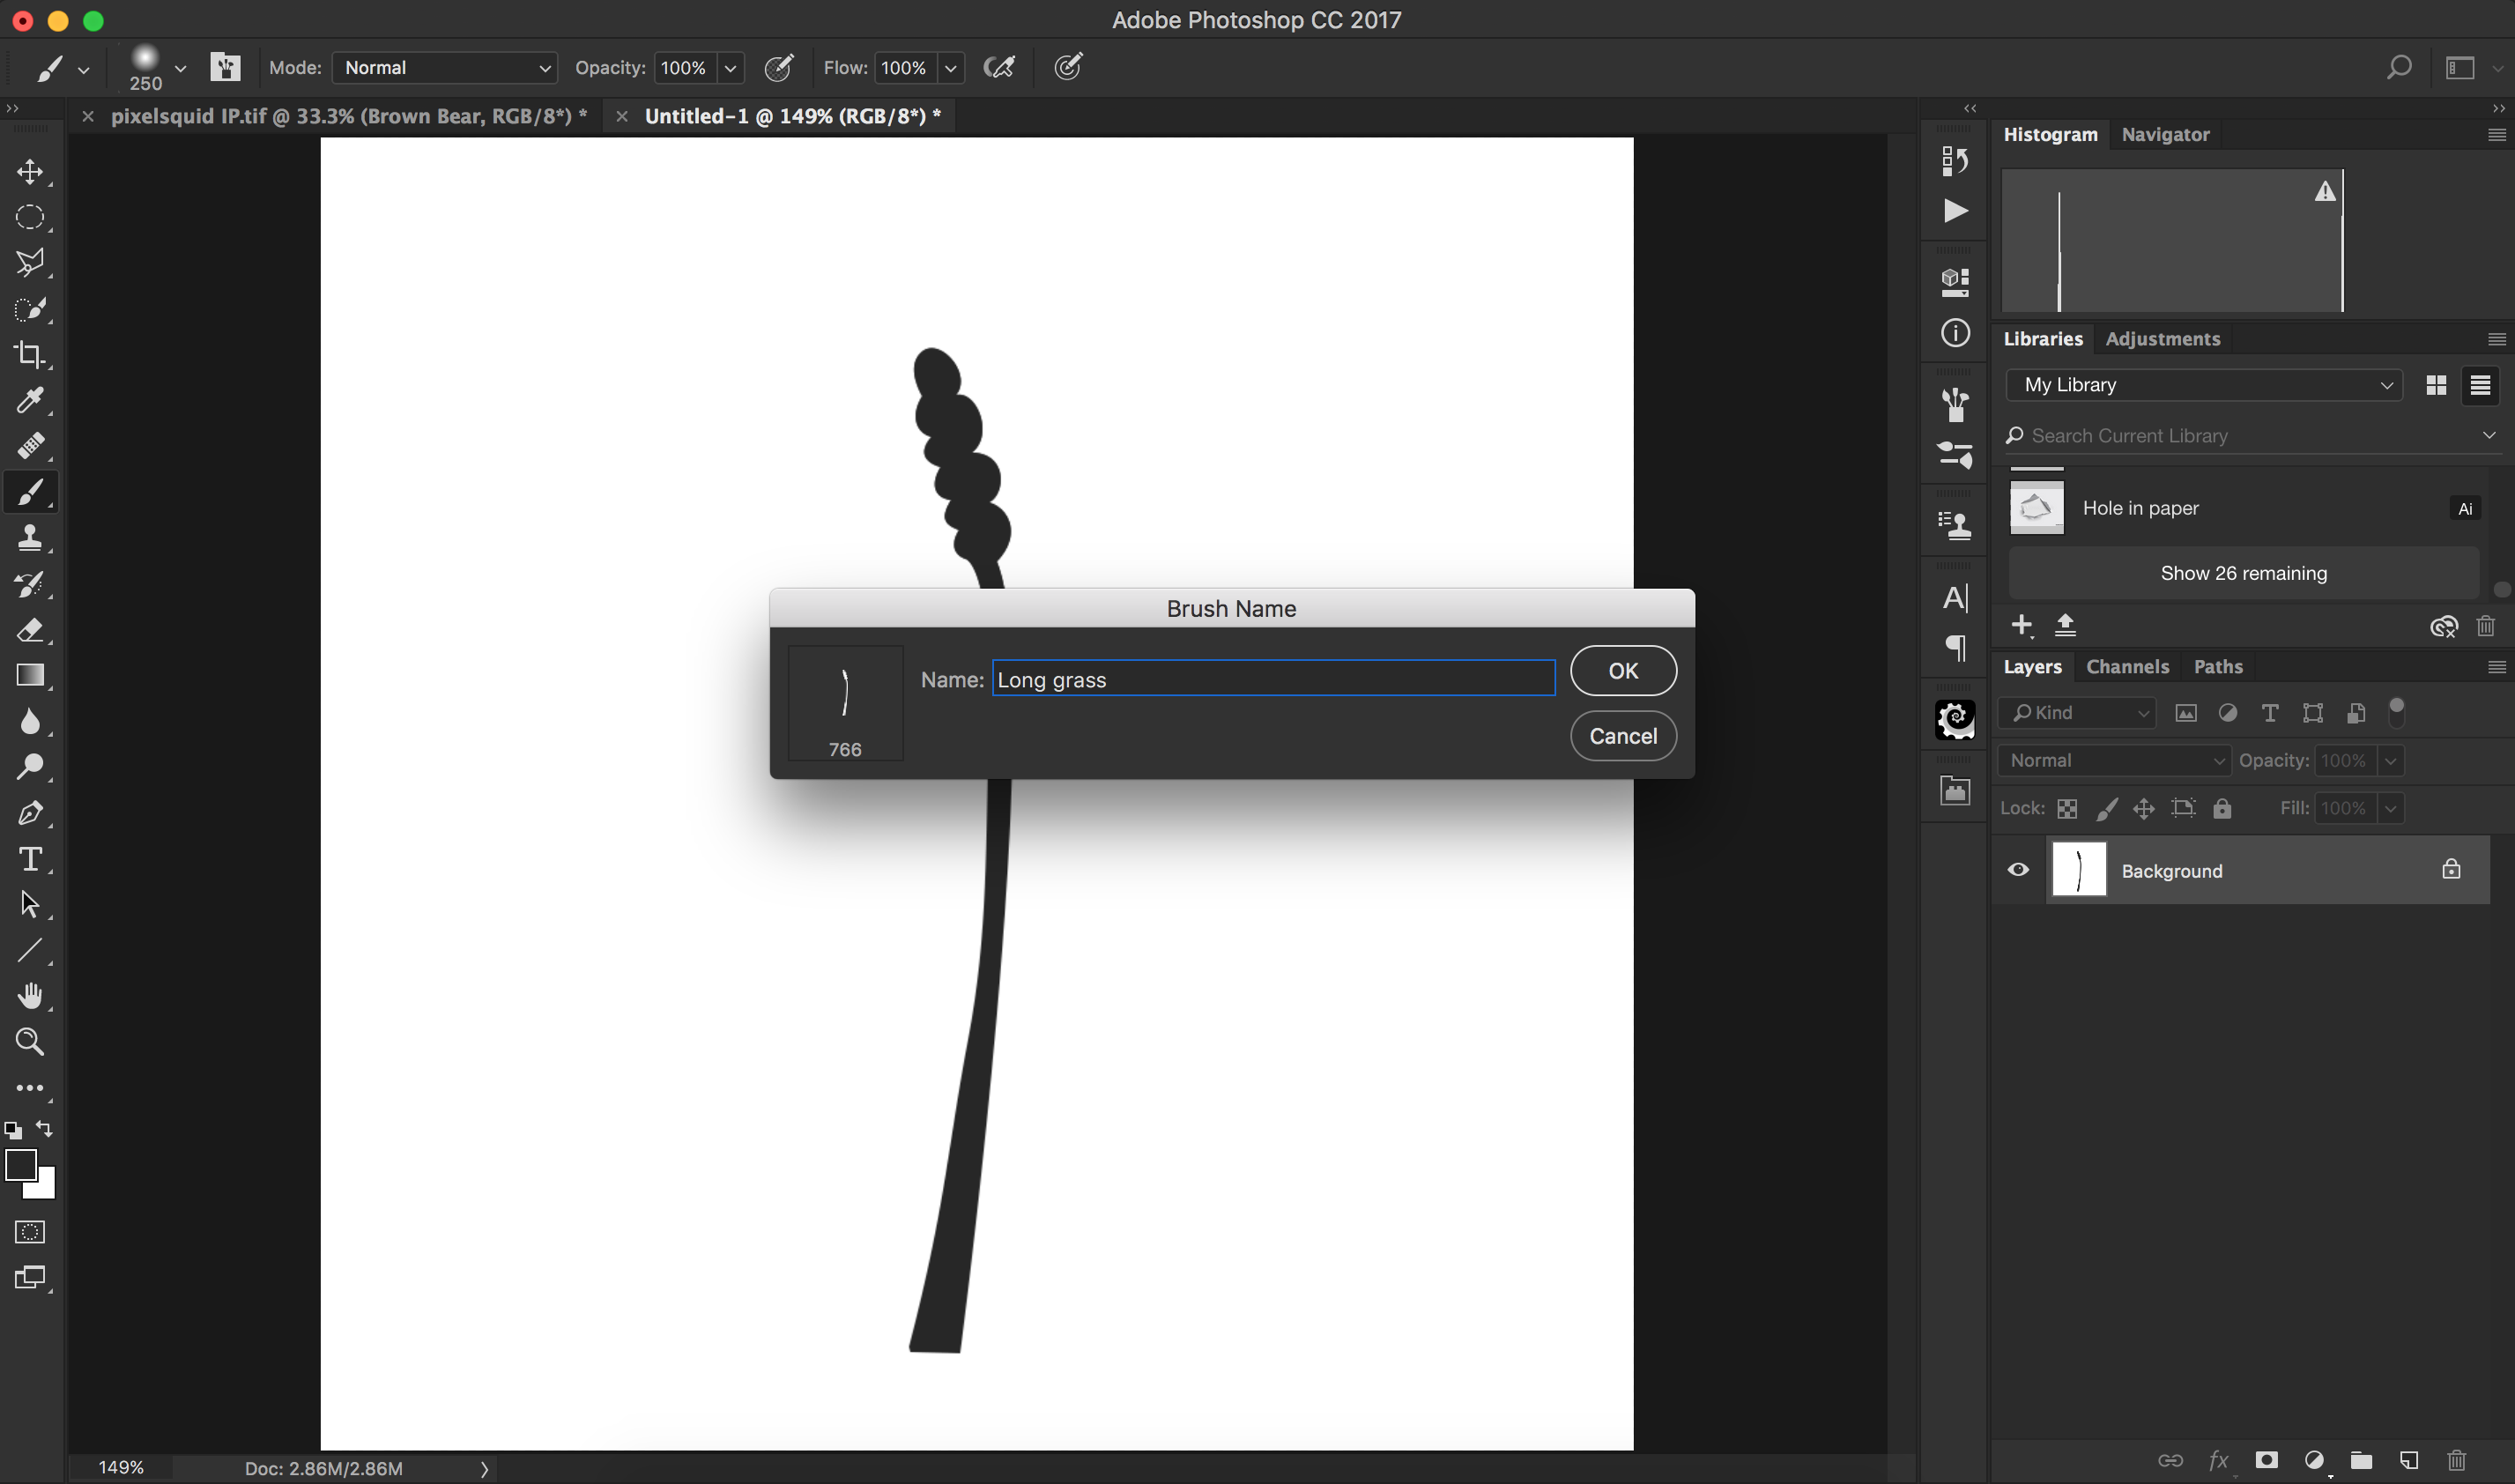
To make the boombox and animals look like they belong among the grass and plants, we need to create a grass brush. Open a new document, 1000×1000 in size, and draw out the shape of a grass blade or lupin with the pen tool. When the path is complete, right click and hit ‘Fill Path’ and select Black as the fill color. Then go Edit > Define Brush Preset, and save the brush.
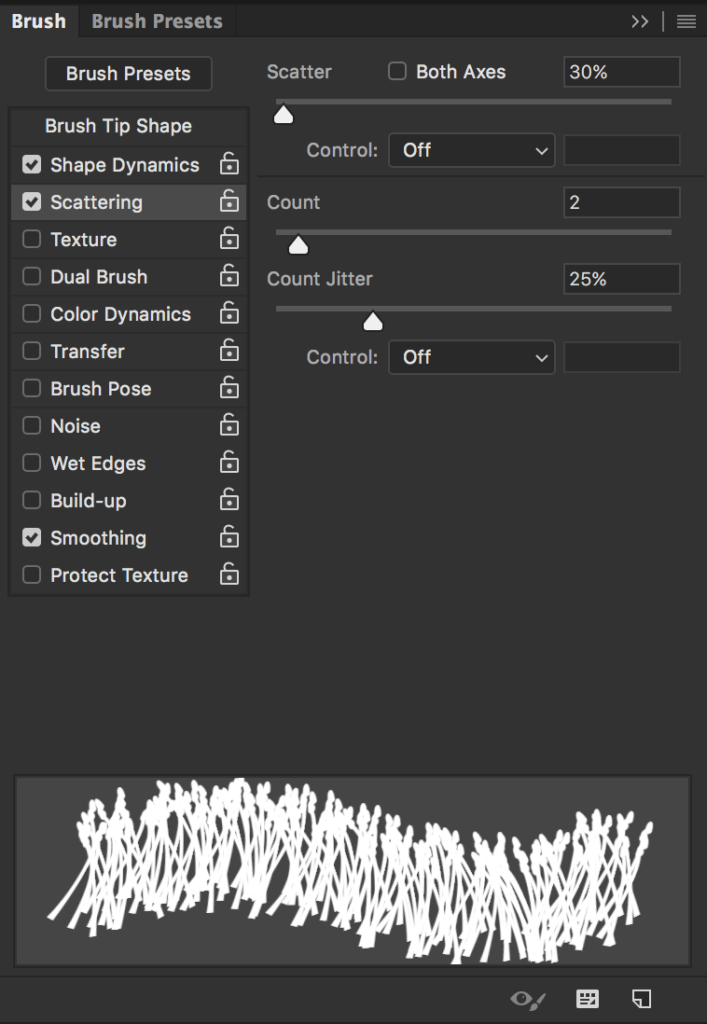
Back in the main document, make a layer mask for each of the objects, and paint black in the mask on the bottom of the boombox, bear, elephant and Elk with the new brush with the following settings:
- Size 175px,
- Spacing 60%,
- Angle jitter 8%,
- Scatter 30%,
- Count 2,
- Count jitter 25%
Until you get a realistic look.
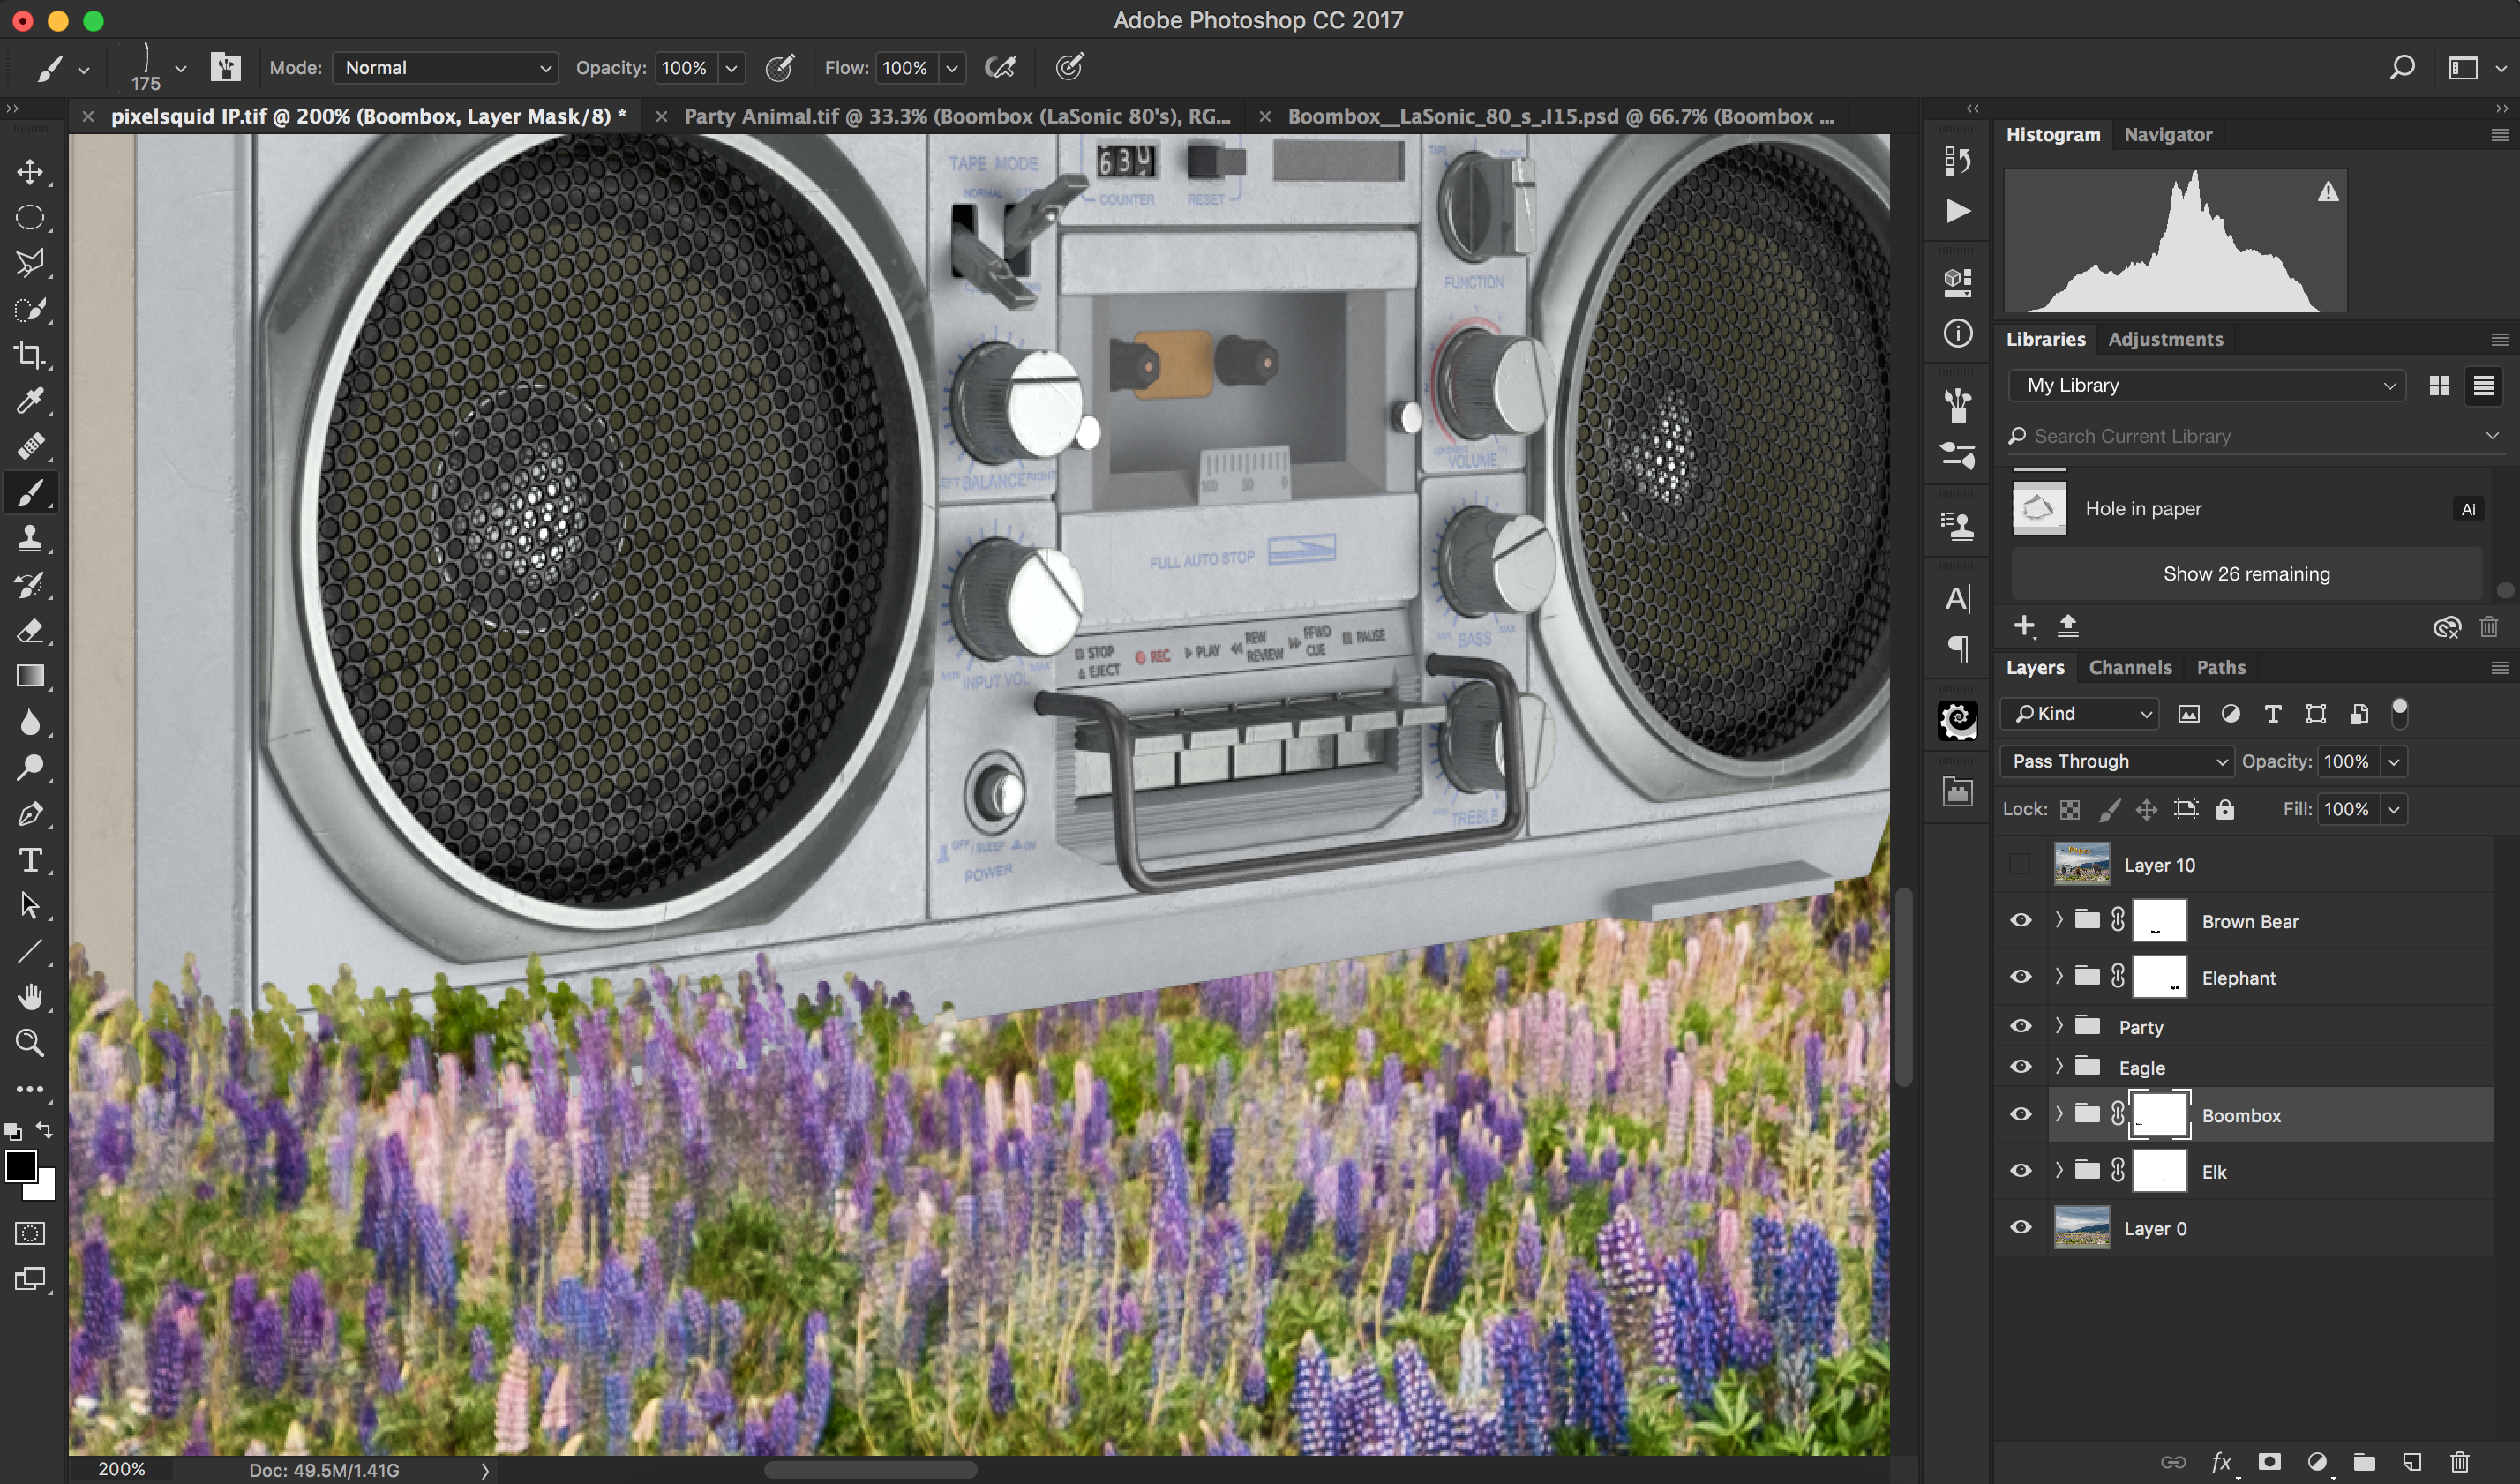
To add realistic shadows, make a new layer just above the background layer, select a round, soft edge brush with an opacity of 10-15%, and paint around the feet of the animals/the bottom of the boombox, until you get realistic, soft shadows to match the very soft backlighting in the scene.

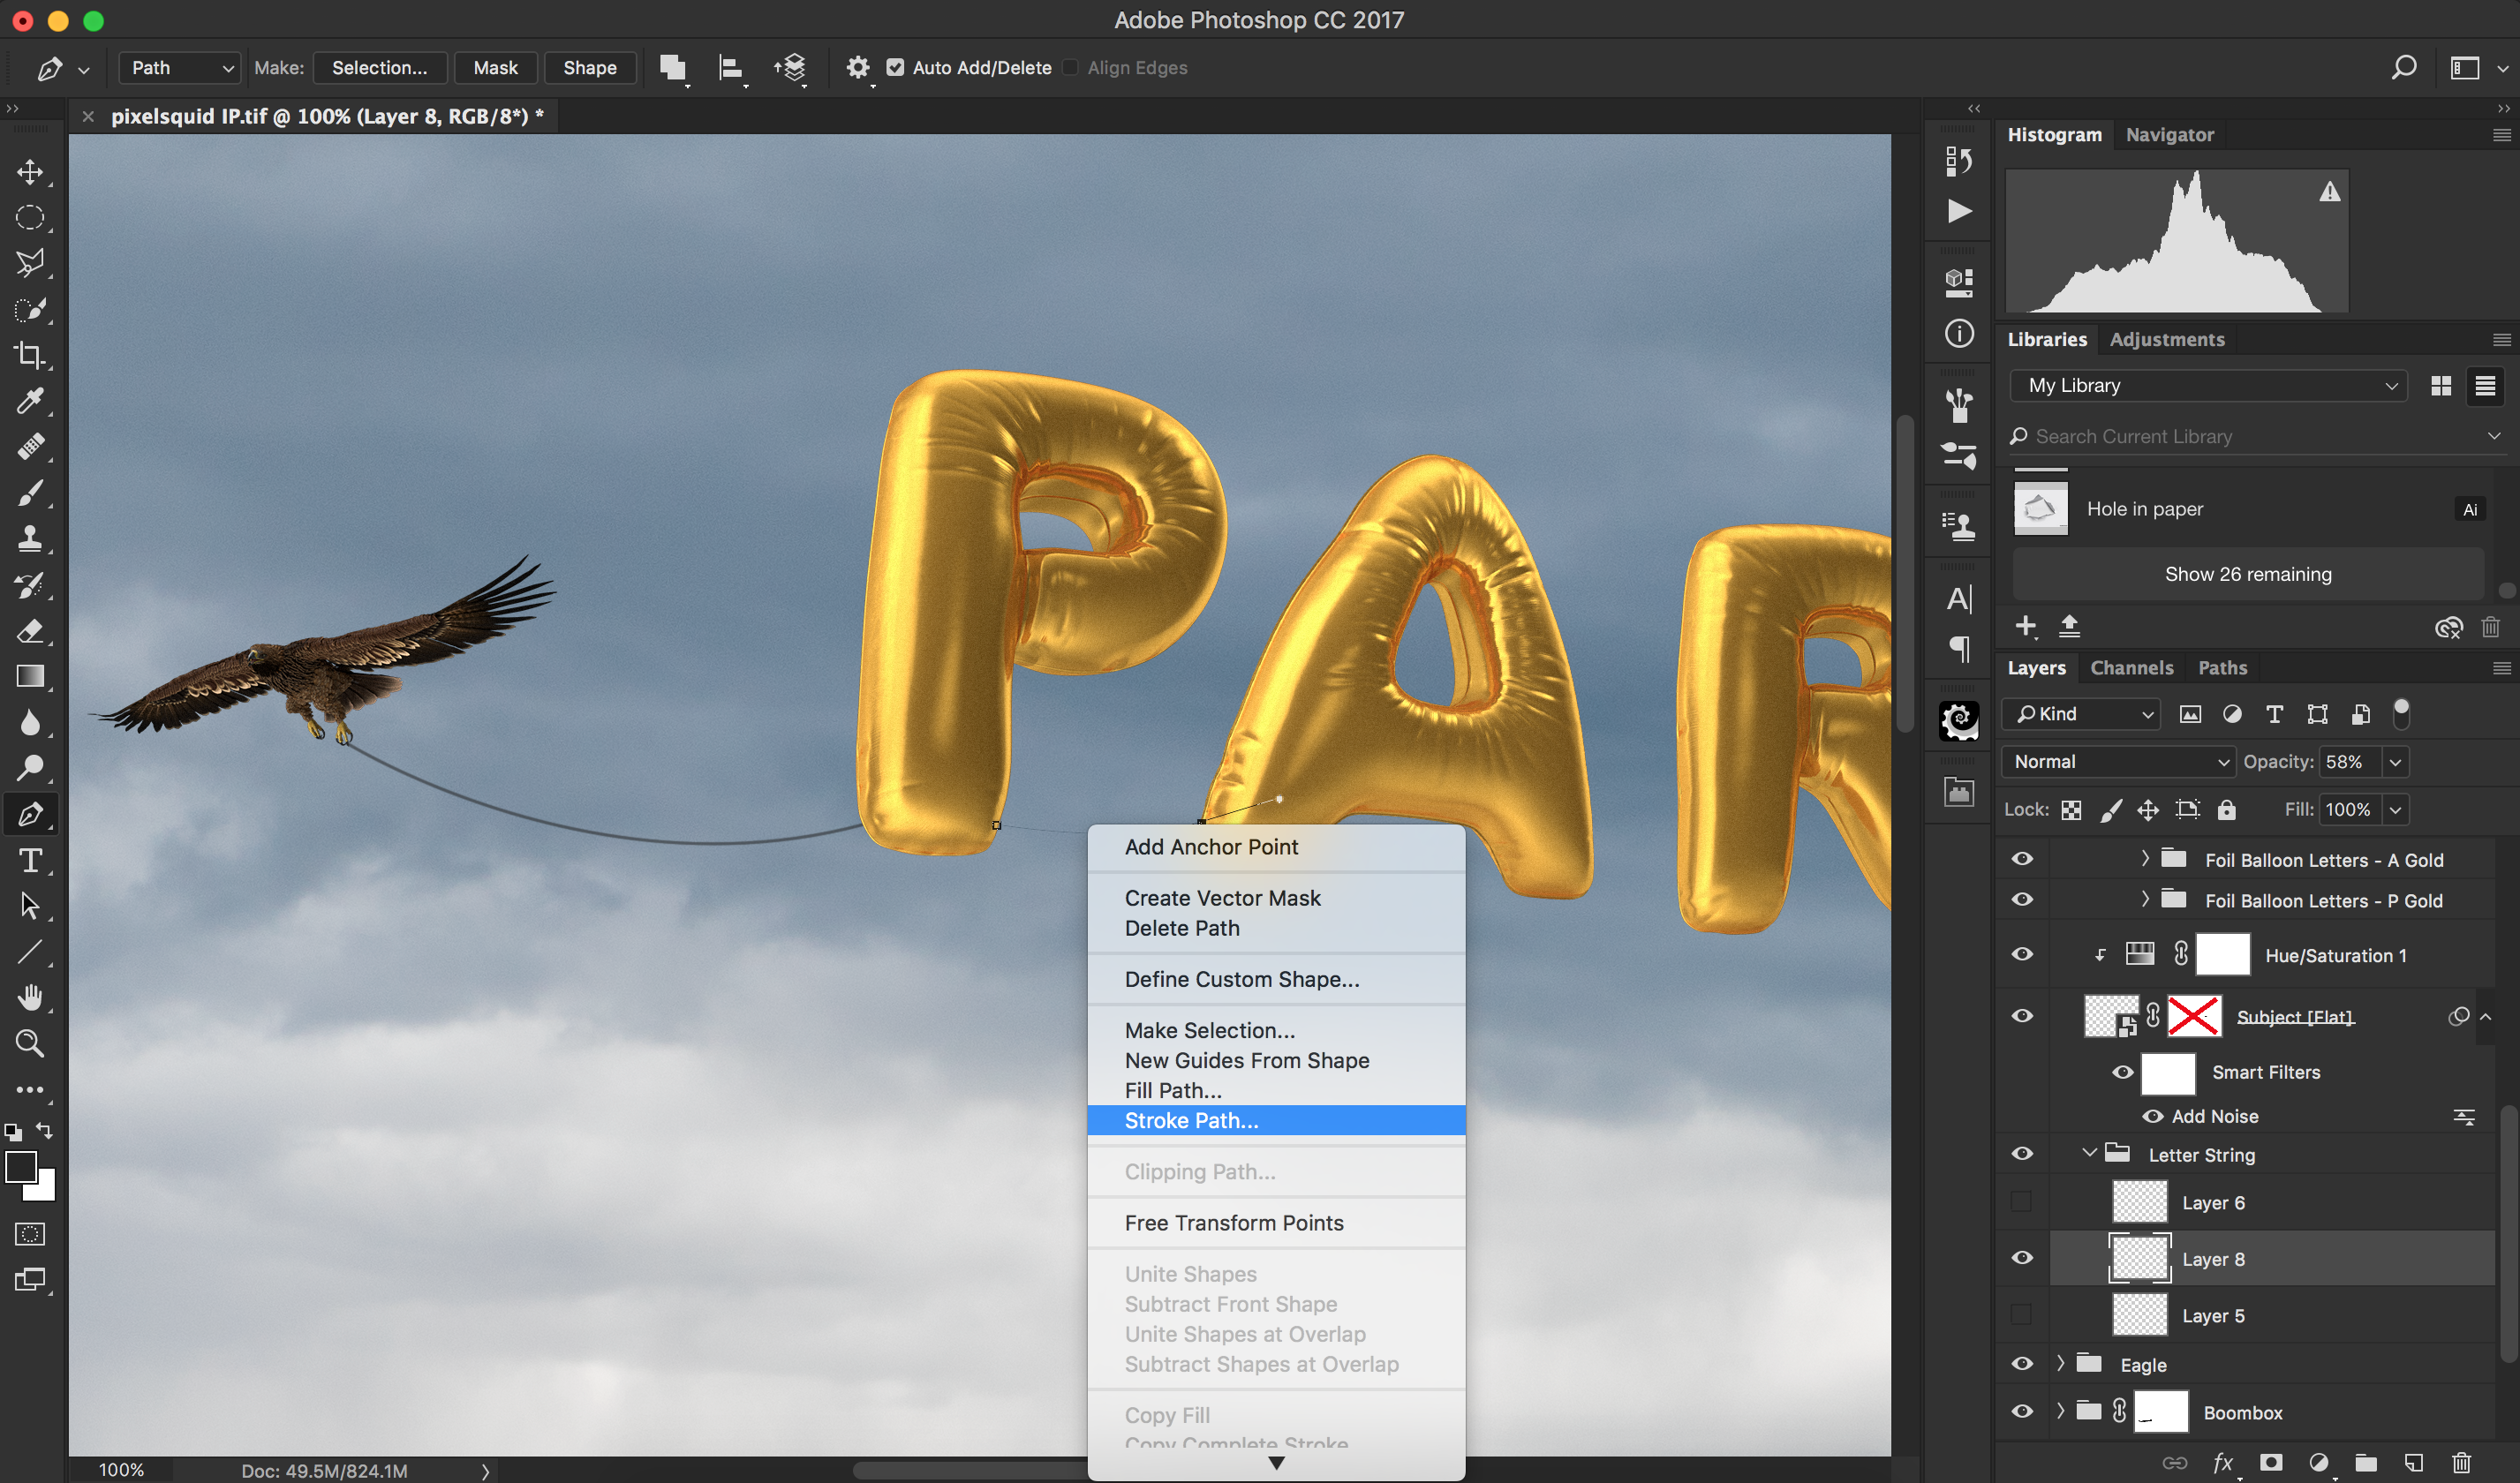
We’ll now add some string to the balloons by using the Pen tool to create the paths. But first, select the brush tool and select a brush with medium hardness, with a size of 3-4 pixels. Select a dark grey color, then go to the pen tool and draw a path between two of the balloons. Then right-click, and select stroke path. Repeat this until all of the balloons are linked together.
Finally, to make the objects blend into the image a bit better, we’ll add some noise to each of them. Make sure each subject layer is a smart object, before selecting them one by one and clicking Filter > Noise > Add Noise, and choosing an appropriate amount of noise for each.

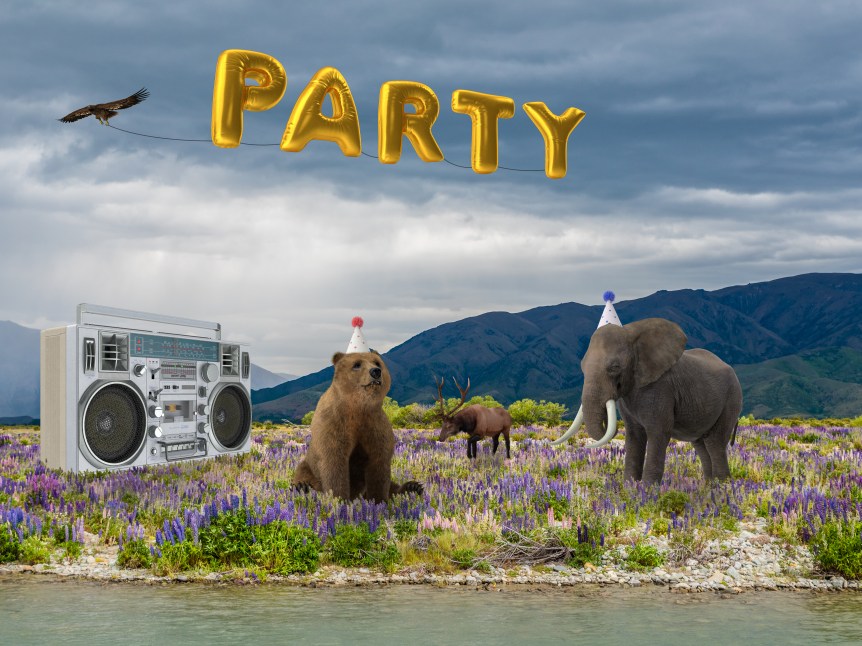
Your final image should look like this:
If you’d like to show off your designs using PixelSquid, WIPs or other behind-the-scenes glimpses into your design process, we’d love to hear about it. Feel free to send us a message.