You may recognize Shaun Jonas’ futuristic sci-fi style from our most recent favorite new compositions newsletter. As a full-time graphic designer, Shaun uses PixelSquid to continue to improve his already excellent digital art skills. “It just allows my imagination to go wild with all the amazing 3D content and possibilities to create something spectacular. I use this tool most of the time for creating visuals as a hobby [but also] professionally.”
This week, Shaun walks us through another of his sci-fi compositions, which he calls Cybergirl. Check out the quick edit video and his in-depth walk through below.
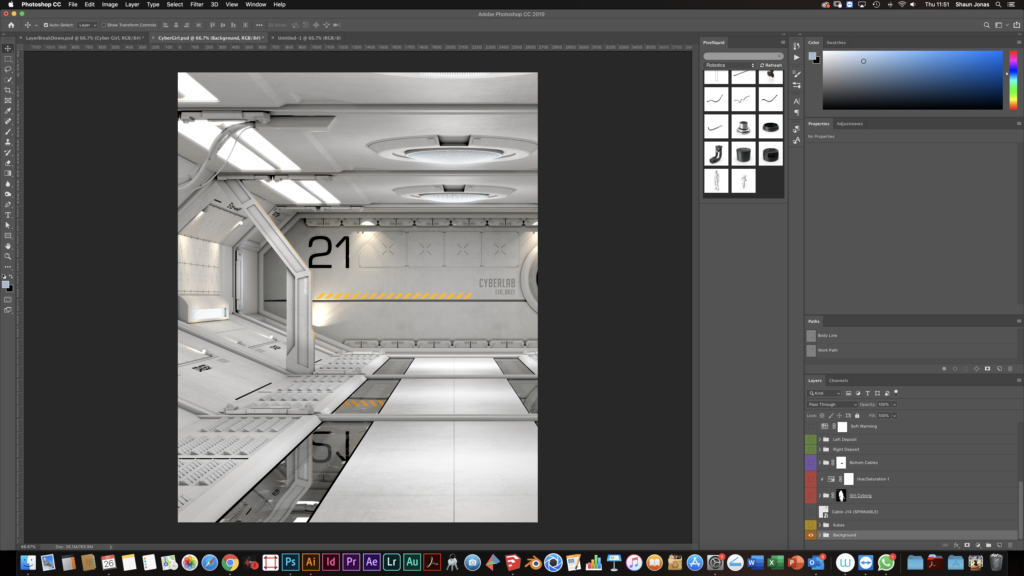
First, I start with a background. I chose a spaceship hanger sourced from Shutterstock to recreate my assembly station, and I add the text “Cyberlab Exo_0027” on the back wall.
Now comes the fun part: adding elements.
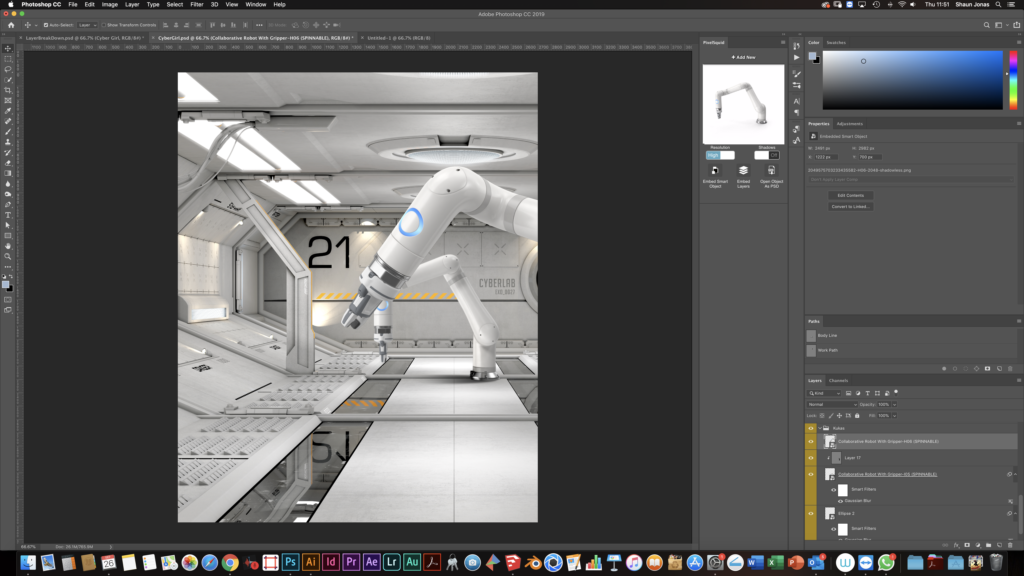
In this step, I add two robot arms from PixelSquid and give them some depth with an added shadow at the base. Choosing a nice stock image of a woman facing forward from Shutterstock as my model, I can now start creating this Cybergirl.
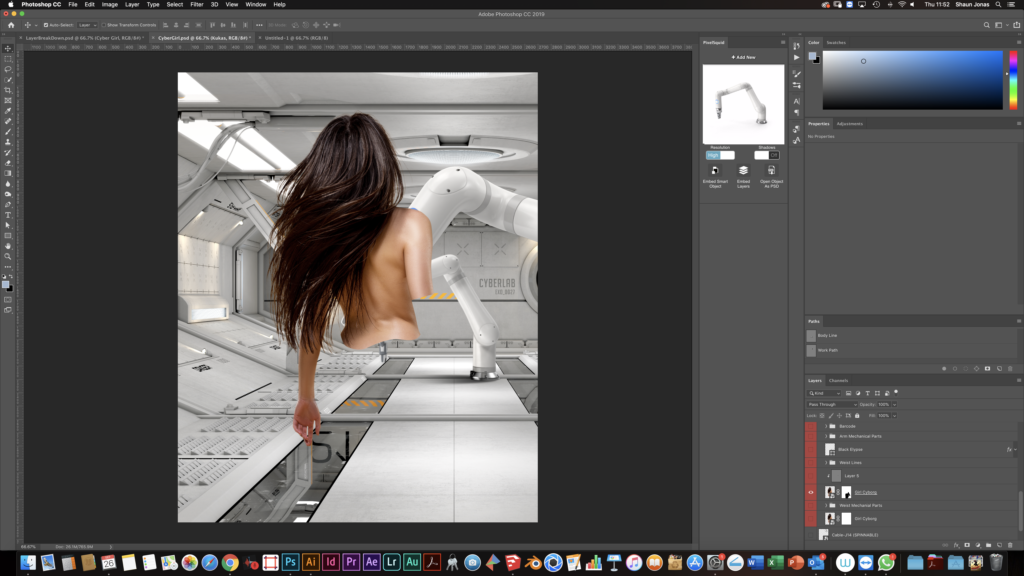
Once the model is positioned where I want her to be in my scene, I mask out her legs, using the path tool in Photoshop and half of her arm. I want to keep her remaining body revealed.

Now I add some details. First I create a black ellipse at the end of the arm, where I plan to add in some robotics components.
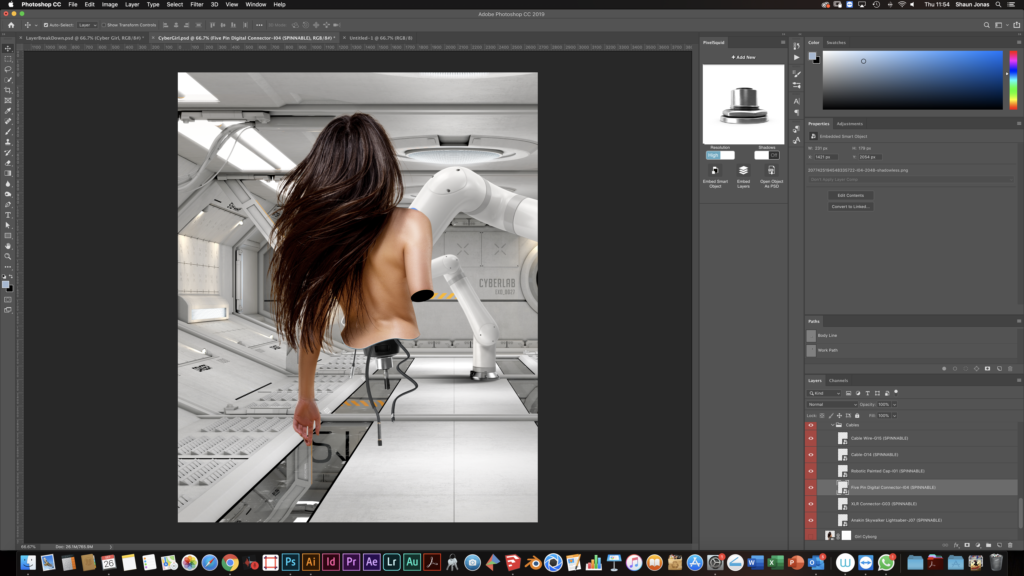
Next I add some cables and connectors from PixelSquid. The main center connector, is extended so it gives a bit more realism. I want to imply this connector will be attached to her hip/legs later on during assembly.
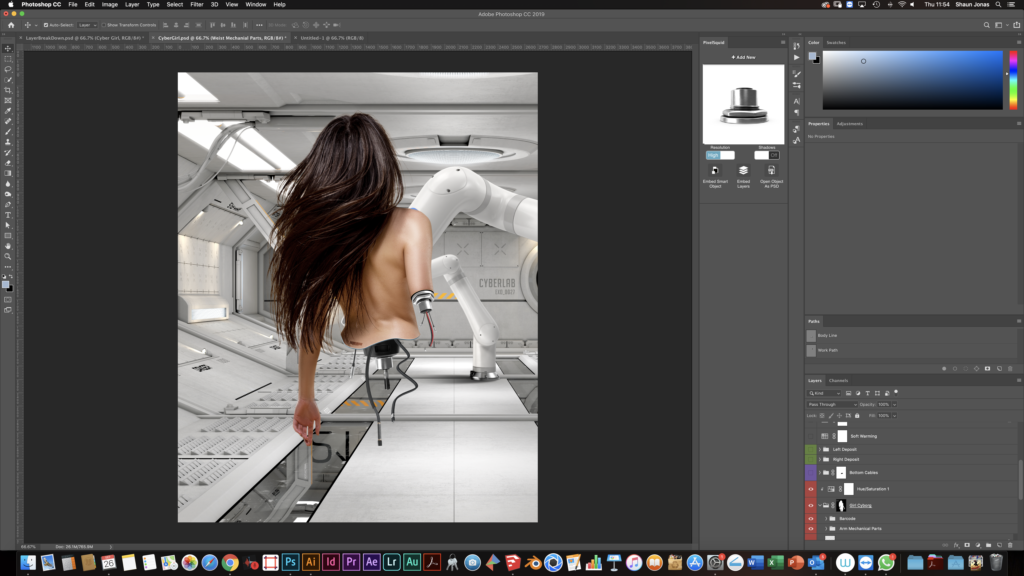
I add some more connectors and cables hanging from the girl’s arm.
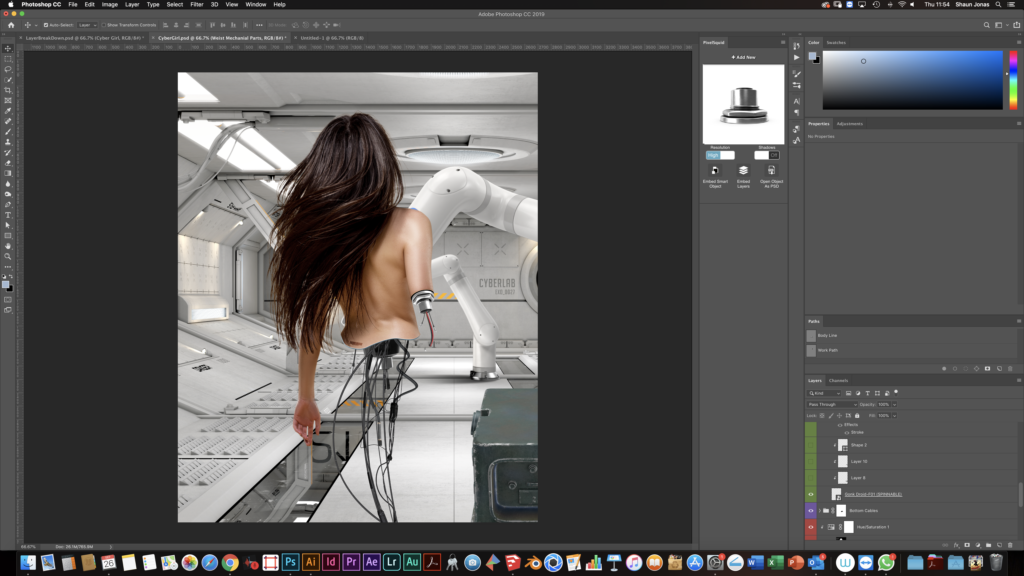
I want it to look even more technical and complicated by adding more cables below her hip line… just like our TVs and Computers at home with endless cords! Sounds familiar, right?
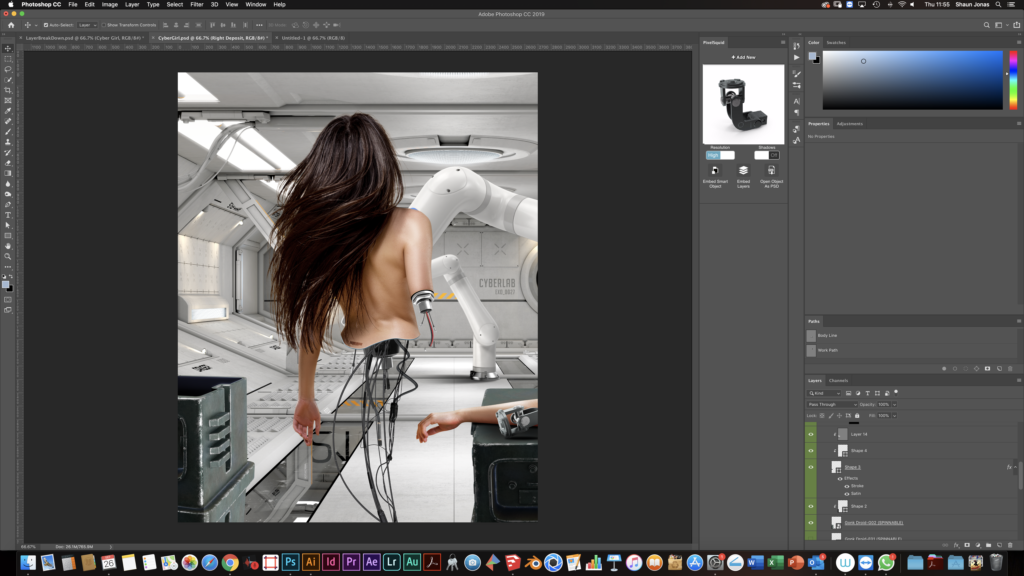
I add a Gonk Droid, a Star Wars element from PixelSquid, on the bottom right because it looks like an advanced deposit box.
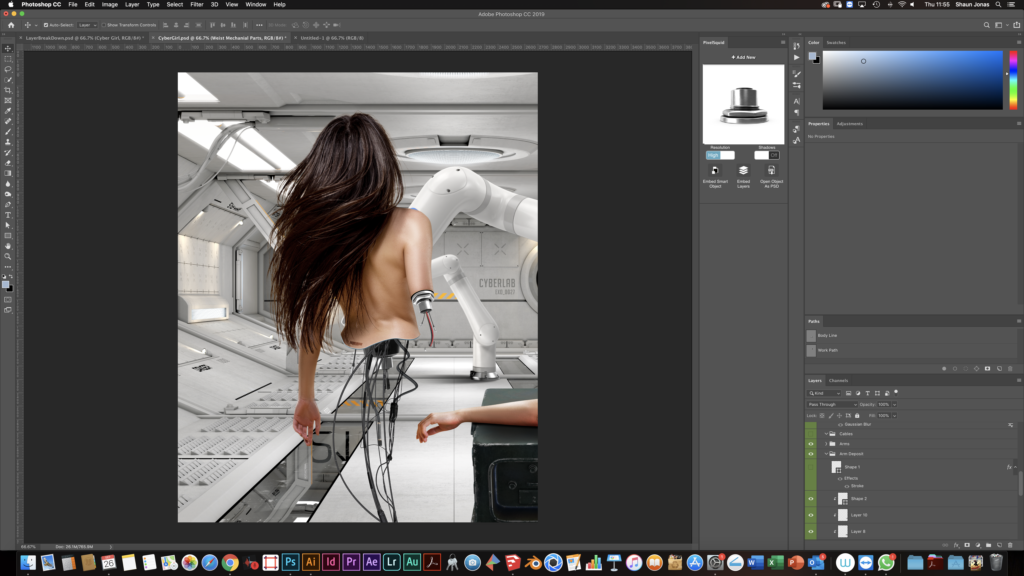
I found a picture of an arm on Shutterstock. I add some shadows to the top of the Gonk Droid, place the arm on top, and blend it all together. Now we have a Gonk table with an arm ready for assembly!
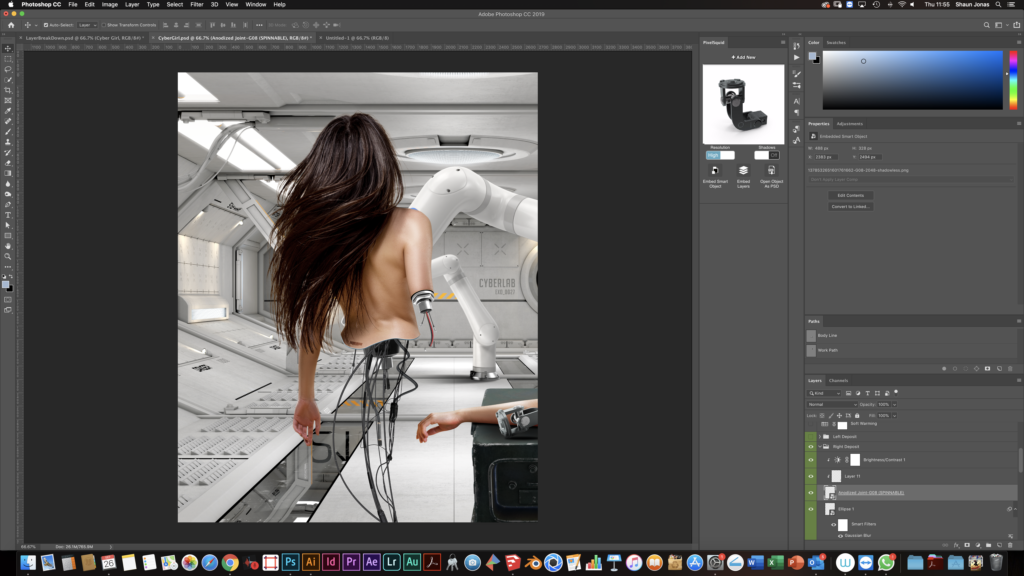
There is something still missing in this section, so I add an anodized joint from PixelSquid, then recreated the shadow for extra detail.
Time to add another “Gonk” but on the opposite side. I then create an opening on top using the Pen Tool as I want to add some robotic arms stacked inside next.
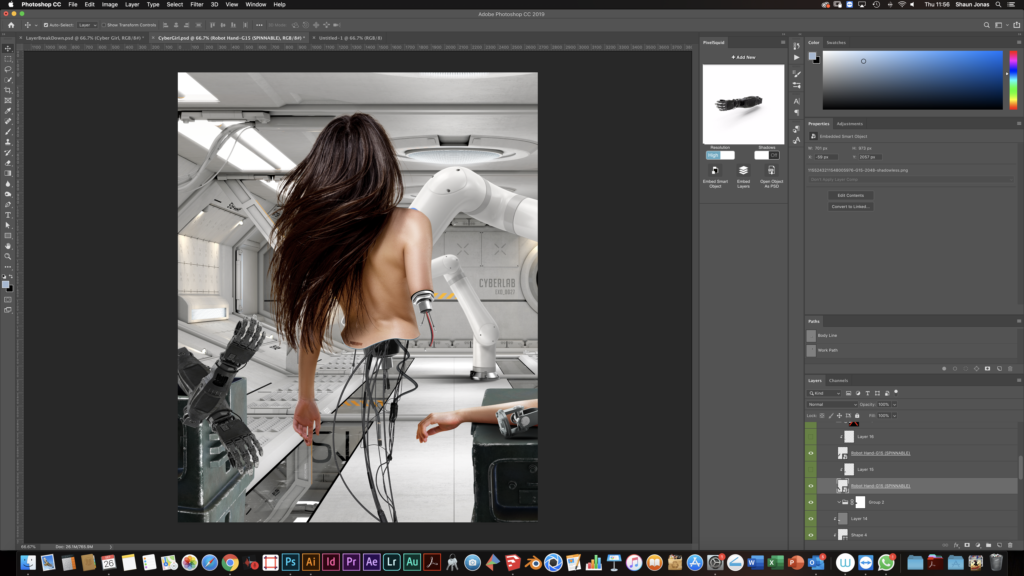
PixelSquid has some awesome robotics arms. I pick the Robot Hand -G15, duplicate the layer, and vertically invert and position both just over the second “Gonk”.
Next, I mask the arms and add some inner shadows to create that realistic look as if they were placed inside this box.
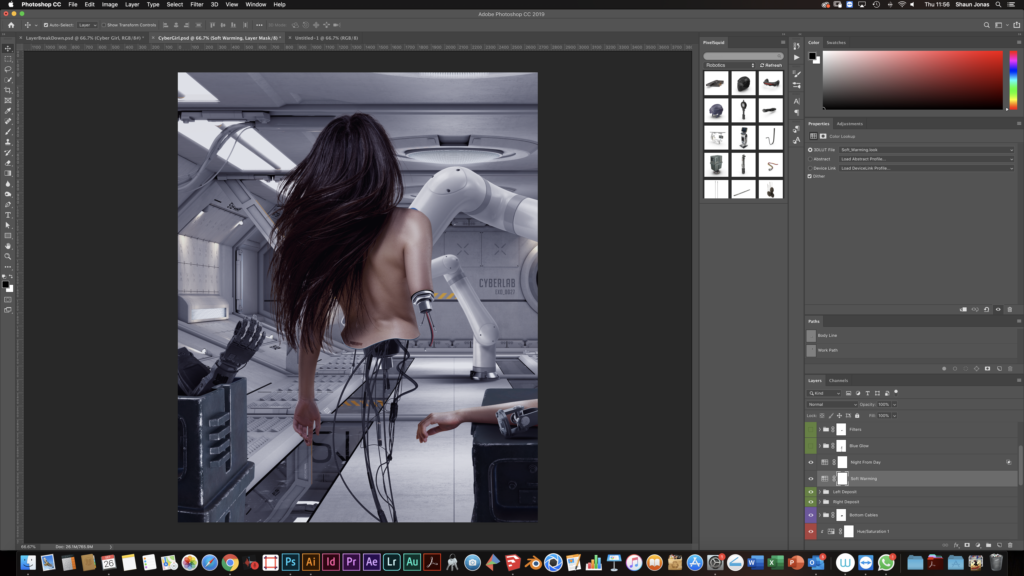
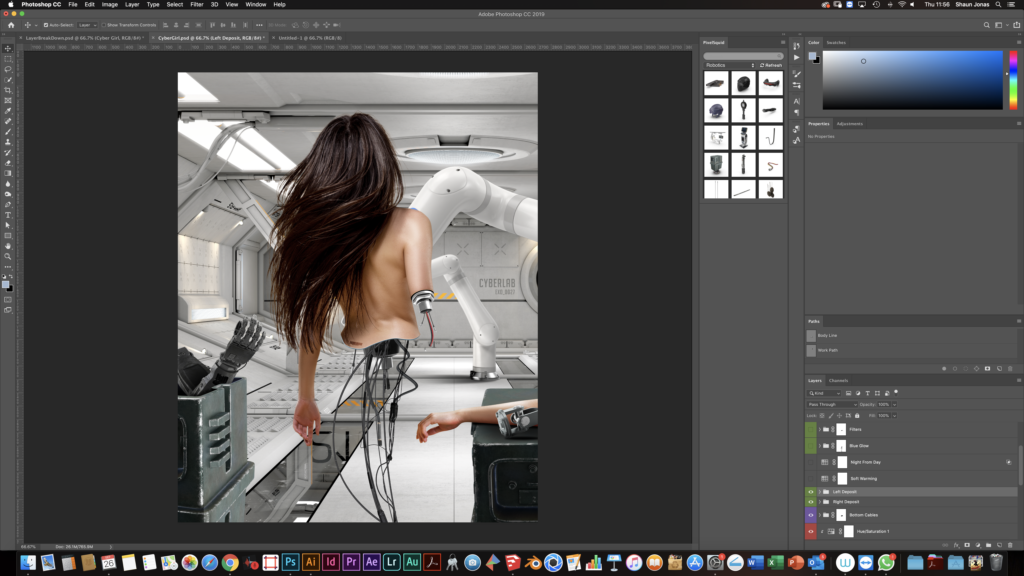
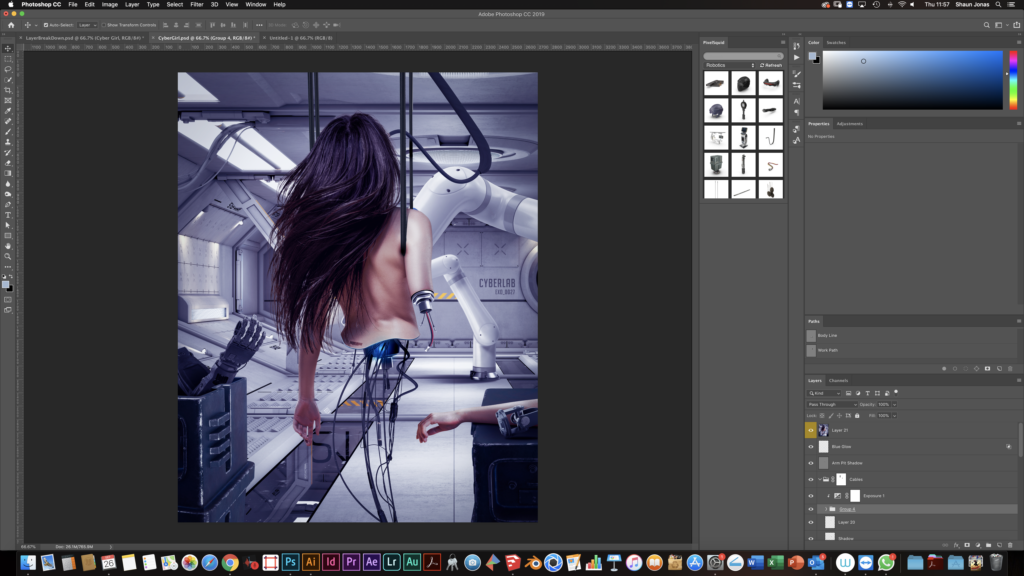
Now that my scene is pretty much completed, it’s time to correct some colors and tones. For this, I add two color lookup filters (Night from Day & Soft Warming).
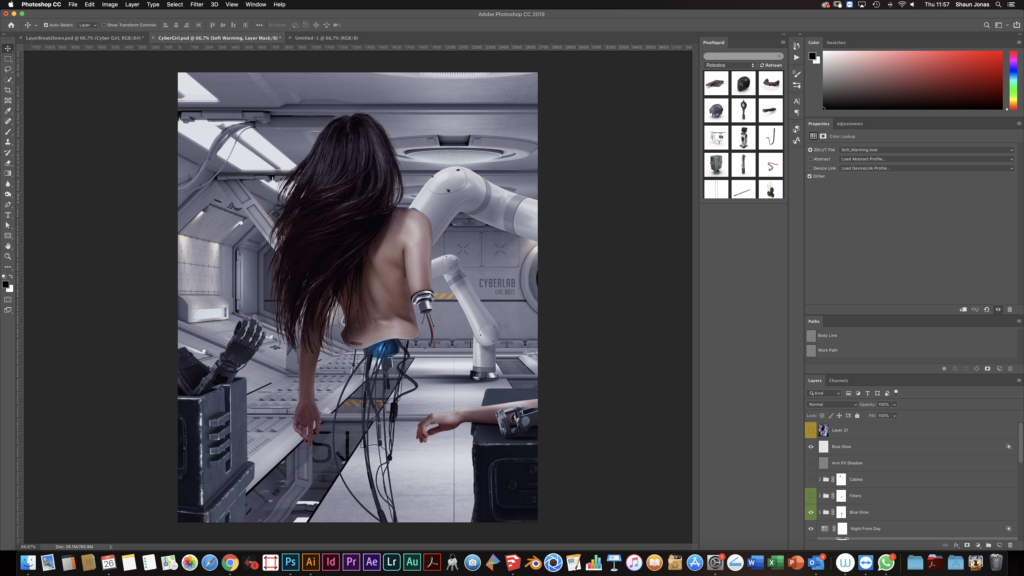
I add a blue glow on the connector at her waistline to give the impression that she is fully operational and online, despite being partially dismantled.
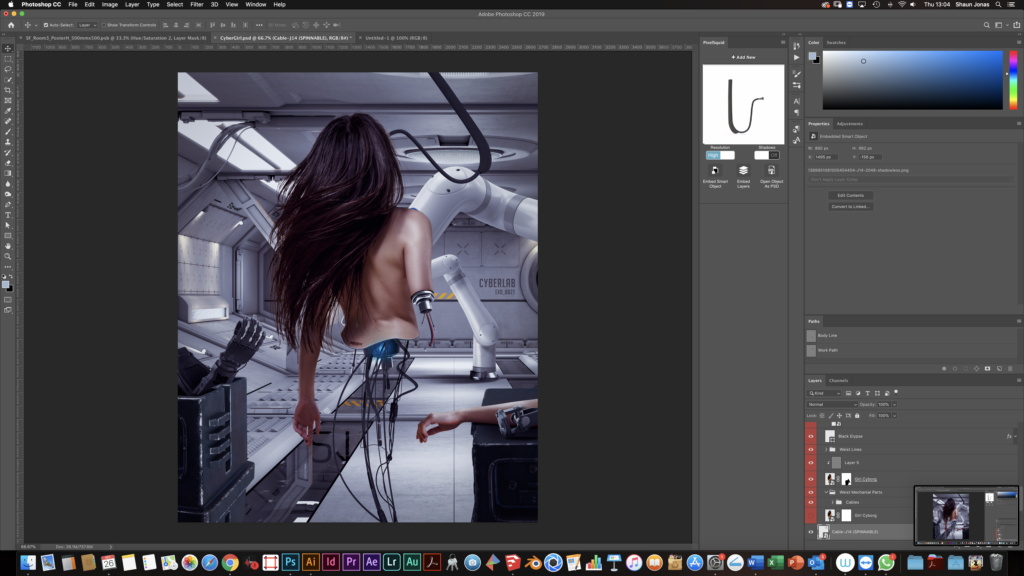
I add another Lightroom filter to give more exposure to the scene. I also add a cable on top to her head.
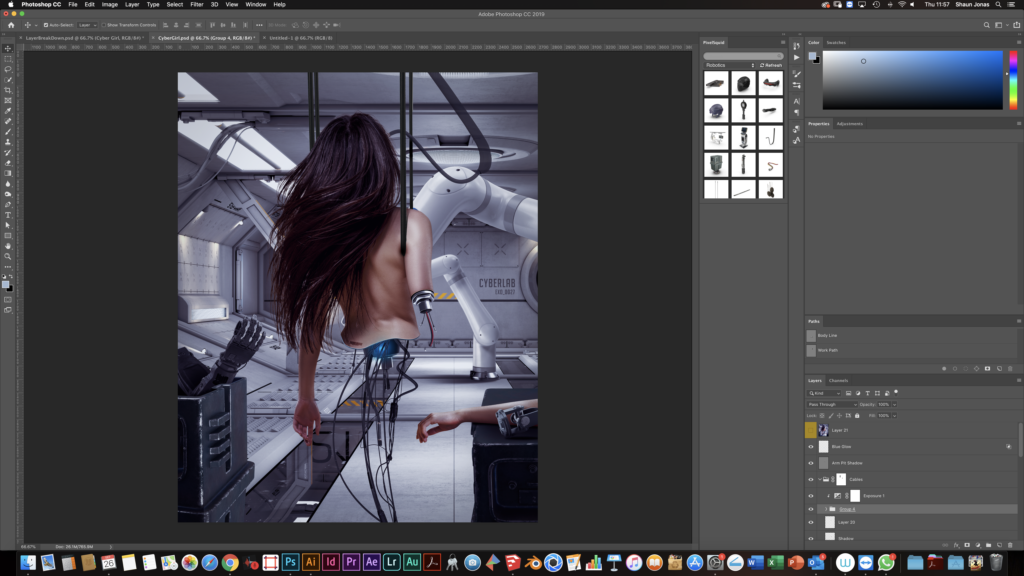
Since the Cybergirl is suspended I add another four cables, and create a hard shadow at the arm pit where the cable is holding her.
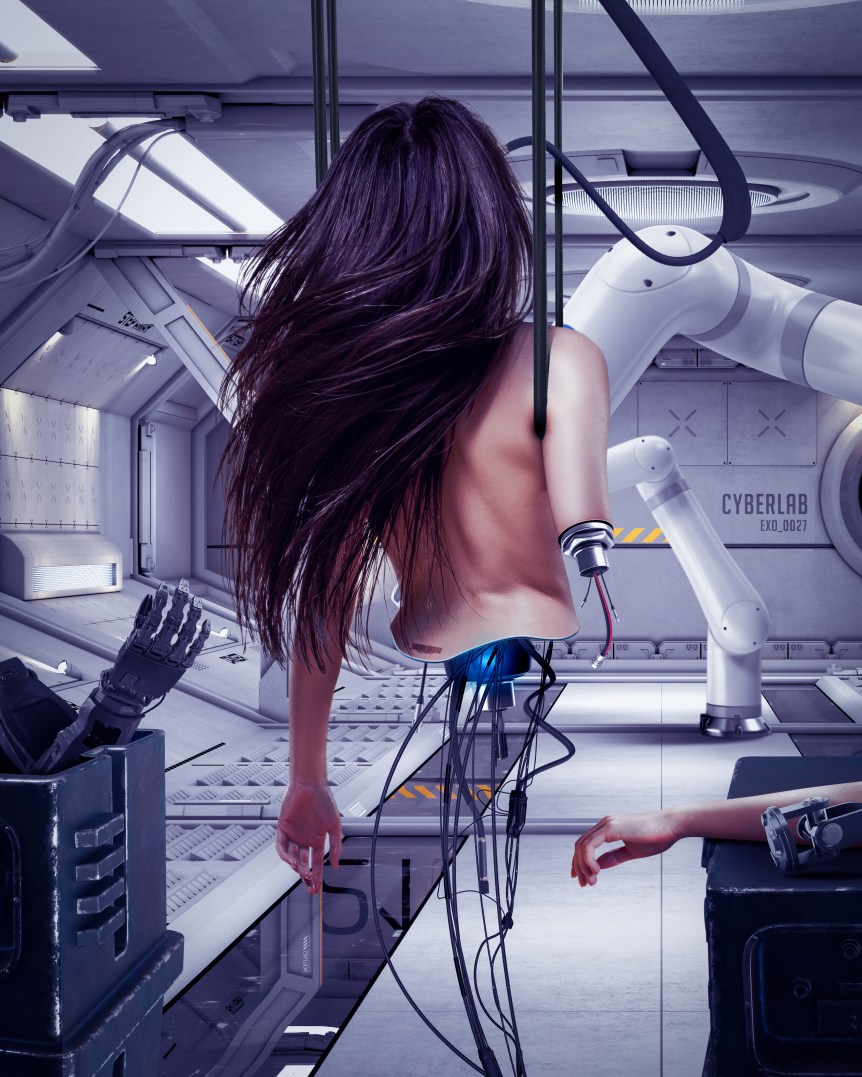
Finish with any other final corrections to the scene and a little black vignette, and it’s done! I hope you all enjoyed this quick Cybergirl breakdown.
Shaun Jonas is a South African native and father of two who has lived in Portugal most of his life. He is a full-time graphic designer who is currently working for a watch brand in Switzerland. You can follow his personal art on his Instagram and Facebook pages.
If you’re interested in being featured in our artist tutorials and spotlights, you can email our content team at marketing@turbosquid.com.