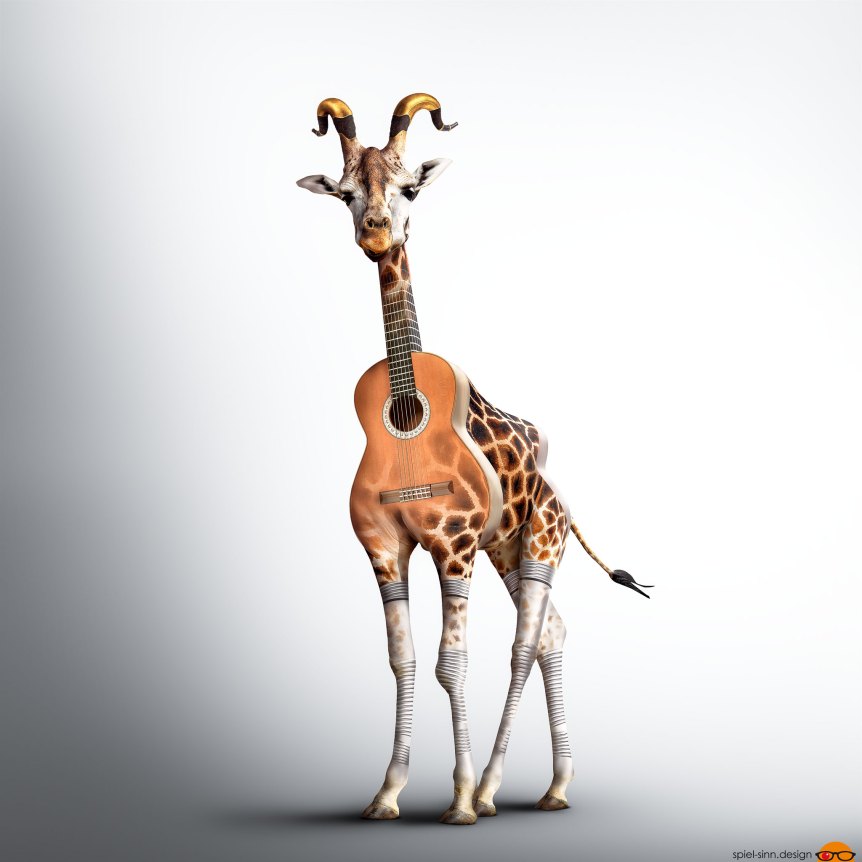
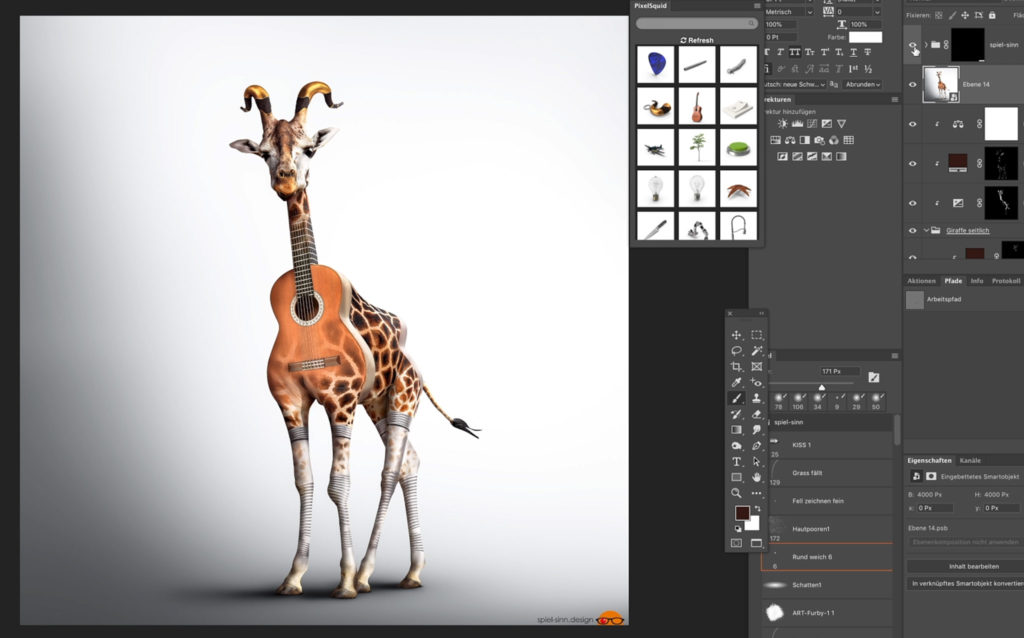
PixelSquid is an excellent tool for building a wide range of imagery without the hassle of searching for and preparing the perfect reference image. In this latest edition of our tutorial series, graphic designer and self-proclaimed nonsense-tamer Ingo Lindmeier, aka spiel-sinn, uses PixelSquid objects to create advertising-grade imagery. This piece titled, “Guitaffe” is part of his Haushaltstier series.
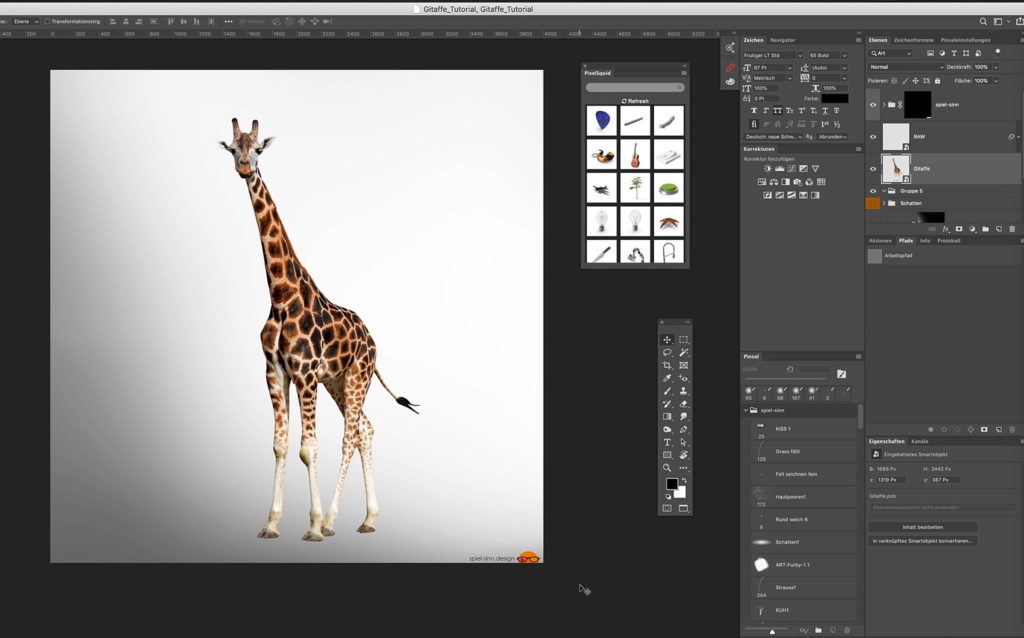
1. I started with a clean-cut giraffe from Adobe Stock as a base. I always use a standard background for these types of compositions.
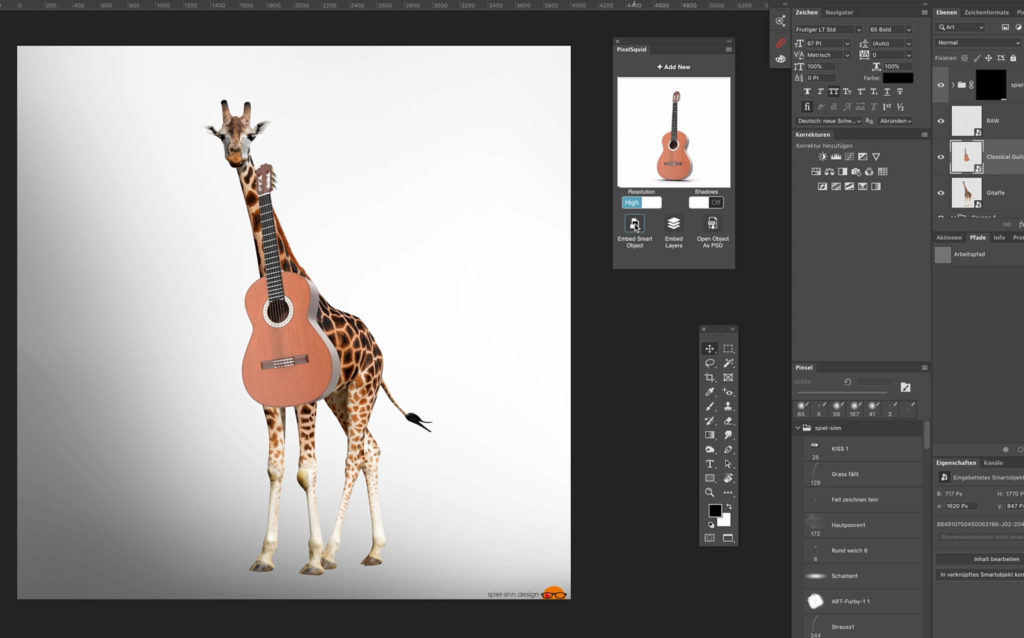
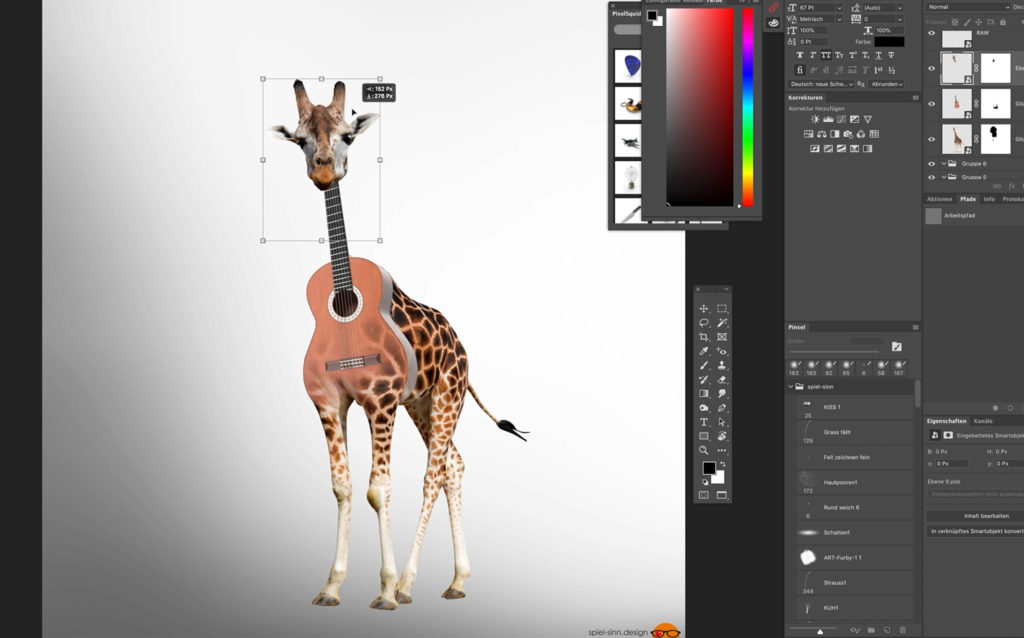
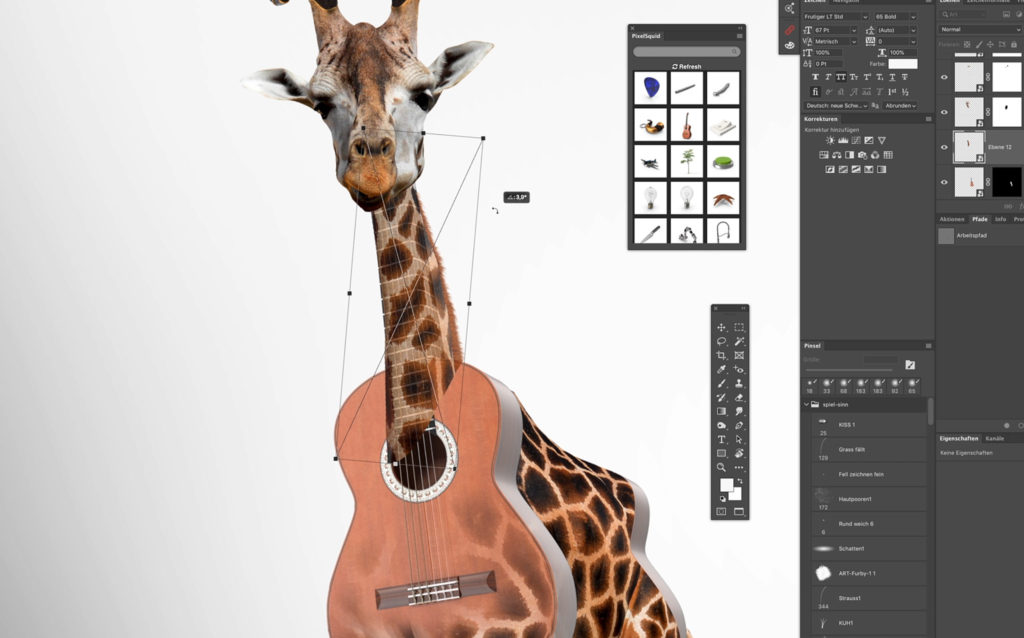
2. All other elements are from PixelSquid, including the guitar, hence the name “Guitaffe.” Selected, inserted, rotated, and scaled the guitar in the PixelSquid extension until it was in the proper position.
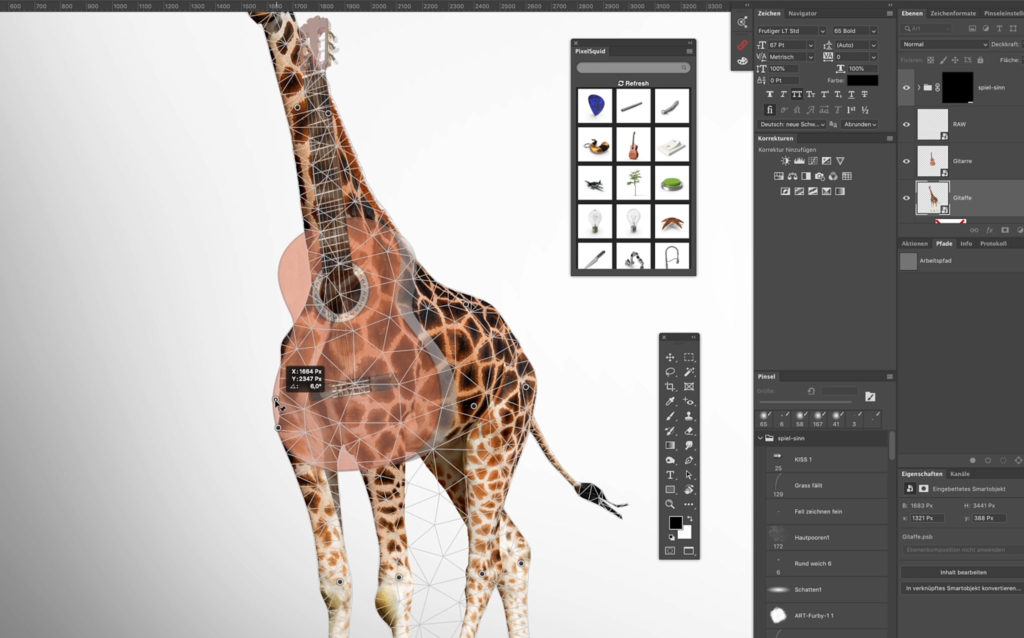
3. I adapted the front part of the giraffe with the Puppet Warp tool to mimic the shape of the guitar and to create a smooth transition.
4. I removed the existing giraffe neck and the head was placed over the guitar as a single element, then enlarged.
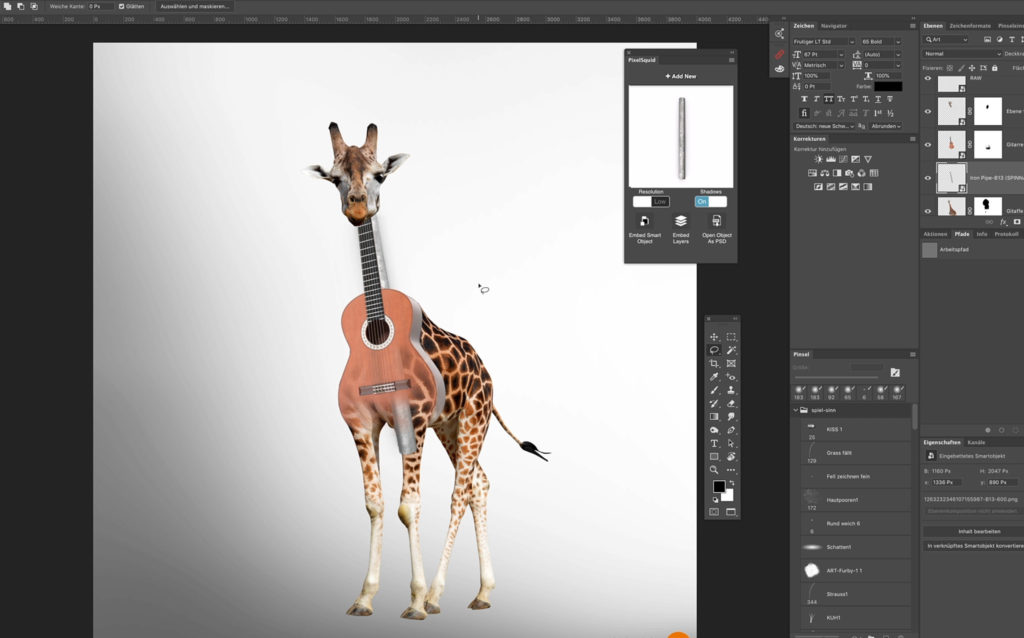
5. I used a metal pipe as a temporary placeholder for the neck.
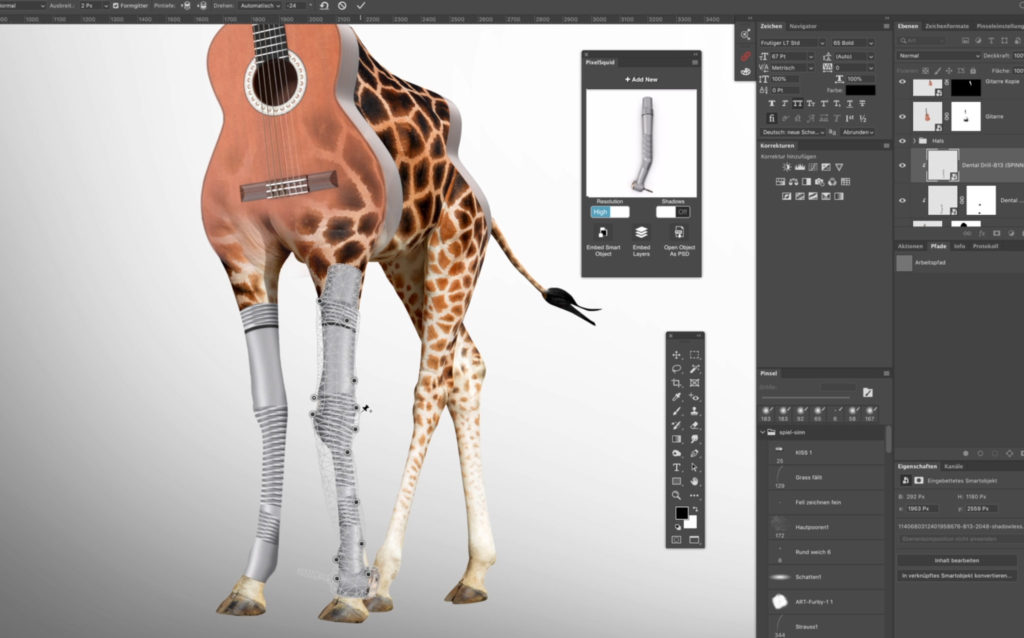
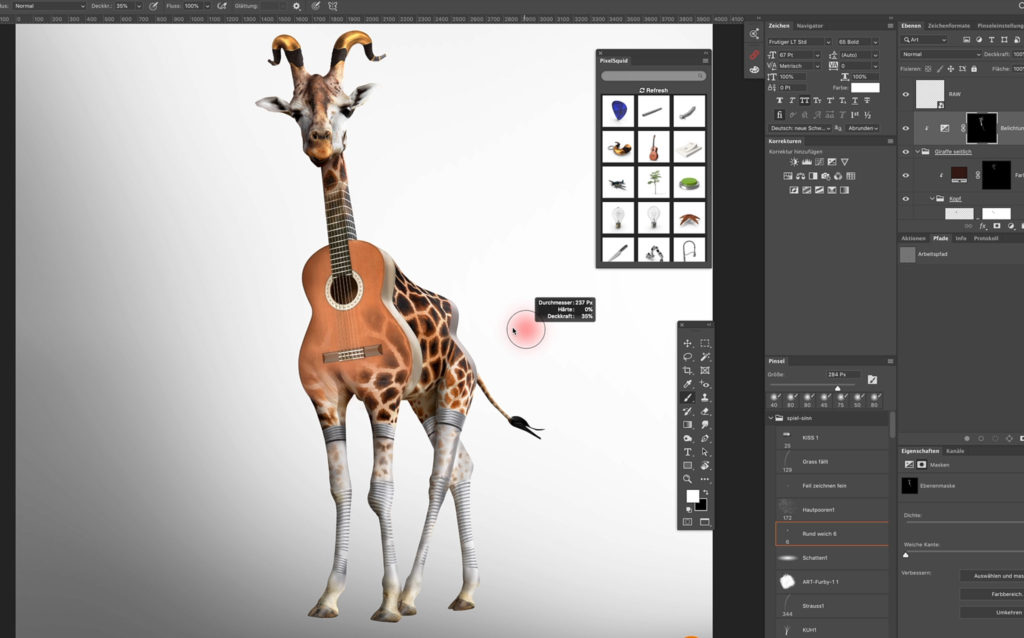
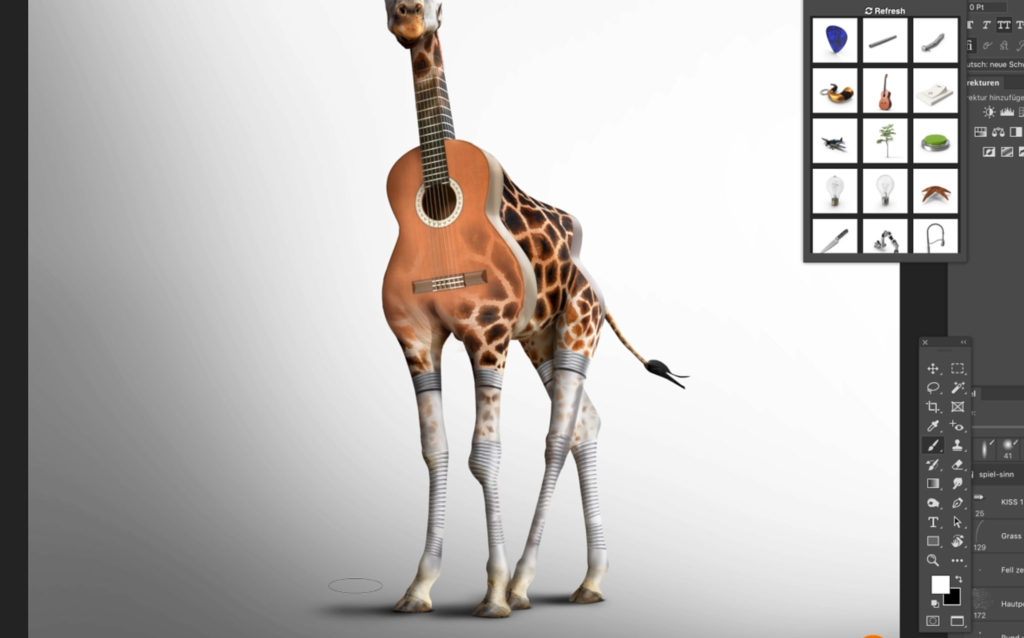
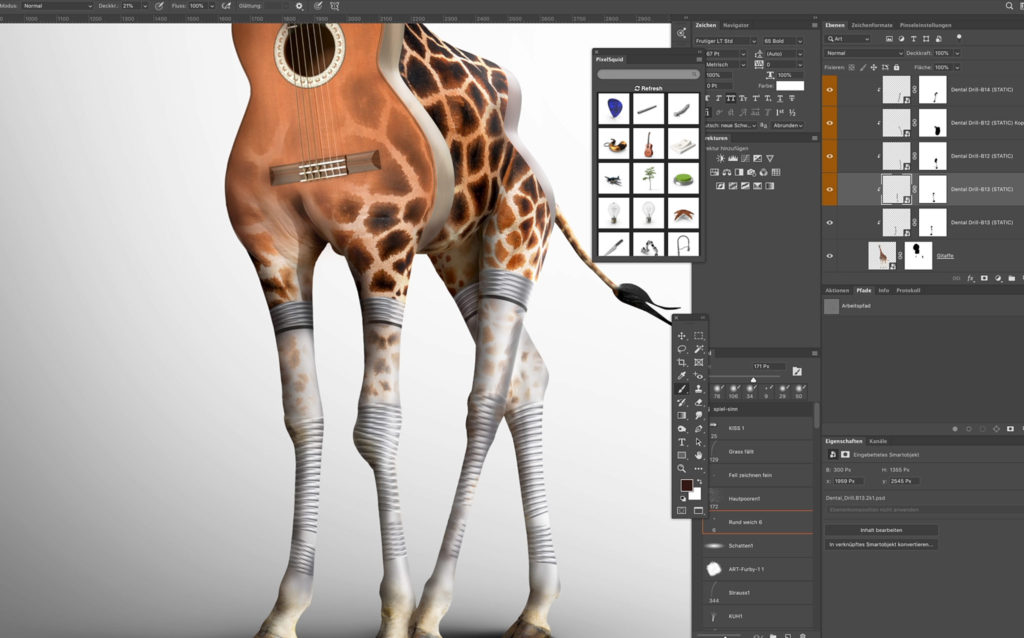
6. Next, I made the back part of the giraffe resemble the guitar shape. Here, I only used the lateral part that seemed rather metallic. The remainder was selected by path tool and then removed.

7. The most difficult task was to find a suitable element for the legs. After some searching, I decided on a dentist’s drill. It had the right shape and a nice structure for my imagination.
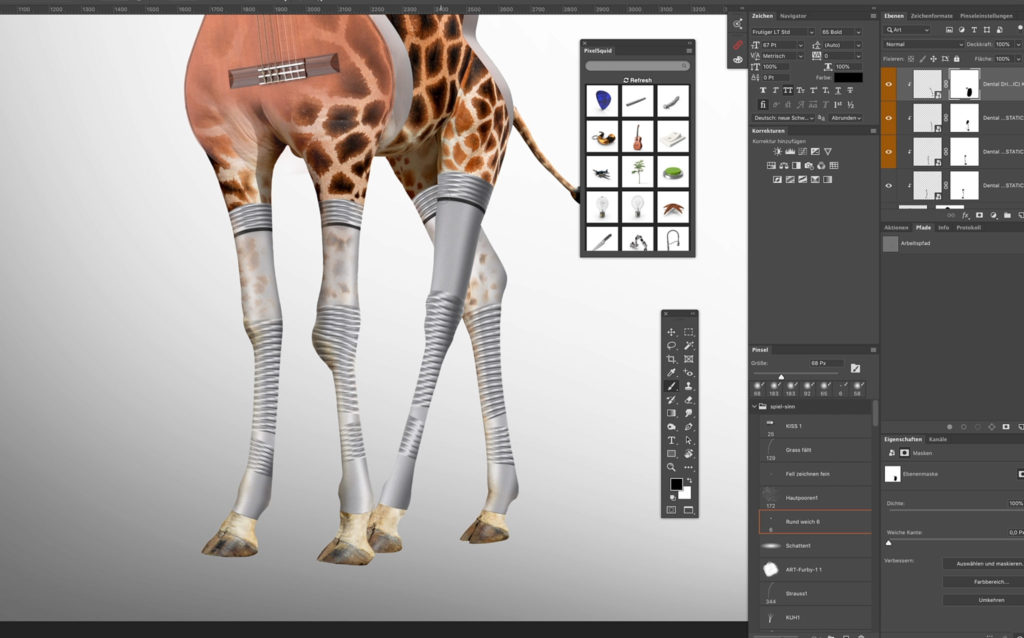
8. The legs were made slightly visible with masks under the metal to give a more organic impression and also to support the shape of the legs.
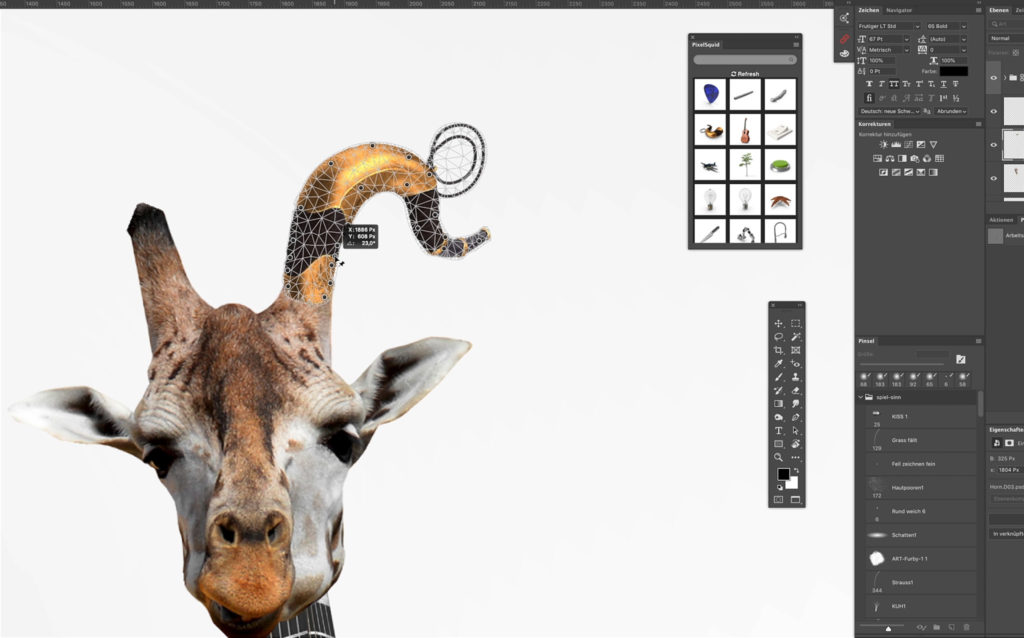
9. The giraffe horns were complemented by PixelSquid horns and also aligned with the mold.
10. I used part of the original neck to give a more elegant transition from the head to the body.
11. Once all elements were together, the piece needed highlights and shadows. I worked with different color levels, exposure levels, and tonal corrections here, which I selectively drew on mask layers.
12. Then it was time for the bottom shadows, which were delineated over three shadow levels– foot shadow, drop shadow, and aura shadow.
13. The penultimate step for me was mostly the detail work. I checked transitions, drew in details by hand, and reworked light and shadow more closely. In addition, individual details were color-matched via color planes.
14. The final development took place back in Photoshop’s RAW Converter. First, I created a smart object from the merged layers. Then, into the converter. Here, there was another color adjustment, the image was slightly sharpened, and the dark and light areas were fine-tuned. When you’re done, you have a new Guitaffe house pet!
Watch the Guitaffe come together in this speedy making-of video.
Ingo Lindmeier was born in 1969 and never actually grew up. In 2008 he made the leap from media designer to a “Flausenbändiger” (someone who attempts and not really successes in taming nonsense) and since then is known under the name spiel-sinn. In addition to his work as a graphic and web designer, he has worked more intensively on digital art and composing. You can connect with him via Instagram, Facebook, or his design website.
If you’re interested in being featured in our artist tutorials and spotlights, you can email our content team at marketing@pixelsquid.com.