
As graphic designers, we are often called upon to create awesome, eye-catching images on a strict time budget. Creating imagery for PixelSquid is no exception, so here’s how I used our Photoshop Extension tool to both inspire a fun image and put it together very quickly for a promotion we did earlier this year.
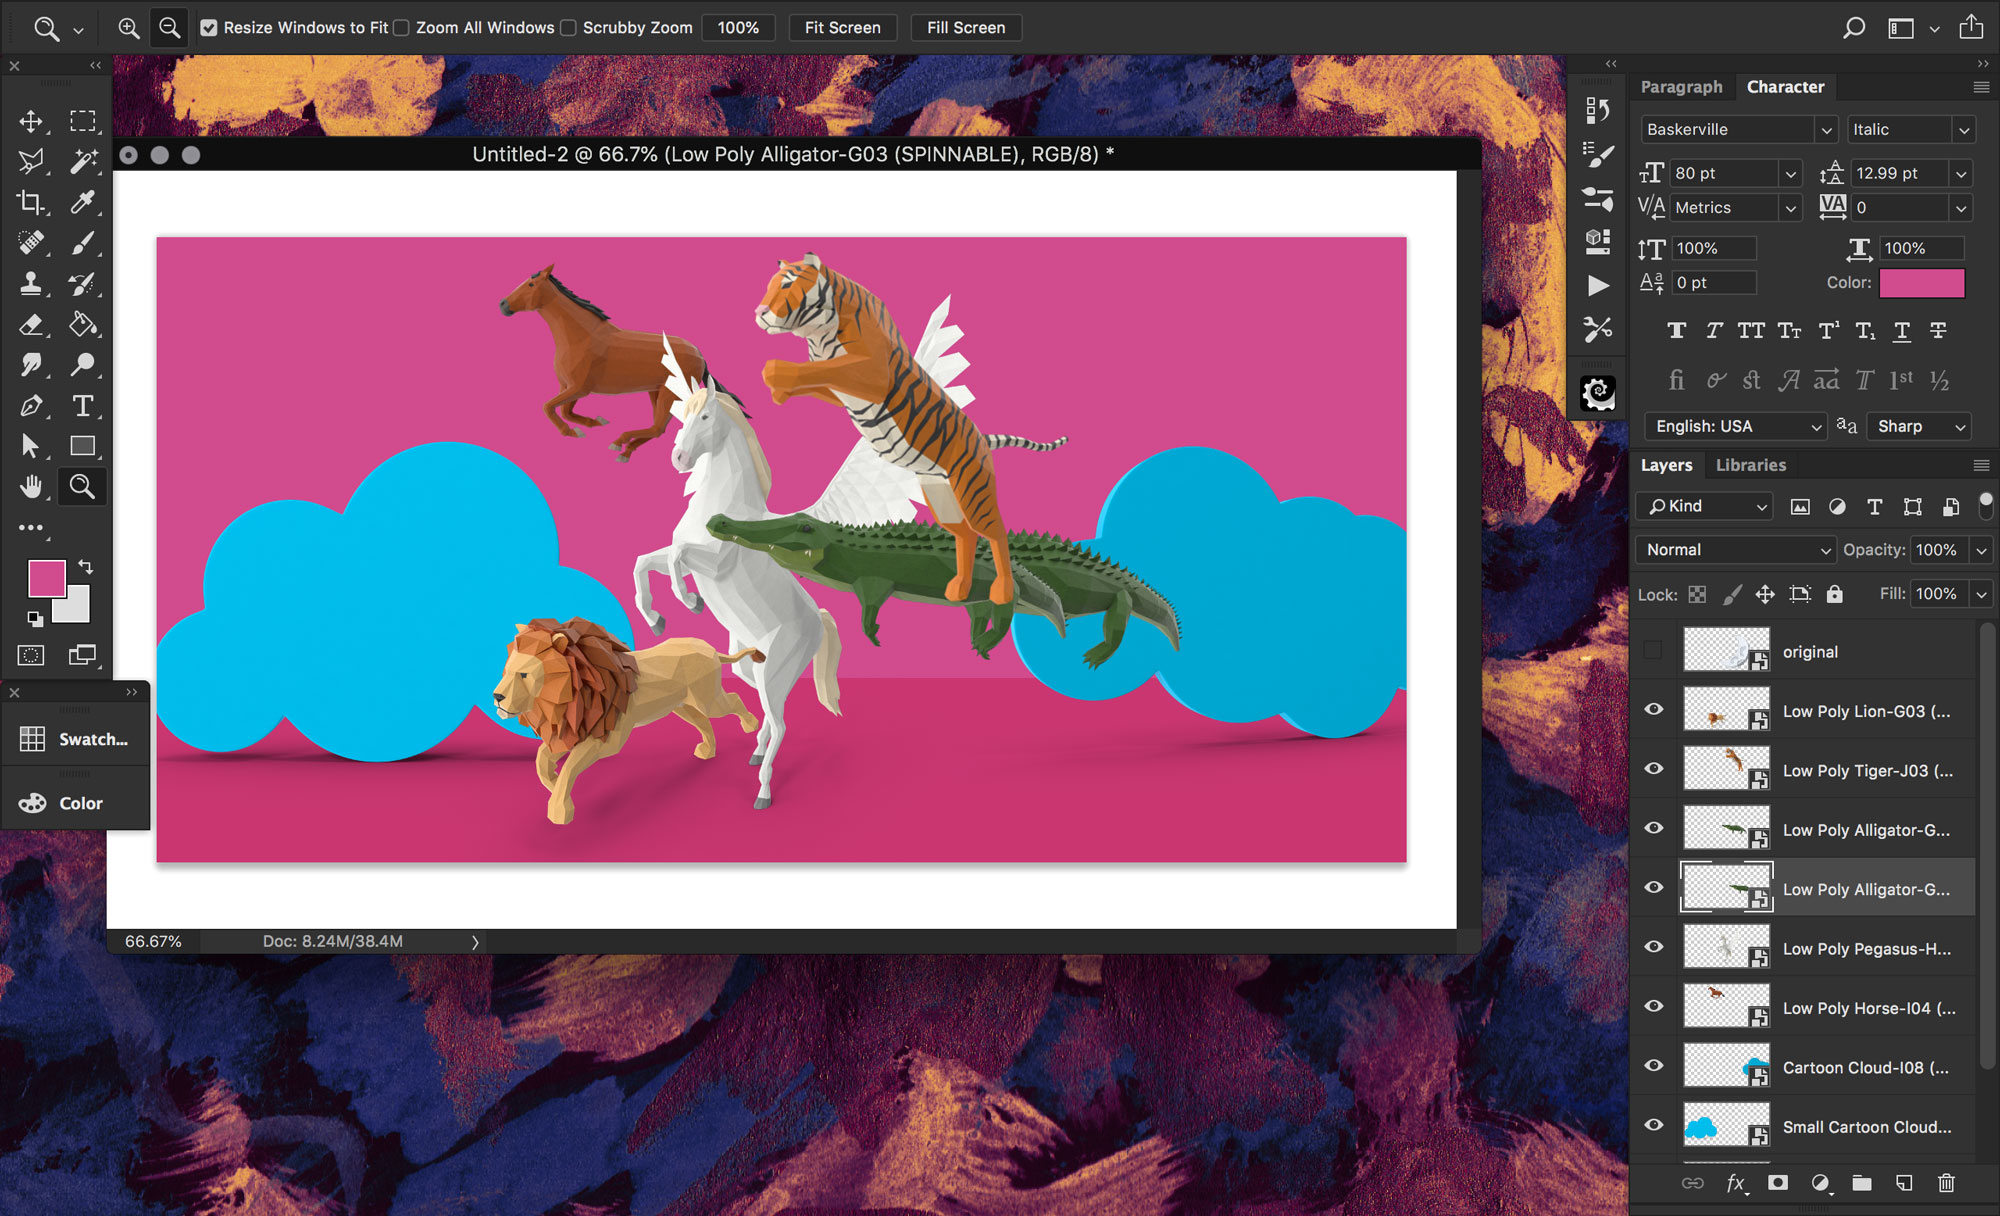
My goal was to create something bright and fun for our PixelSquid Summer Sale, so I browsed our catalog and started filling a lightbox with lots of low poly-style animals that caught my eye. We have a curated collection for those, which I rounded out with a few other low poly objects.
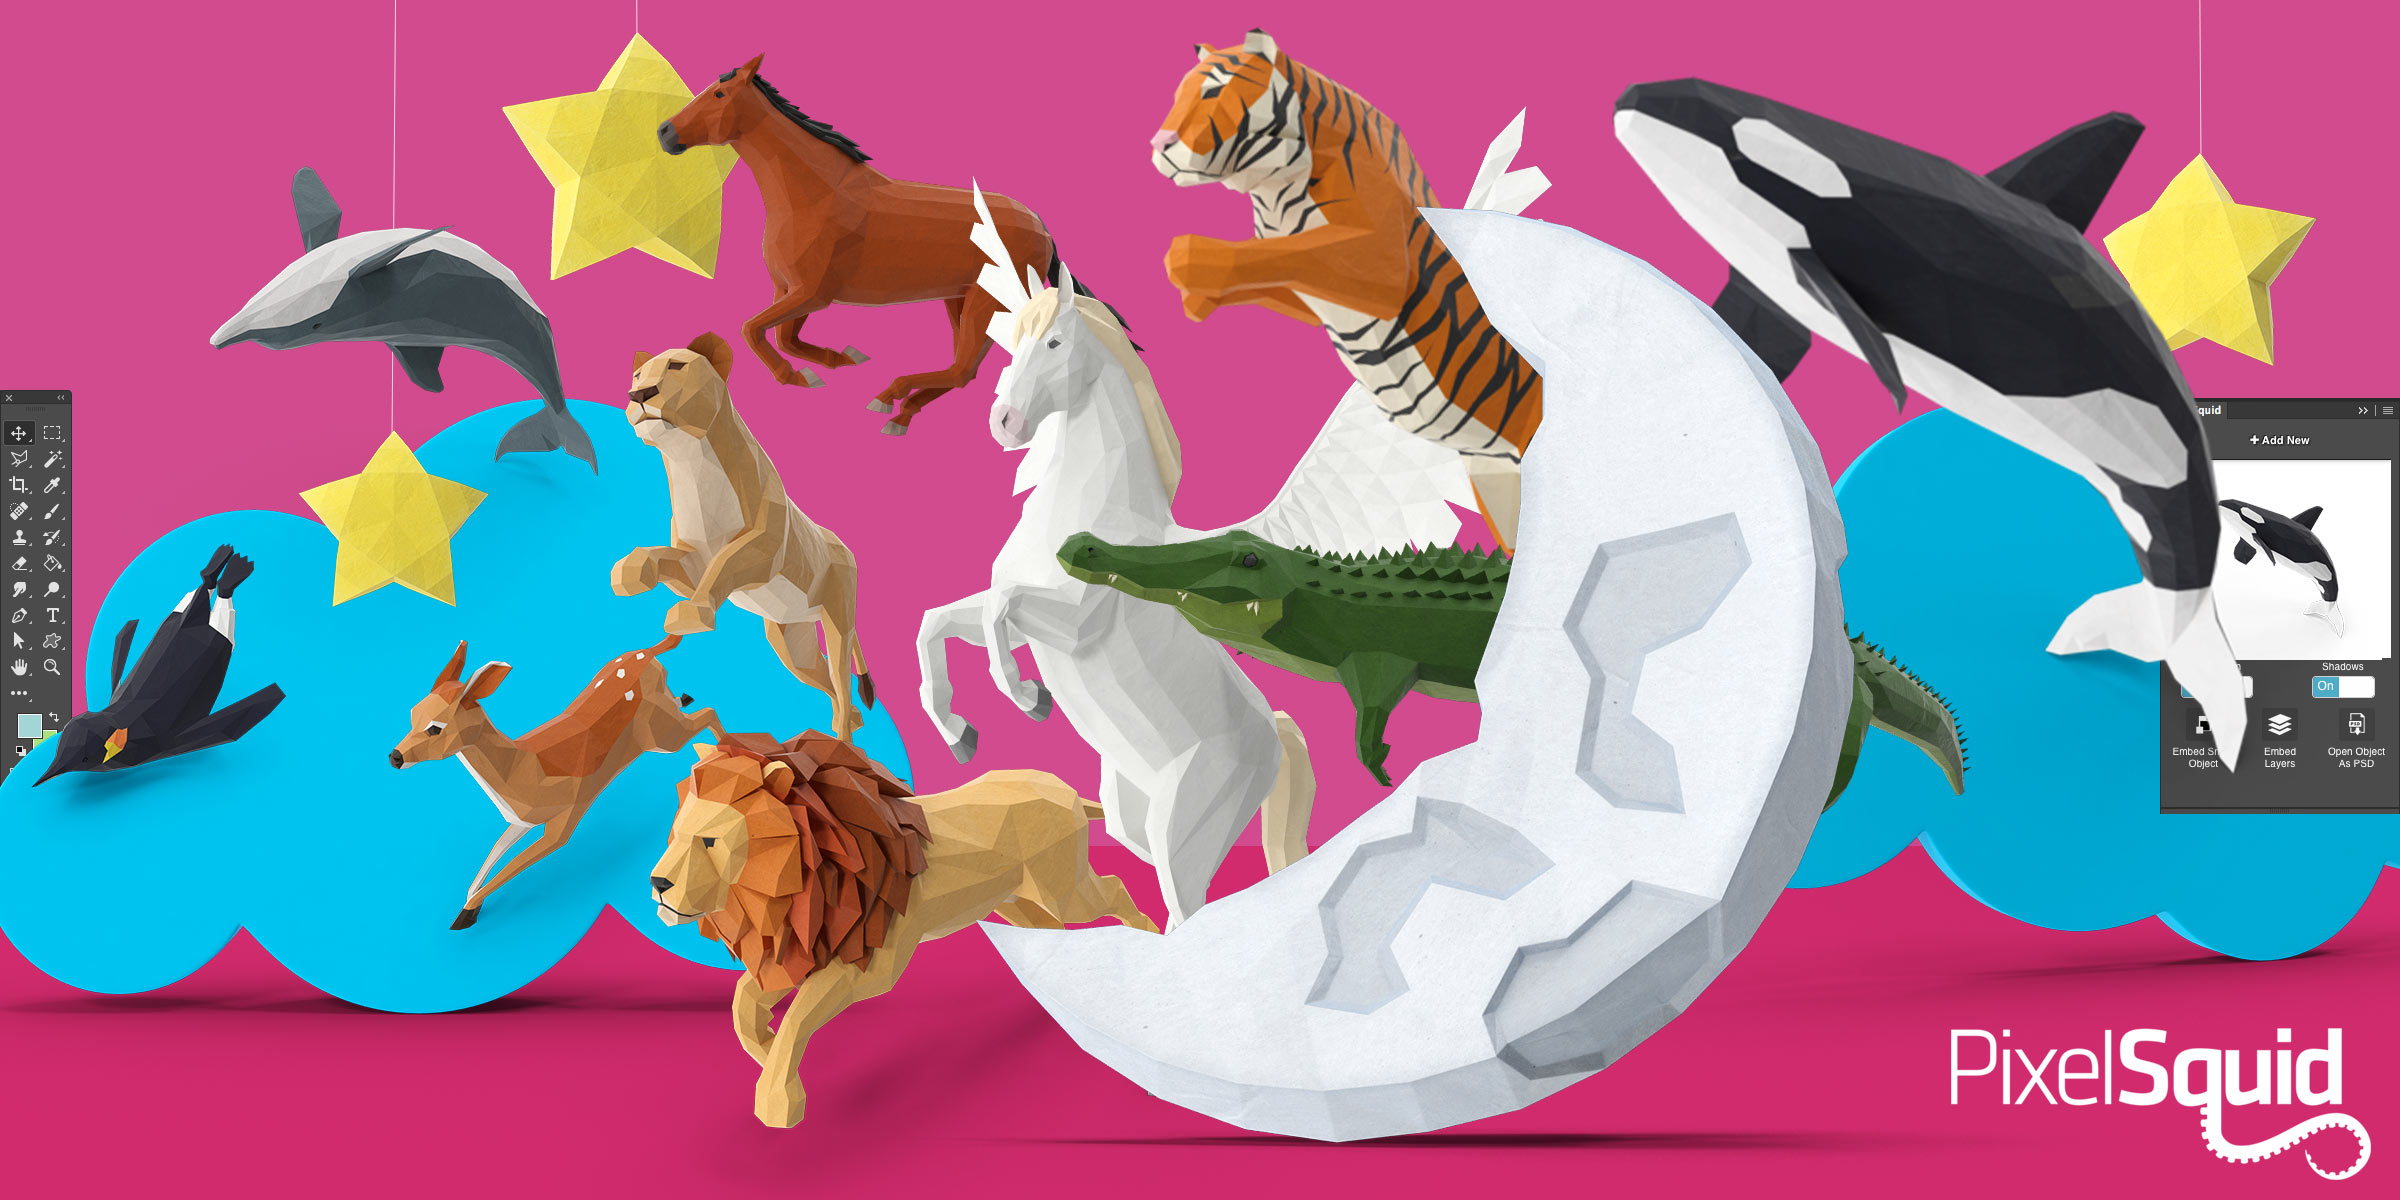
I thought the objects I picked all had sort of a puppet/toylike quality, so I had a vague idea about creating something that played with the idea of stagecraft.
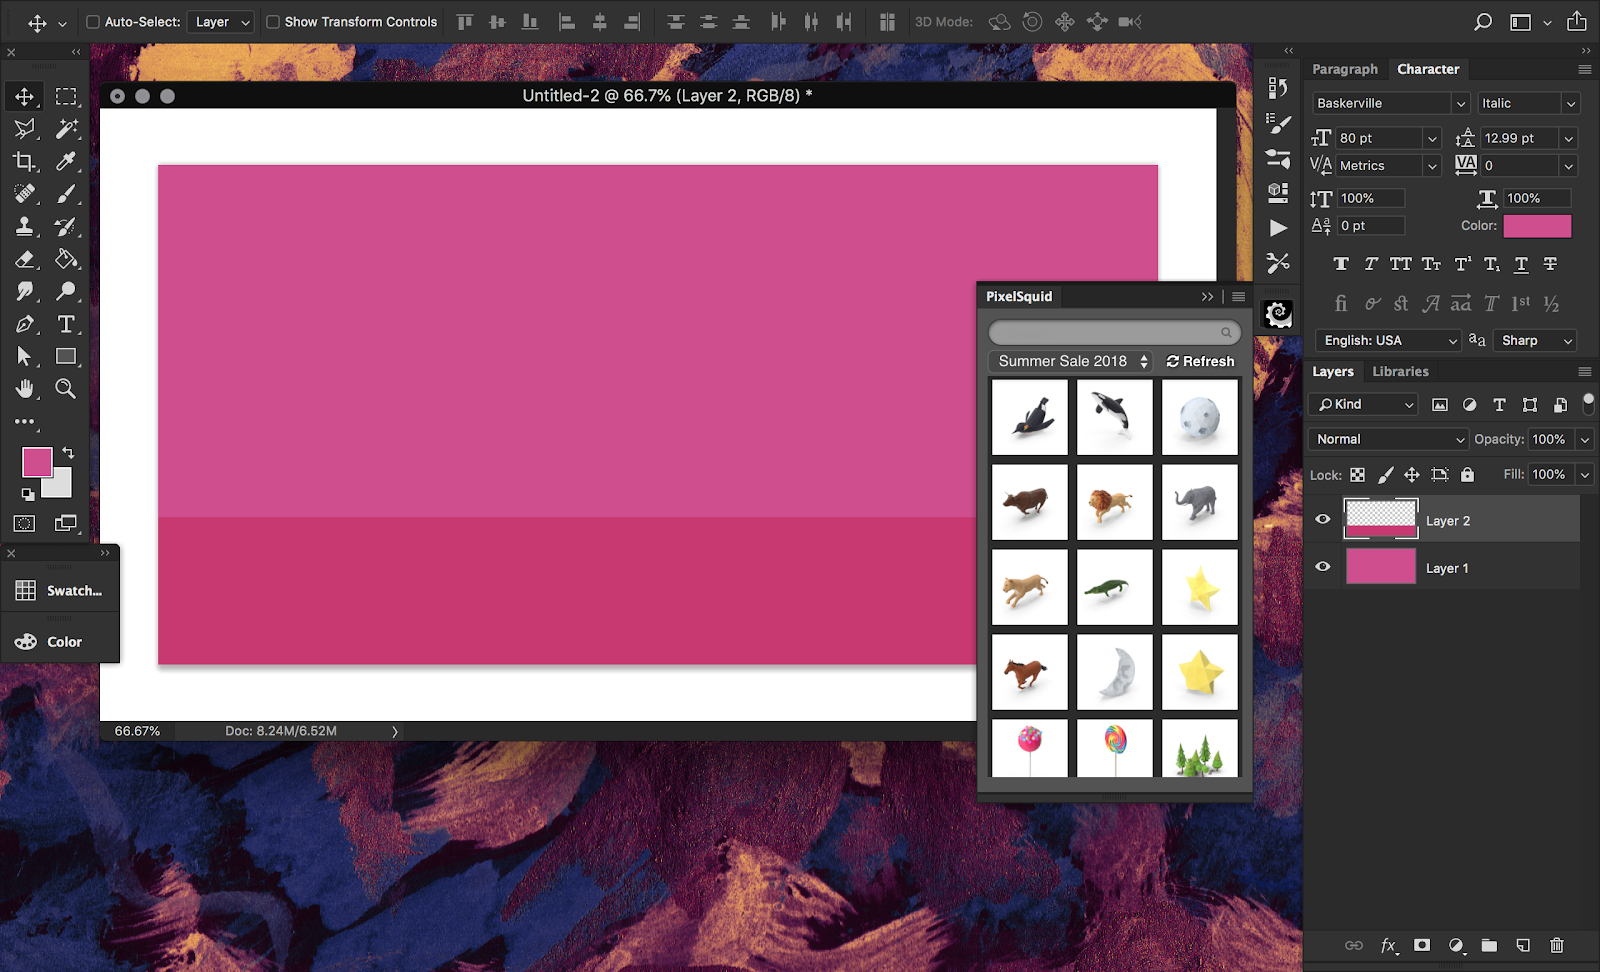
All good things begin with a pink canvas and a lightbox full of PixelSquid objects.
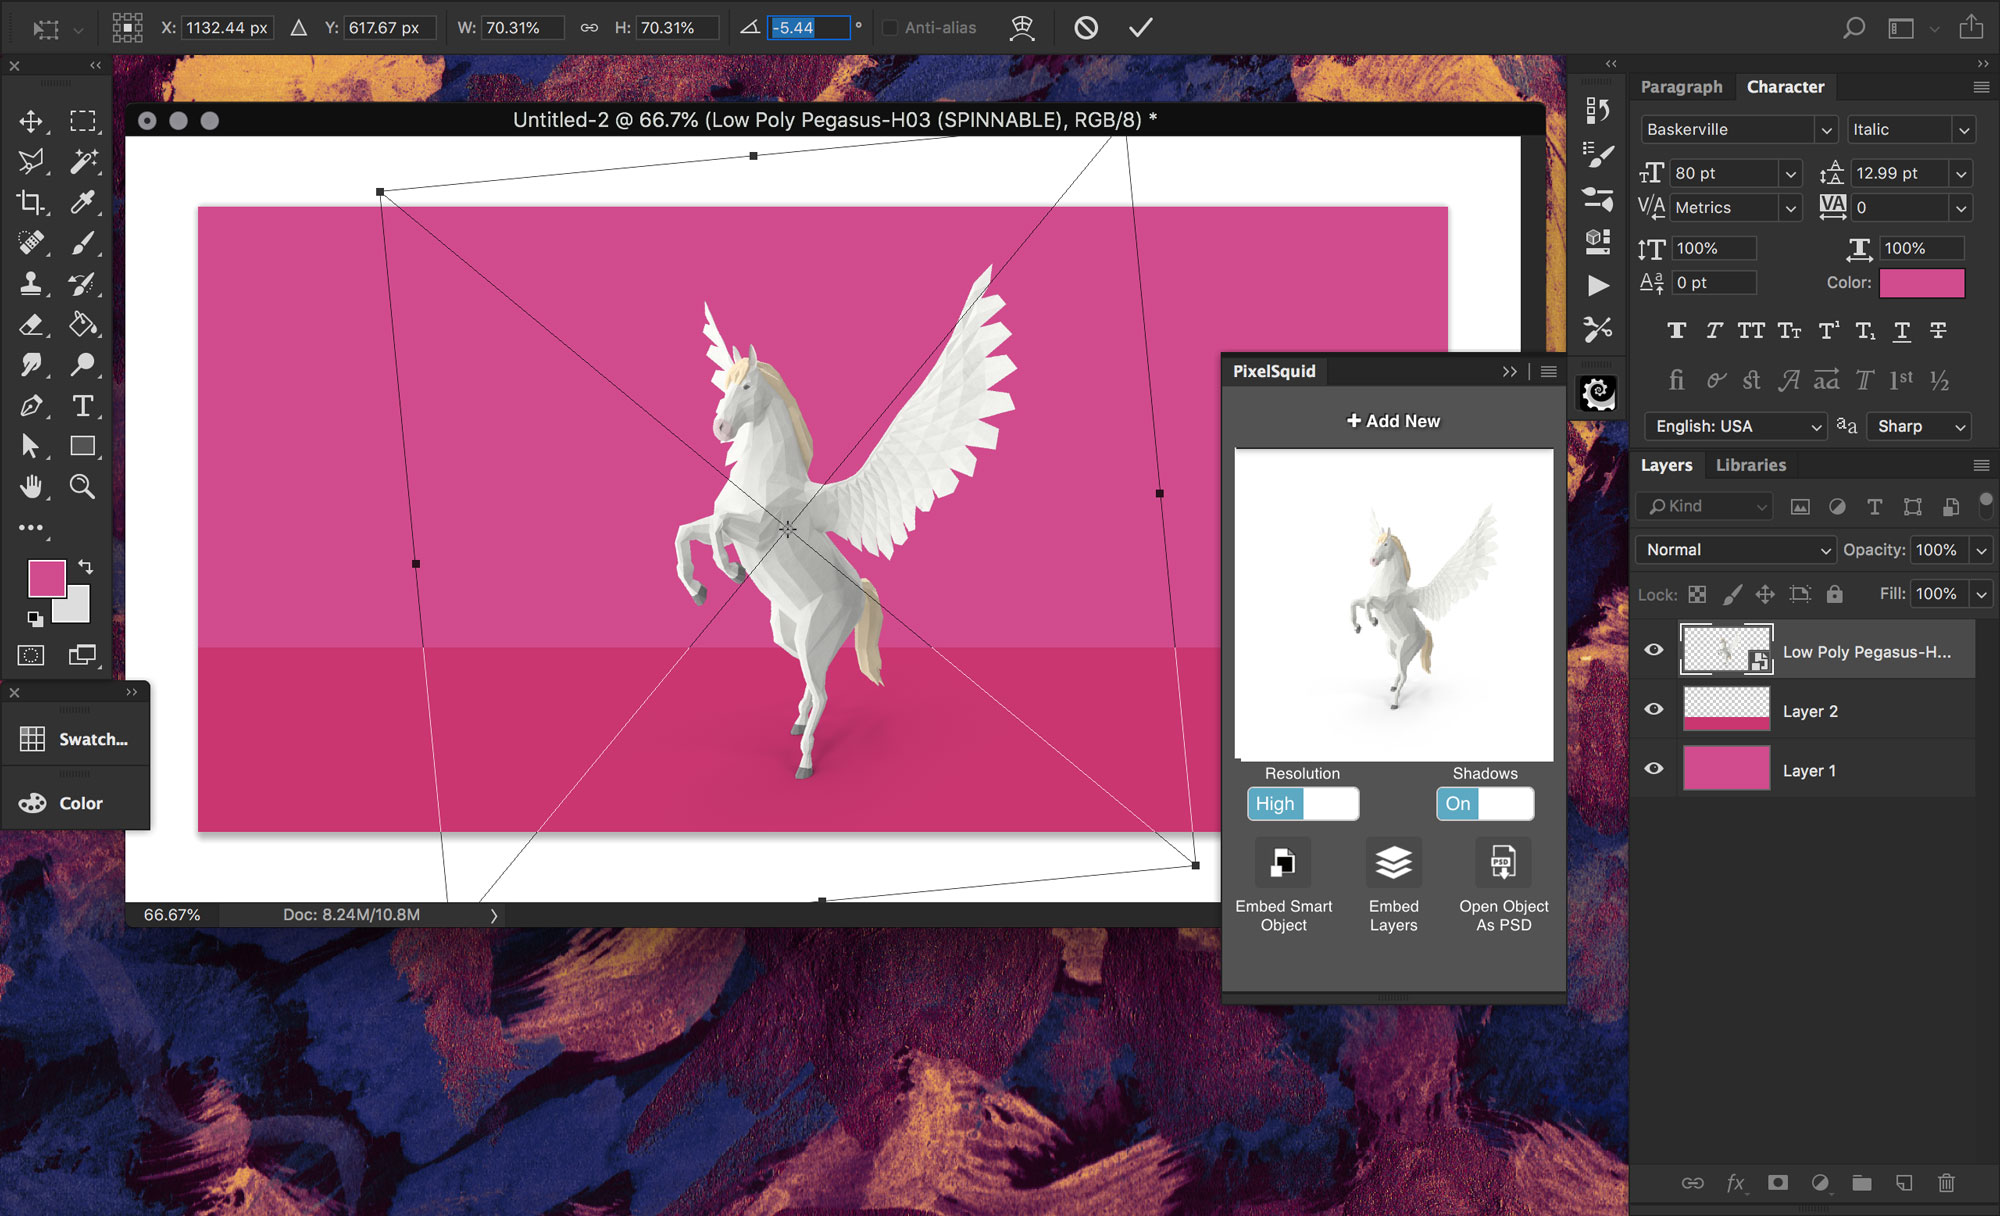
I started with the most fun object in the lightbox, the magnificent low poly pegasus. Once I set it on the canvas, I realized I would probably want to give it some forward momentum, so just a little bit of manual rotation (Free Transform) worked well here.
TIP: PixelSquid objects have lots of pre-rendered angles, and I’ve found that a little creative rotation or warping can generally get me the rest of the way if I need the objects to end up somewhere between those pre-rendered angles.
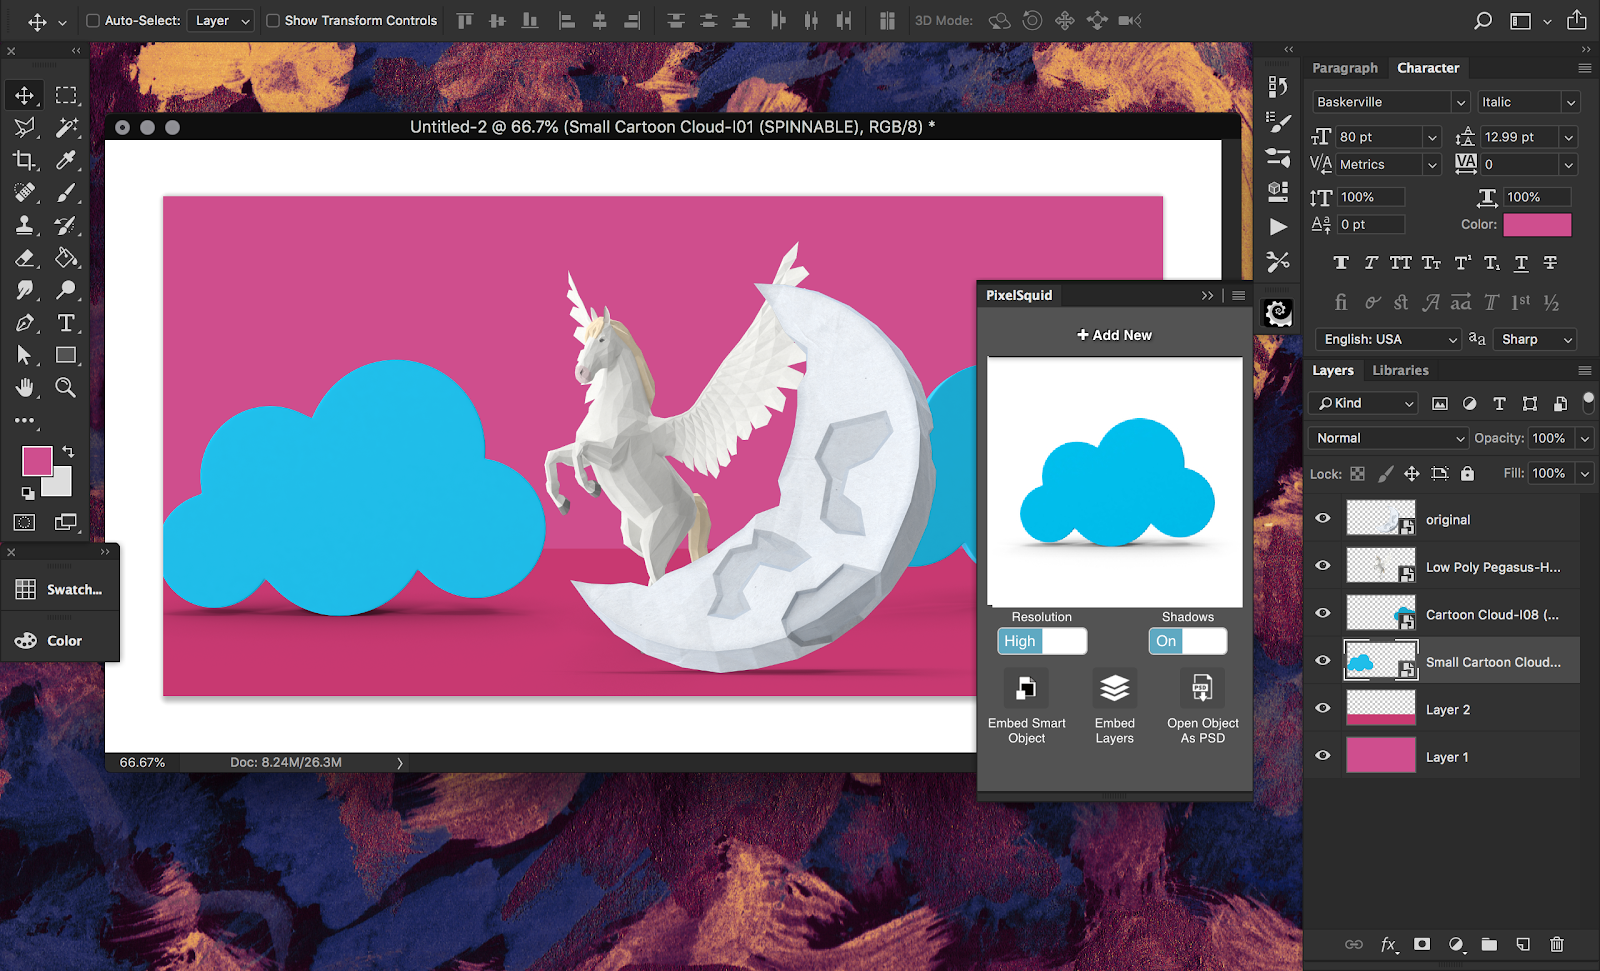
Next up: a couple cartoon clouds and a nice crescent moon for our pegasus to jump over.
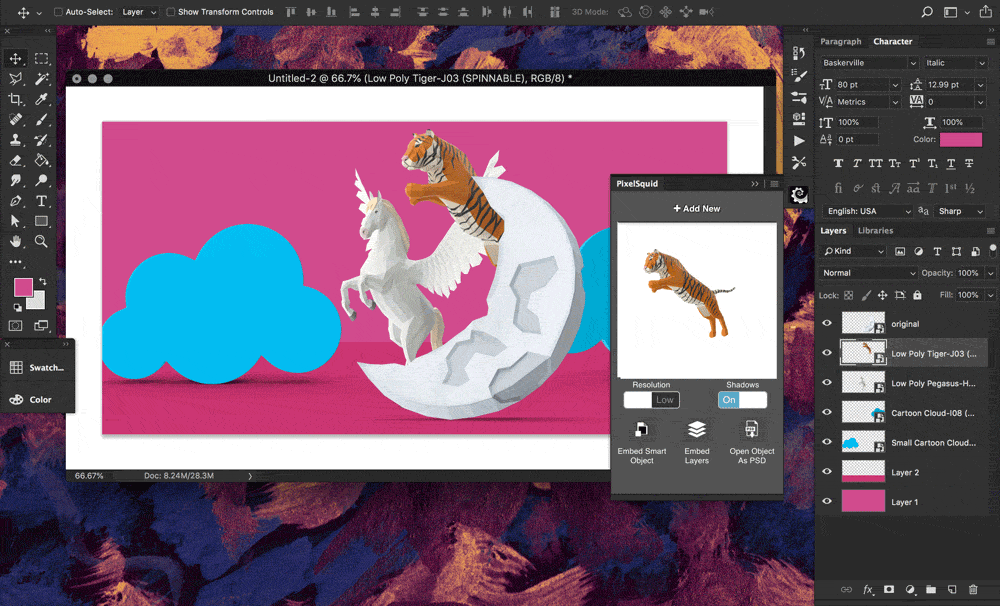
Then I just started filling the canvas with lots of floating animals:
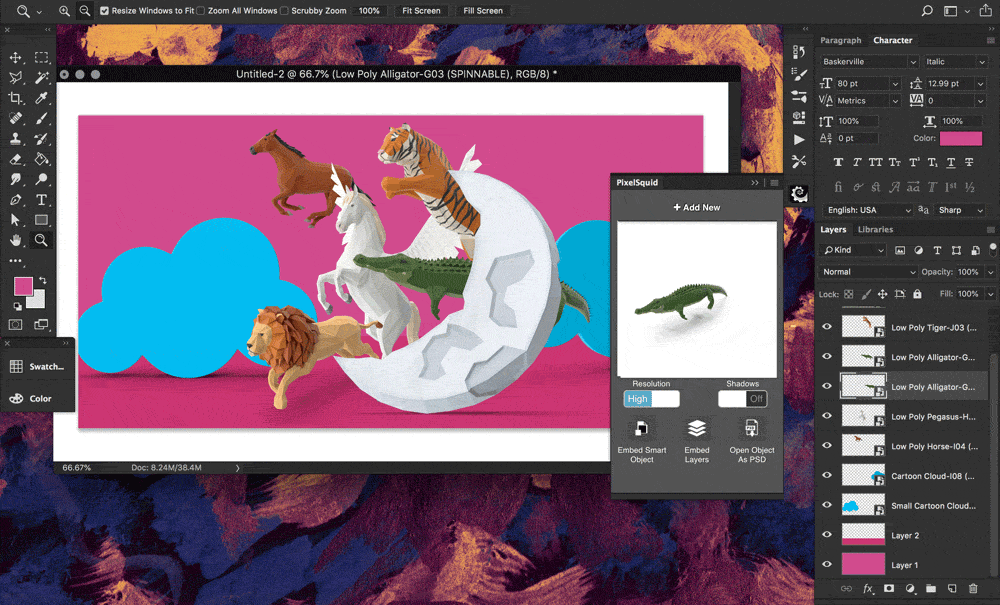
The angle of this alligator felt right, but I didn’t like that you couldn’t see the rest of him behind the moon, so I just duplicated him to cheat the eye and make him look longer. (If you take the moon out, you can see that his clone is floating in the very back. Now that’s stage magic.)
The rest of the image came together pretty quickly after this, since it was just a matter of dropping in items from the lightbox and getting them to the right angles.
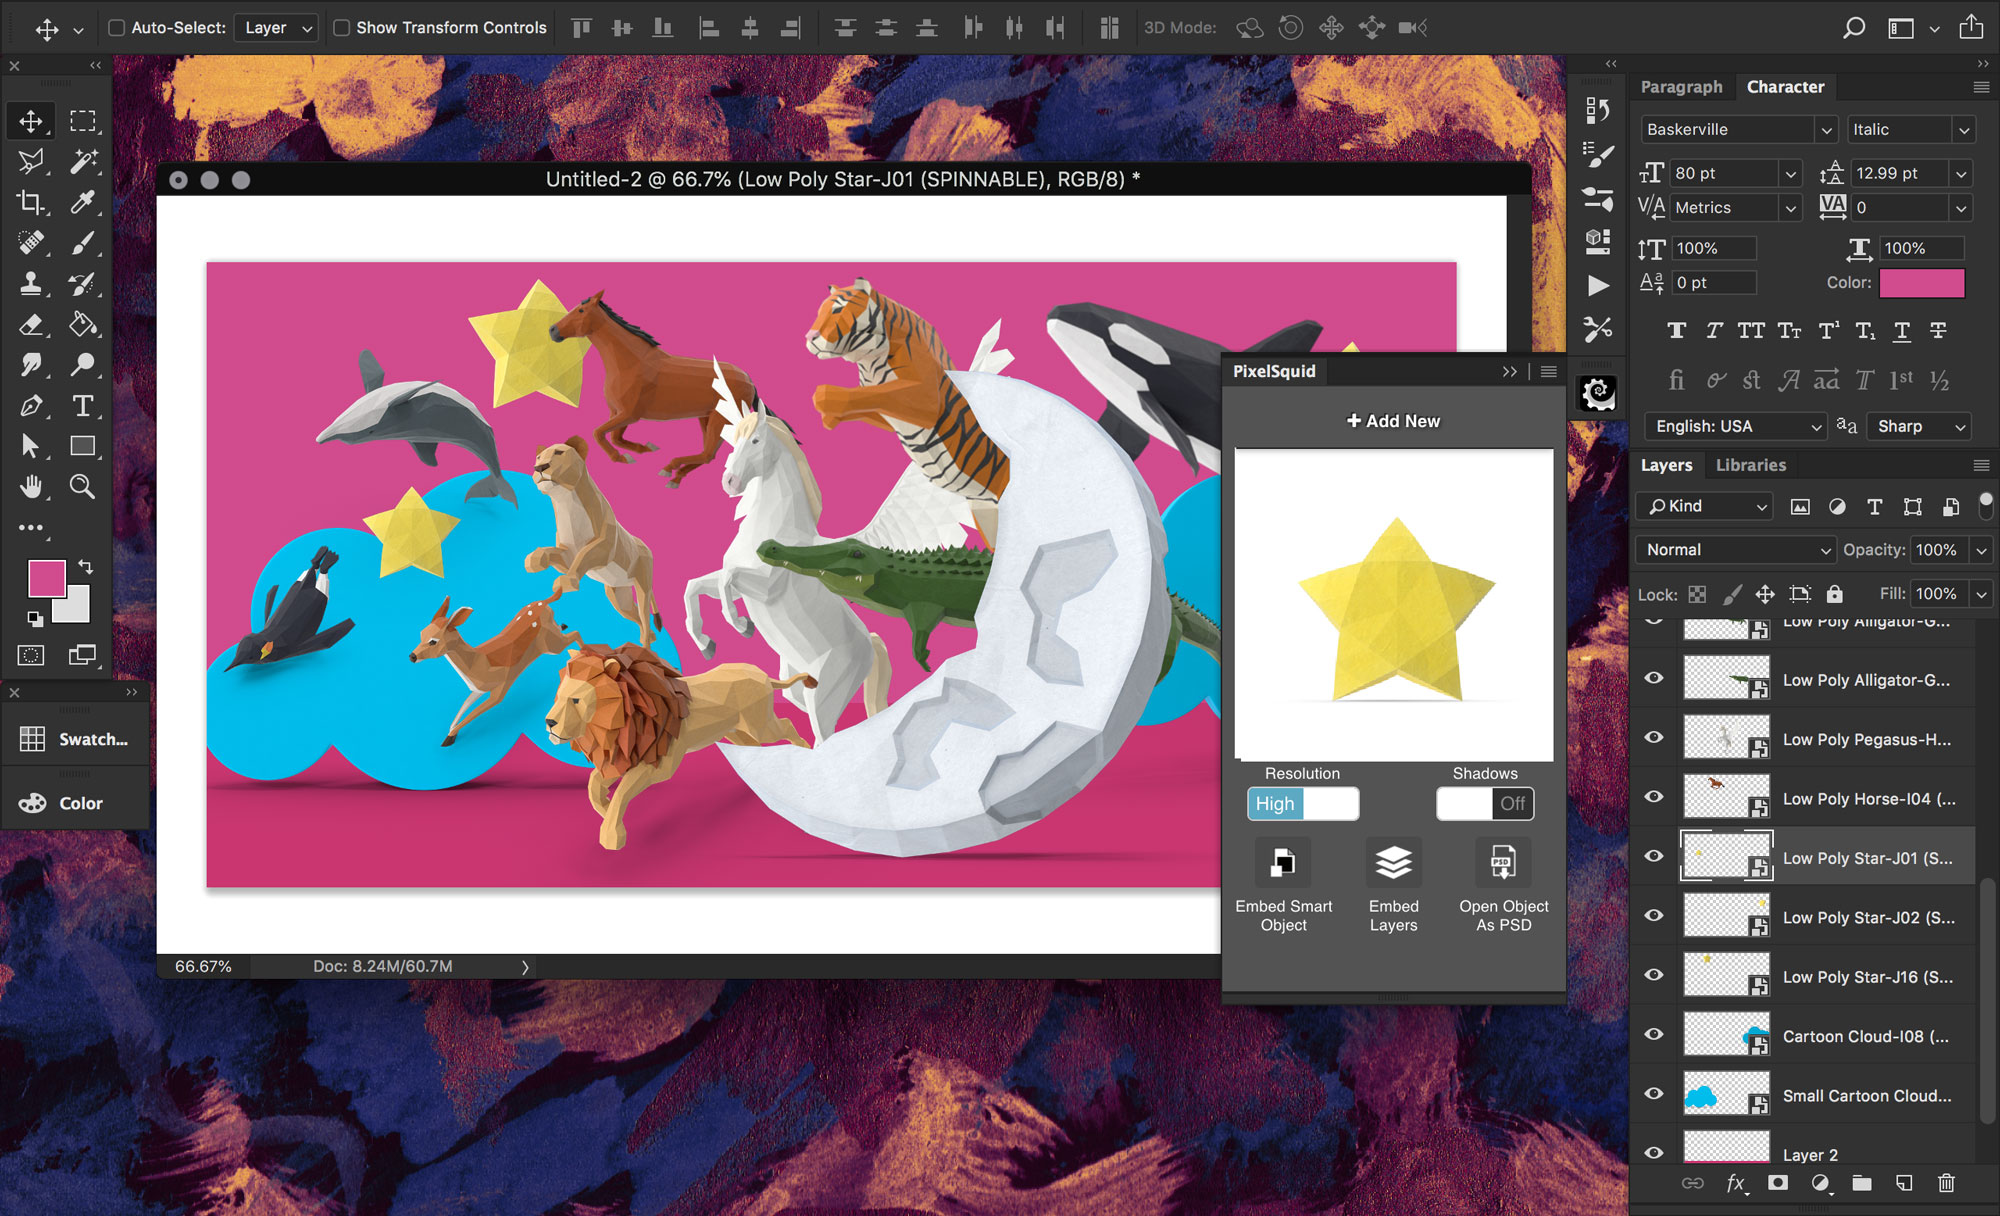
I left a lot of the shadows on the animal objects (PixelSquid objects come with the option to turn shadows on and off), because I wanted it to look like some of the animals were “bouncing” off the giant set pieces. Since I was playing off the idea of stagecraft, I used a single low poly star at a few different angles to create a starry “backdrop”:
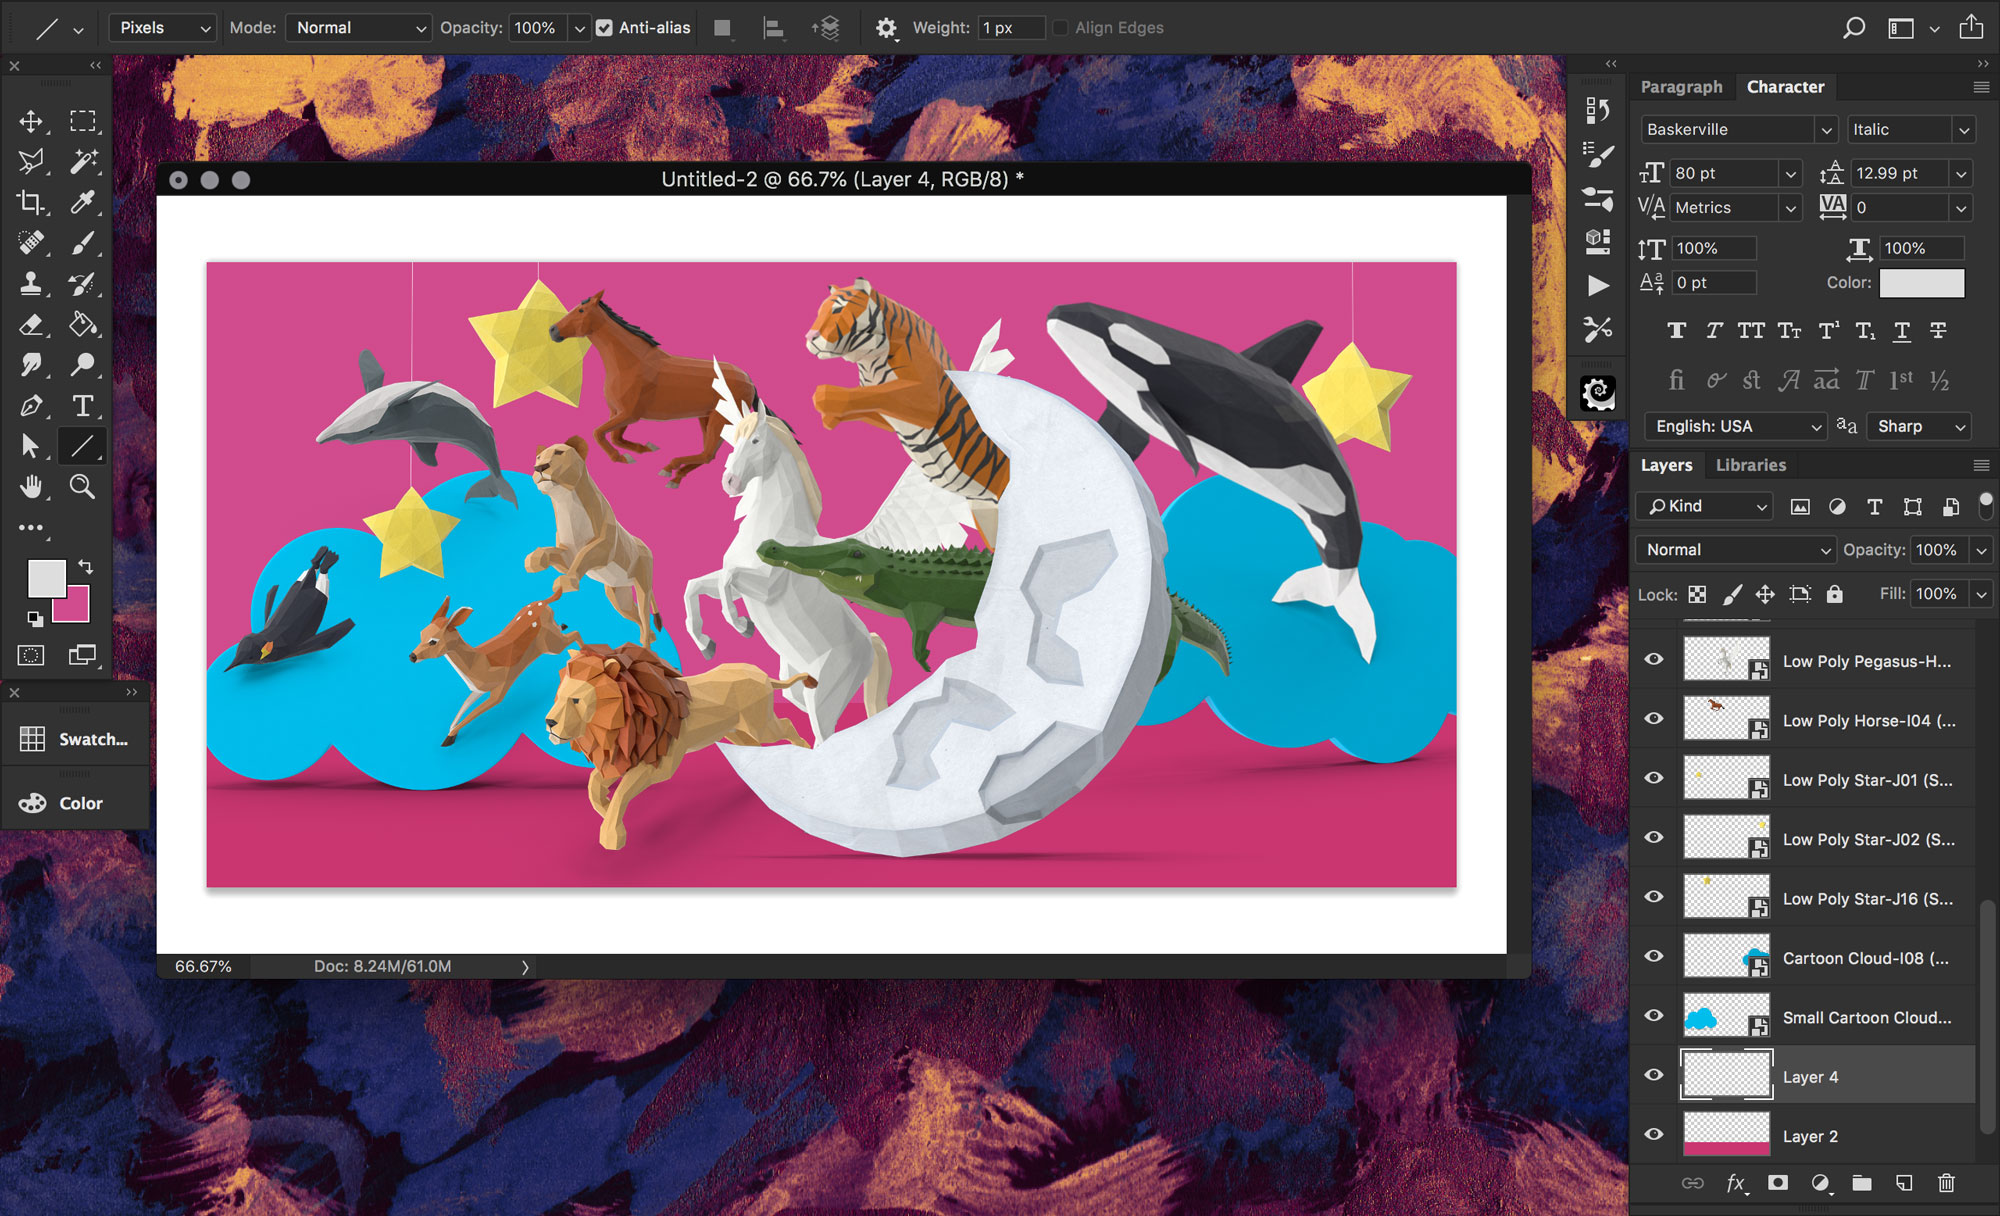
And then I “hung” them from some invisible rafters by putting in some simple, 1-pixel-wide lines to emulate wires. The physics of this make absolutely no sense, but the heart wants what it wants.
And here’s the completed image after a tiny bit of color correcting and adding in some of our Photoshop UI (it’s a PixelSquid ad, after all).
Kate Voisin is a Designer for PixelSquid. She has been working in Photoshop as a graphic designer and illustrator for nearly 20 years, and still manages to find out new things about Photoshop every day, for better or worse. You can see more of her personal work at katevee.cc.