Hi guys, my name Renato Prkic. I’m here to show you a very easy way to implement several PixelSquid objects into your photos to create a stunning edit that will catch everyone’s attention. Before we start, I should say that this is extremely easy to make and you don’t need anything more than basic Photoshop knowledge. We’re going to be recreating one of my favorite Instagram posts called Release The Kraken.
Check out a timelapse of the tutorial below:
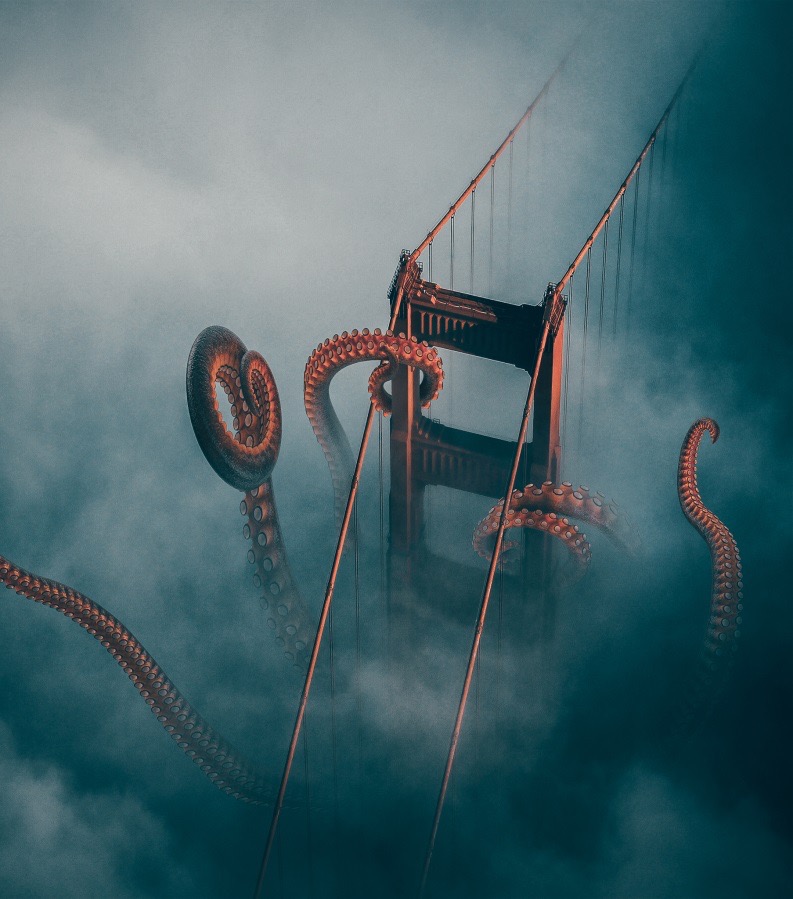
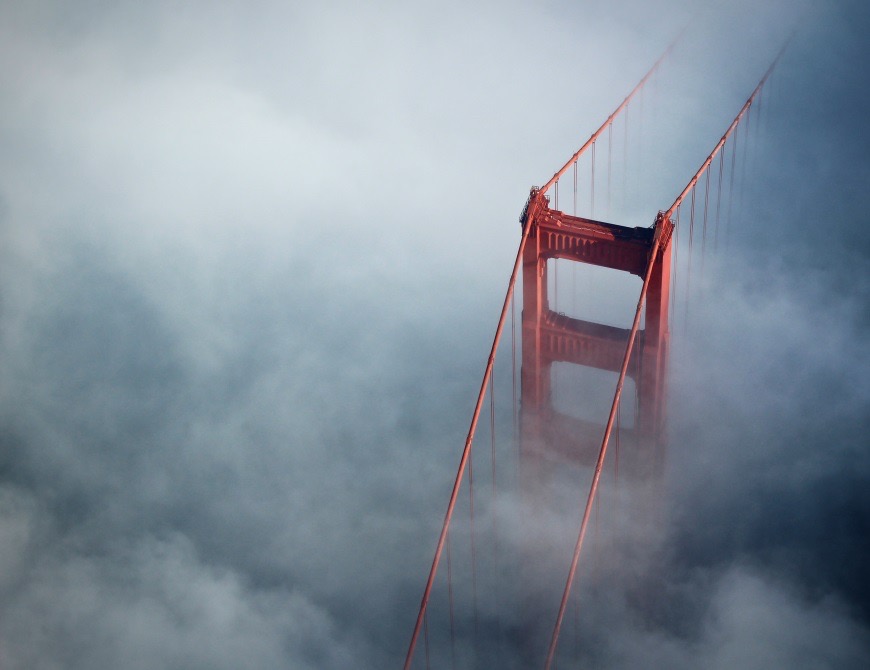
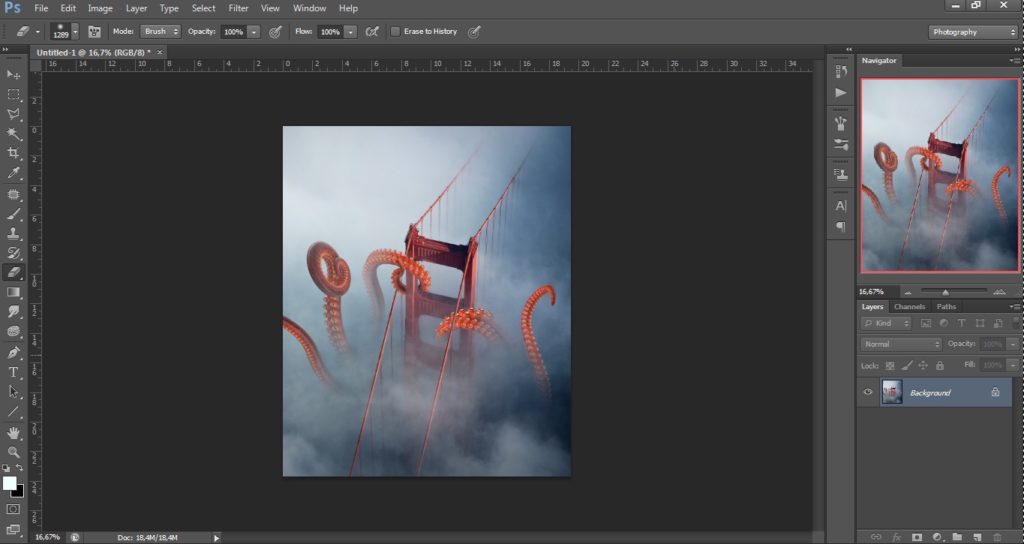
We’ll only be using two tools: the transform tool and the eraser tool. I used a stock photo of the golden gate bridge surrounded by fog. I accidentally stumbled upon that photo on Unsplash and got an idea instantly – why not create a scene where a giant kraken is rising it’s tentacles from below the bridge through the fog? That’s where PixelSquid saves the day.
It’s very annoying when you want to create something but don’t have suitable stock photos to create what’s in your mind. At least this is what happened with me. I went to PixelSquid, typed tentacles in the search bar and quickly found exactly what I needed.
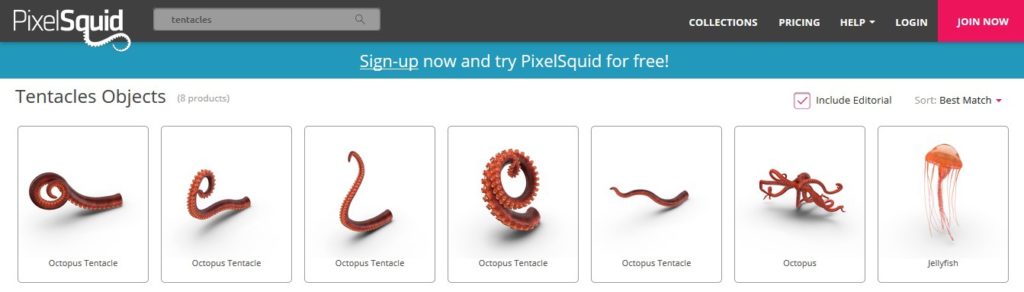
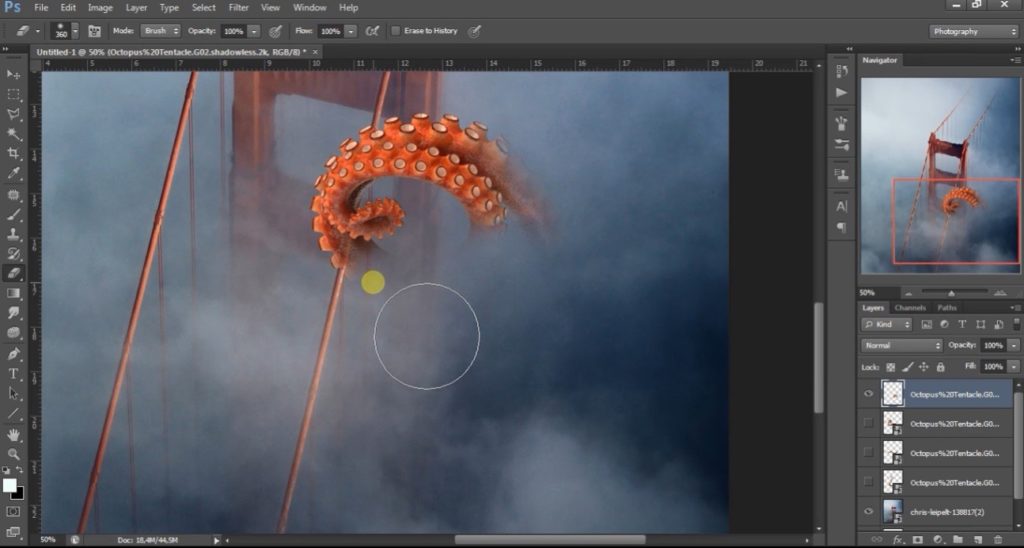
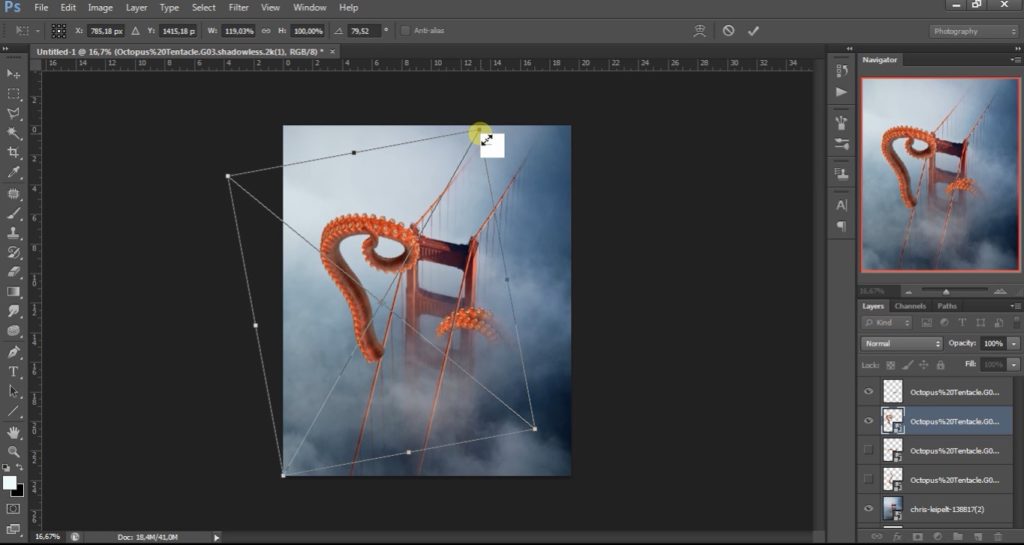
The best thing of all is that PixelSquid gives you the opportunity to rotate the images to any angle you need. So I took 5 tentacle images and rotated as you can see in the edited photo. The editing is extremely easy. Simply make 1 tentacle visible and make the rest invisible. You can align the tentacle the same way I did in the tutorial by using the transform tool CTRL+T. Grab the eraser tool, select a soft brush with opacity and flow both on 100%.
Erase the lowest part of the tentacle which should be completely hidden deep inside the fog.Now decrease the flow and the opacity of the eraser tool down to 50%. Start erasing the parts of the tentacle that are somewhat in the fog, but still visible.
It should look something like this:
That was easy right? The best part about using PixelSquid is that your editing knowledge doesn’t have to be anything more advanced than this. You just repeat the whole story for all the other tentacles since all the objects from PixelSquid are PNG’s which means you just insert them in your edits and you’re good to go (no background removal etc.). Leave the one you just edited in visible mode, make the next unedited tentacle also visible, the rest is invisible (to avoid confusion).
Of course your tentacles don’t have to be rotated and placed like the ones in my photo. You may have a better imagination than me and end up with a better result but if you repeated the steps for all 5 tentacles you should end up with something like the photo below!
