
Welcome back to Tutorials with PixelSquid! Hopefully, you’ve had the chance to read the last tutorial put together by one of our talented graphic designers, Kate (if not, then go go go). One of the great things about PixelSquid is that it makes it possible for non-designers (like me) to get creative in Photoshop – PixelSquid’s Photoshop Extension tool makes artistic execution easy. I had a recent task to create a quick graphic for a PixelSquid sale that also demonstrated the capabilities of the objects and plugin. A simple solution was to create a GIF with the world ‘SALE.’
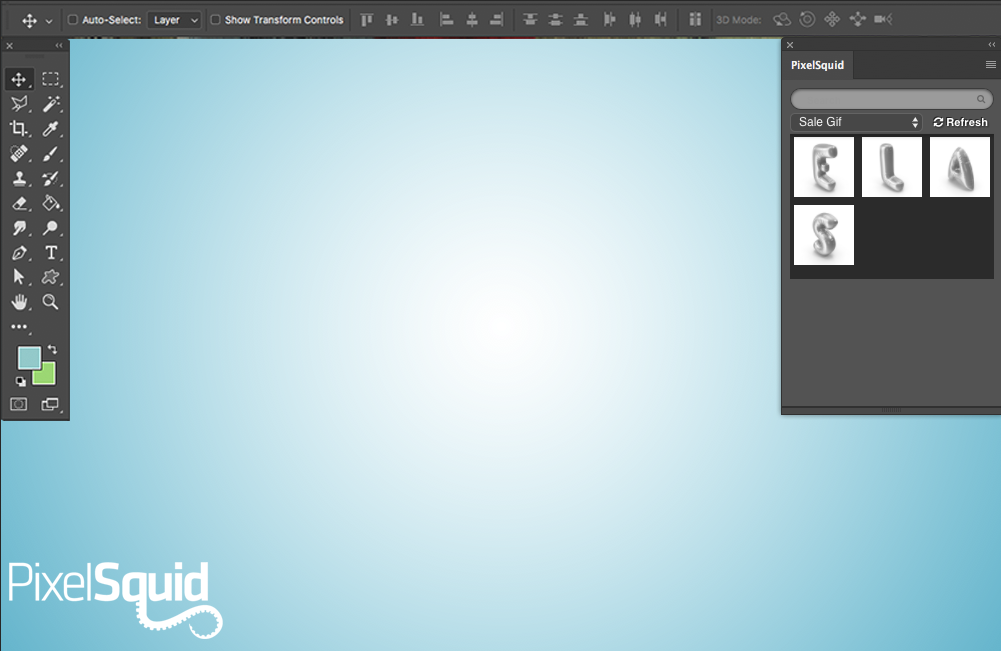
Kate handed me the Photoshop template she used from the last tutorial to get started (we are nothing if not resourceful around here). I tweaked the background color to suit my project needs, and made sure my PixelSquid Lightbox was stocked with the objects I needed: balloon letters!
I started by placing the first letter, the S balloon, in its own layer. After determining a good size and angle for the S, it was easy to scale and rotate the A and E balloons to match. I left a space for the L balloon (which comes later).
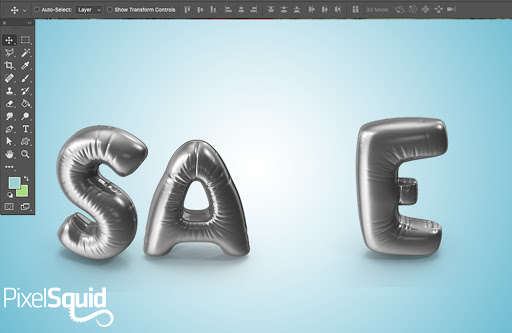
I decided at the beginning that I wanted the L balloon to move from an obviously out-of-place position, into the correct position between the A and E. Mapping the S, A, and E out first helped to get an idea of the line I needed to follow.

Point A
Point B
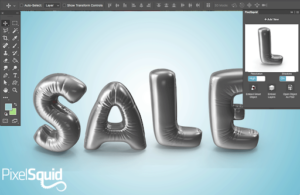
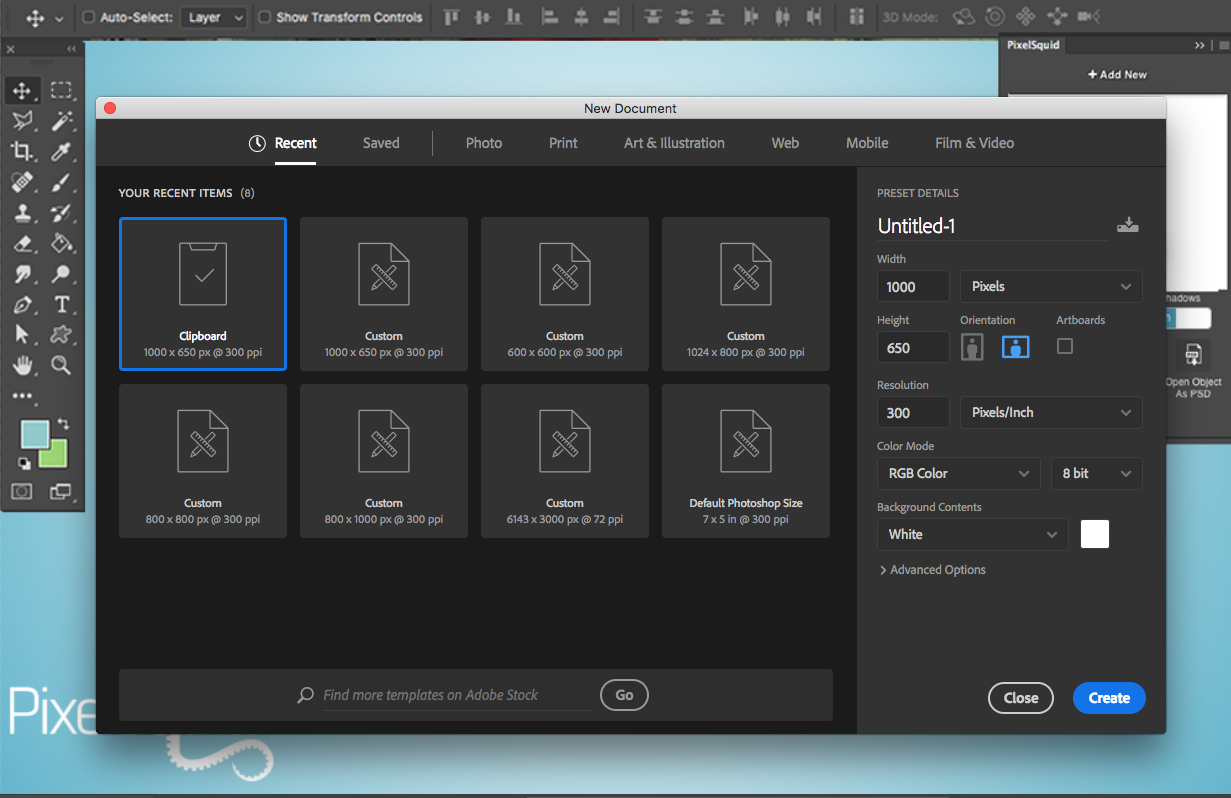
Once that was figured out, I set the L up in the beginning position and then selected all (ctrl+A) and used Copy Merged to capture everything on the canvas as a single layer. Once it was in my clipboard, I opened a New File, which gave me the option to create a new canvas, already sized to the clipboard image.
I pasted the previously copied selection into this new file by using Paste in Place, which keeps you from having to adjust the image’s position in a new canvas. Voila! The very first layer of our GIF animation. I moved the L bit by bit, then copied and pasted each frame onto the new canvas.
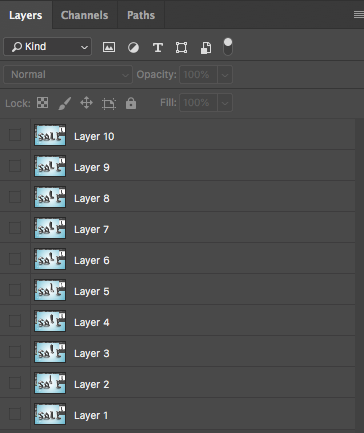
Note: the more positions you have, the smoother your animation will look. This particular GIF has 8 frames. The end result will look something like this in the layers area of the new project (remember to delete the default background layer):
From there, I clicked the Create Frame Animation button near the bottom of the Photoshop screen. Upon doing so, a placeholder frame generated, but I ignored that and selected Make Frames From Layers instead.
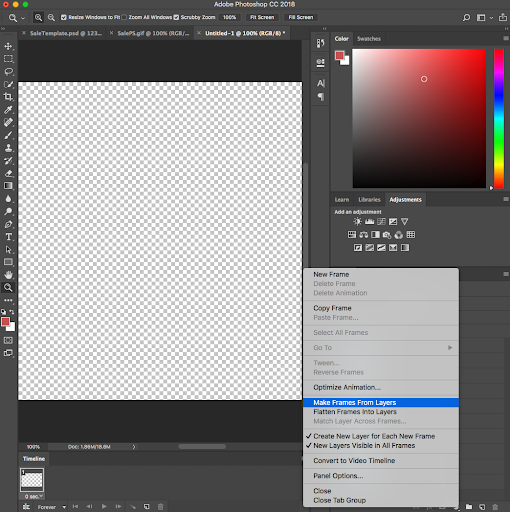
All the layers nicely lined up in the Timeline, all defaulted to 0 sec. Here I removed the placeholder. As important as capturing the line of movement, determining the timing of the frames can really add life to your GIF.
There are 3 main points of movement for the L balloon: the shift to the right, the change in angle, then the shift downward into the final position. To punctuate these movements, I put in a half second pause.

Once I was satisfied with the GIF timing, I was ready to export my shiny, new GIF by using Save For Web (Legacy). In this area, you’ll want to make sure your preset near the top is set to whatever GIF setting works for your needs (this is a good place to optimize filesize if you’re sharing a gif on social media). I set the Animation → Looping Options: → Forever. Feel free to toggle whatever else you need to, but these are the only settings I needed. Click save, and your GIF is done!
DeLonna Scott is a Marketing Associate for PixelSquid. She specializes in people skills, working closely with PixelSquid customers and artists. Feel free to yell at her on Twitter.